These spooky mummy hand pies filled with peanut butter and jelly are a perfect bloody little treat for Halloween to prepare together with your kids!
Email me this recipe
We’ll send it straight to your inbox, along with weekly food inspiration!
Are you ready for Halloween? If you are still looking for a spooky recipe which tastes as good as it is fun to make, I found the one you need: mummy peanut butter and jelly hand pies!
This year will be my very first Halloween in the United States, and I am very excited about that. I somehow feel like a kid who is slowly getting ready for the party, checking the calendar every so often as the date gets closer. Such a fun feeling in an adult life where there is usually very little space for fantasy, it’s a like a break from our very serious world.
Actually, my only real Halloween party happened several years ago as I was invited at the American Embassy in Sweden. I went there with several French friends who, like me, had no idea about what a proper American Halloween party was, as we don’t really celebrate it in France. We arrived wearing black but no specific costumes, unlike the Americans who had played the game 100% of course, with amazing crazy and spooky costumes, lots of candy and funny weird sweet treats.
Now that I moved to Chicago, things are completely different for me. When walking around or riding my bike in Chicago’s neighborhoods these last 3 weeks, I have seen the landscape changing progressively, with many amazing houses’ decorated facades and front gardens popping up here and there: gigantic spiders, ghosts, skeletons (even cats and mice skeletons!)… and of course pumpkins everywhere, of all sizes and colors! I can’t get enough of these scary decorations. And yes, I jump off my bike almost every time to take pictures, which makes David laugh a lot. I told you, I am a kid again, and I love that!
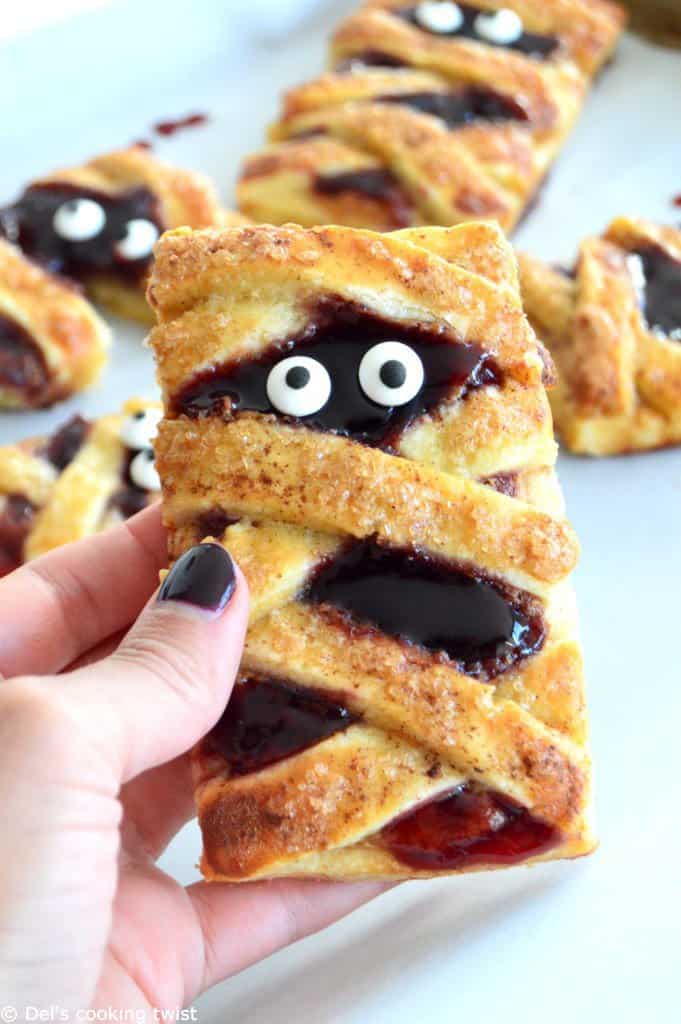
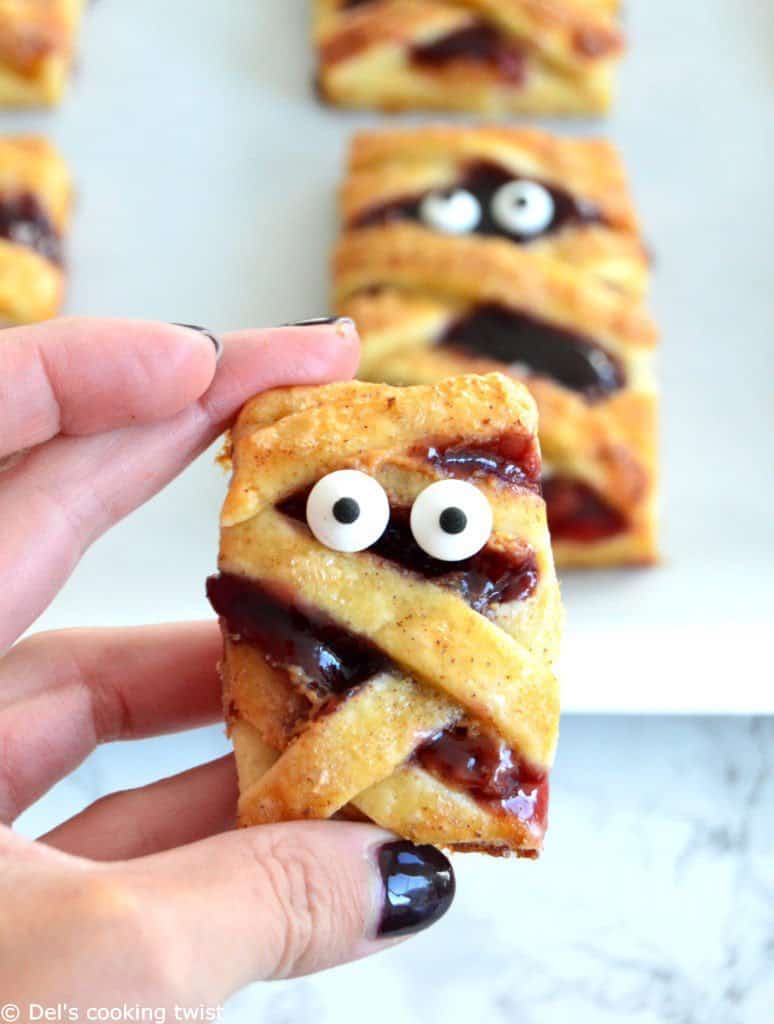
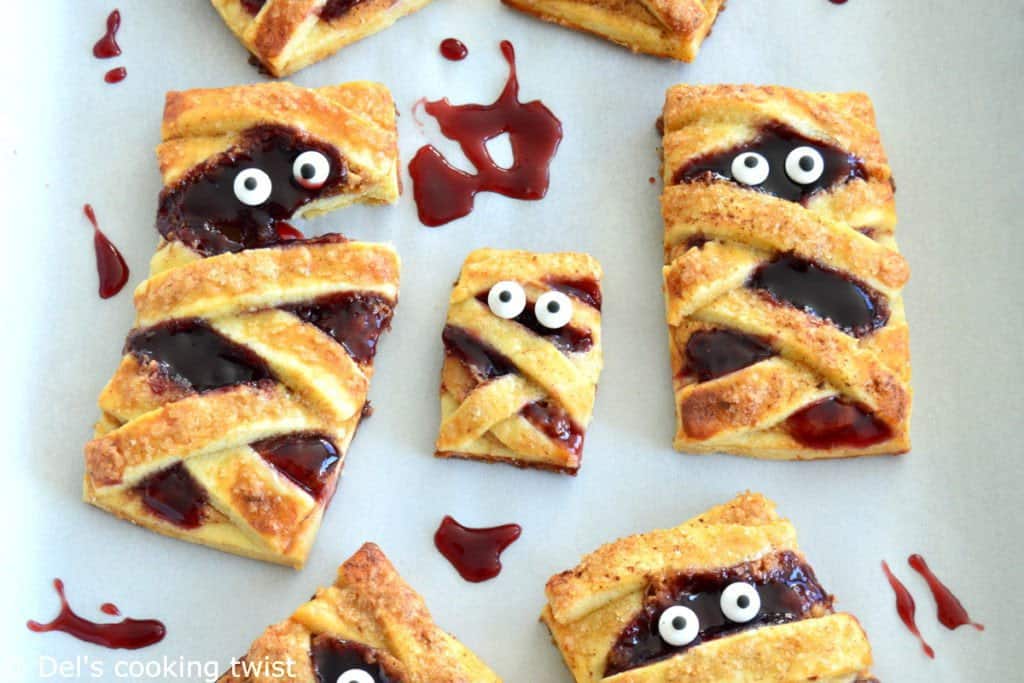
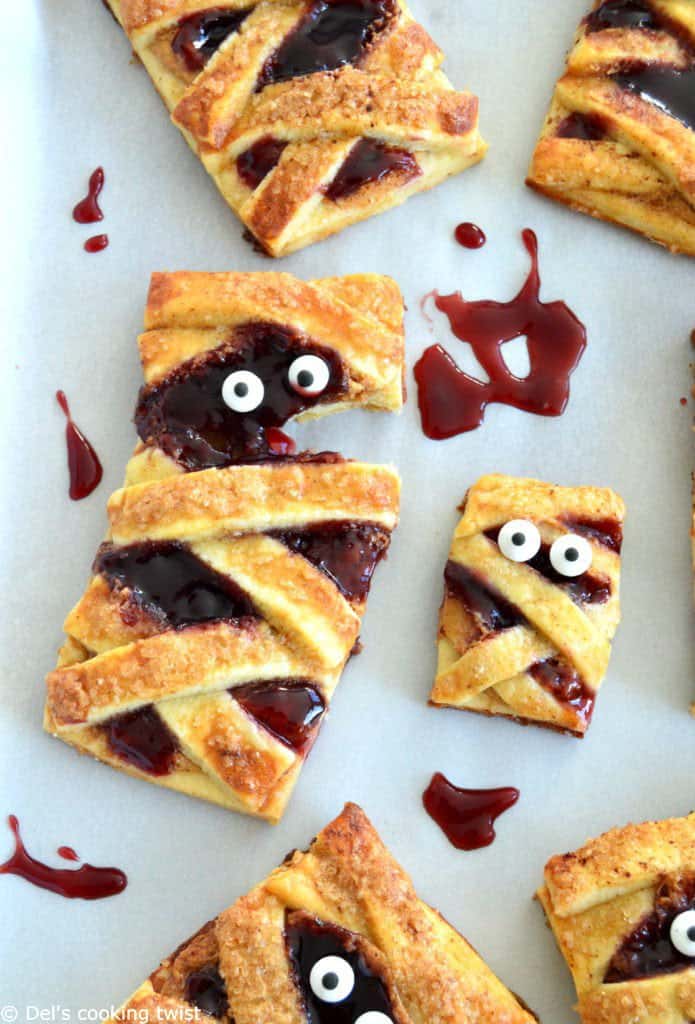
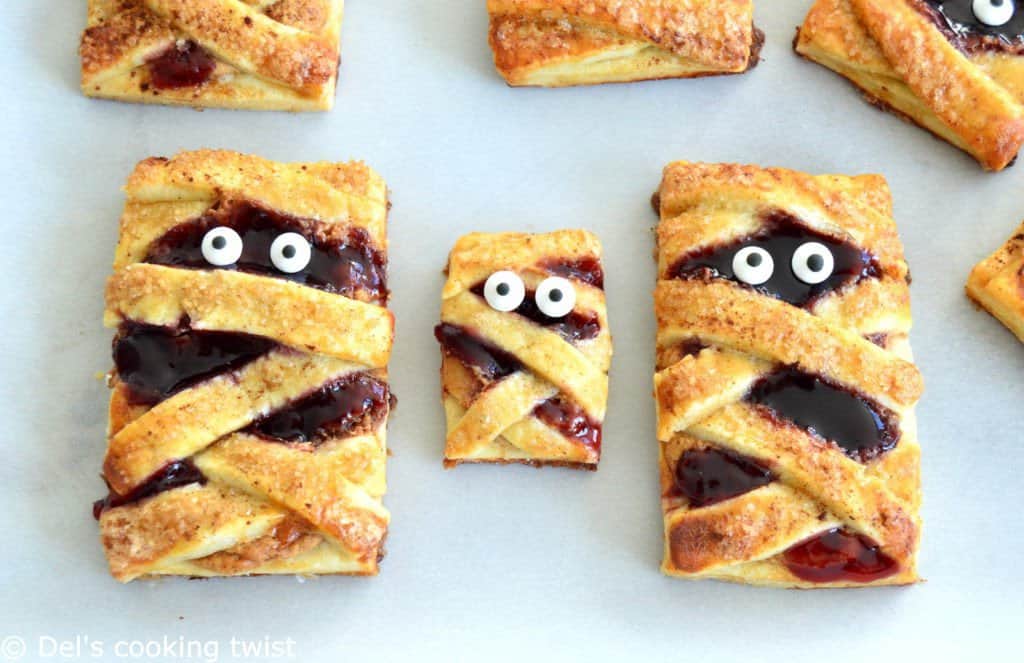
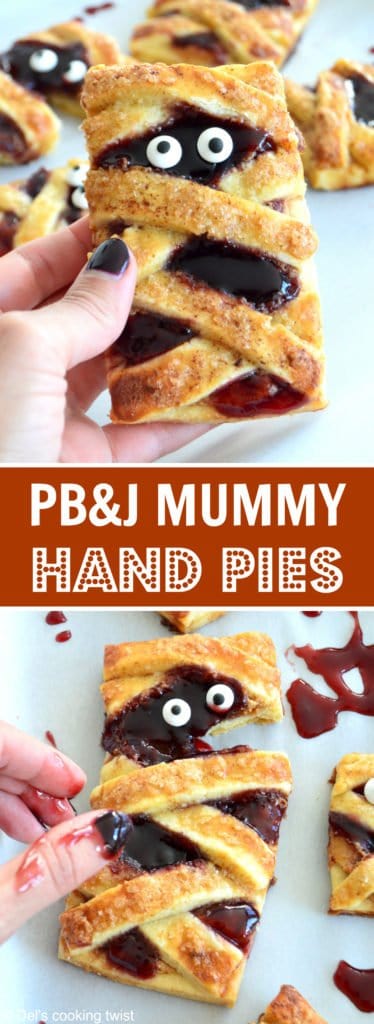
The spooky Chicago also gave me some Halloween baking ideas. I recently found a different version of these mummy-shaped hand pies and found them extremely fun. I love their funny little eyes looking through the bandages. As I wanted them “bloody” with a red sticky filling – nevertheless completely natural. I made it happen with the All American classic peanut butter and jelly filling (aka PBJ). I was not too sure about my baking invention until I finally saw the result of these yummy mummies! Not only do they look super fun, but they also taste super good!
These mummy hand pies are a perfect baking activity to make with your kids prior to Halloween. Feel free to either go for this delicious PBJ filling, or replace it with chocolate spread. If you go for the latter option, I recommend you try my Chocolate Hazelnut Spread “Newtella”, much better and healthier than the leading brand company. Whatever you decide, don’t forget your candy eye balls: they will give eye-catching personality to the mummies. You can easily order them online or find them at the candy section of your grocery store this time of year. Happy Halloween!
PB&J Mummy Hand Pies
- Prep Time: 45 mins
- Cook Time: 15 mins
- Total Time: 1 hour
- Yield: 8 1x
- Category: Dessert
- Cuisine: American recipes
These spooky mummy hand pies filled with peanut butter and jelly are a perfect bloody little treat for Halloween to prepare together with your kids!
Email me this recipe
We’ll send it straight to your inbox, along with weekly food inspiration!
Ingredients
For the crust:
- 2 1/2 (10.5 oz / 300g) cups all-purpose flour
- 1 teaspoon salt
- 1 cup (8.5 oz / 240g) cold unsalted butter, diced
- 1 Tablespoon sugar
- 1/4 cup (60 ml) iced water
For the filling:
- 1/3 cup (2.9 oz / 85g) creamy natural peanut butter
- 5 Tablespoons (75g) unsalted butter, softened
- 4 Tablespoons (60g) confectioner’s sugar
- 1 teaspoon vanilla extract
- 1 pinch of salt
- 1/4 cup (65g) seedless jam (raspberry or strawberry) + extra
For brushing:
- 1 egg white
- 1 Tablespoon sugar
- 1 teaspoon ground cinnamon
For decoration:
- Candy eyes
Instructions
- For the crust: in a medium-sized bowl, mix together flour and salt. Dice the butter into small pieces and crumble it with the flour until lumps are the size of small peas. Add sugar and stir well. Pour in the ice cold water, little at a time, mixing with a fork. Finish by hand and shape into a ball. Divide the dough in two portions. Flatten a little, and wrap them into two separate cling film. Chill in the refrigerator for about 1 hour.
- Meanwhile, prepare the filling: in a bowl using a hand mixer, whip the peanut butter with the softened butter, confectioner’s sugar, vanilla and salt at medium speed, until fluffy, about 3 minutes. Refrigerate for about 45 minutes, until chilled.
- Preheat the oven to 375)F (190°C) and line a large baking sheet with parchment paper. Set aside.
- In a small bowl, whisk together egg white with water.
- To assemble mummies, roll out the first dough onto a floured surface to a large rectangle. Trim edges to get straight edges, then cut into rectangles.*
- Roll out the second dough, and cut into 1/2 inch stripes.
- Arrange the rectangles, space apart, on prepared baking sheet. Spoon about 1 Tablespoon of the peanut butter filling, leaving rim on all sides uncoated. Spread 1/2 Tablespoon of jam on top of the peanut butter filling. Brush uncoated edges with the egg white mixture.
- Top with the stripes to create mummy look, then seal edges with your fingertips. Trim the excess of the stripes. Brush the stripes with the remaining egg white mixture, then sprinkle with sugar and cinnamon.
- Bake until golden brown, about 15 minutes, covering with foil after 10 minutes.
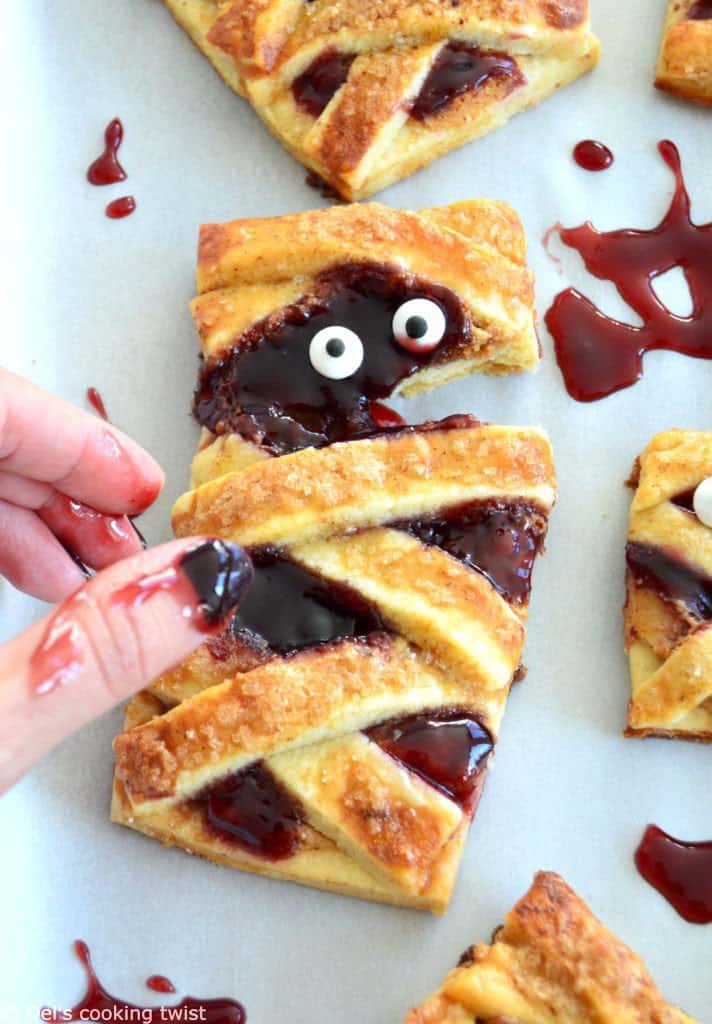
- Remove from the oven. Both peanut butter and jelly might have run away a little bit during baking. Scrape the excess of jelly over the stripes straight away, then gently add some extra jam when still warm in the cavities to make your mummies look even better. It’s a delicate process, but it will work just fine and you will be able to get the mummy look you desire in the end.
- Chill at room temperature, and stick candy eyes.**
Notes
* I made the rectangles 4×3 inches, but you can make them smaller or larger.
** If you don’t have candy eyes, you can replace with mini chocolate chips.
Note that you can also make these mummy hand pies in a savory version, looking like mini pizza. Simply replace the sweet PB&J filling with tomato paste with herbs, salt and pepper, and use sliced black olives for the eyes. I tried, it’s bloody good!
Did you make this recipe?
Lastly, if you make this PB&J Mummy Hand Pies, be sure to leave a comment and give this recipe a rating, letting me know how you liked it. And of course, don’t forget to tag me on Instagram! Thank you and enjoy!
Note that you can also make these mummy hand pies in a savory version, looking like mini pizza. Simply replace the sweet PB&J filling with tomato paste with herbs, salt and pepper, and use sliced black olives for the eyes. I tried, it’s bloody good!



Dépannage Serrurier Paris 2
J’aime bien ces tartes et merci pour la recette
Delphine Fortin
Contente que cela vous plaise!
Delphine Fortin
Avec plaisir, Rémy!