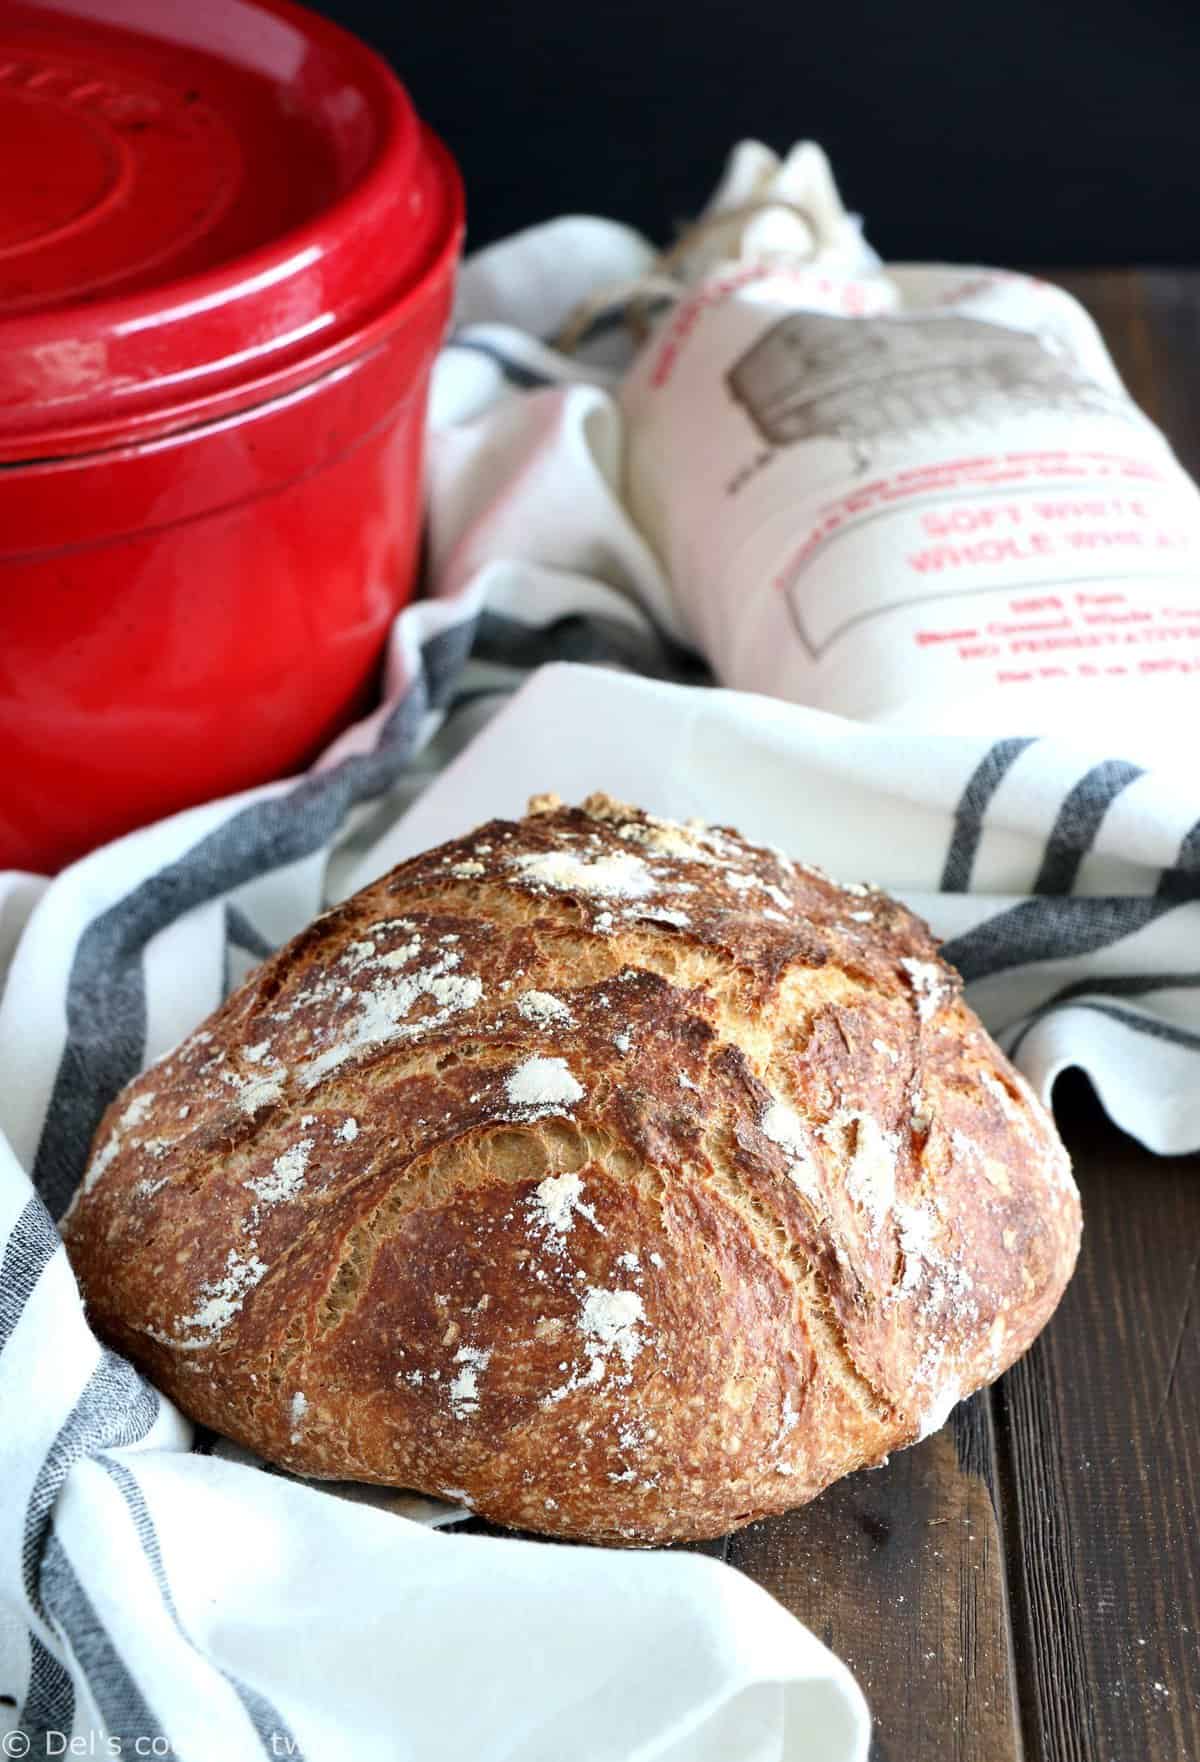
Based on the easy classic no-knead bread recipe, this whole wheat version tastes like artisan bread with no effort. Learn how to master this bread yourself!
Email me this recipe
We’ll send it straight to your inbox, along with weekly food inspiration!
There we are: day #5 of our bread week during which I have been sharing with you a new no-knead bread recipe every single day. Find them below in case you missed them:
- Easy Classic No-Knead Bread
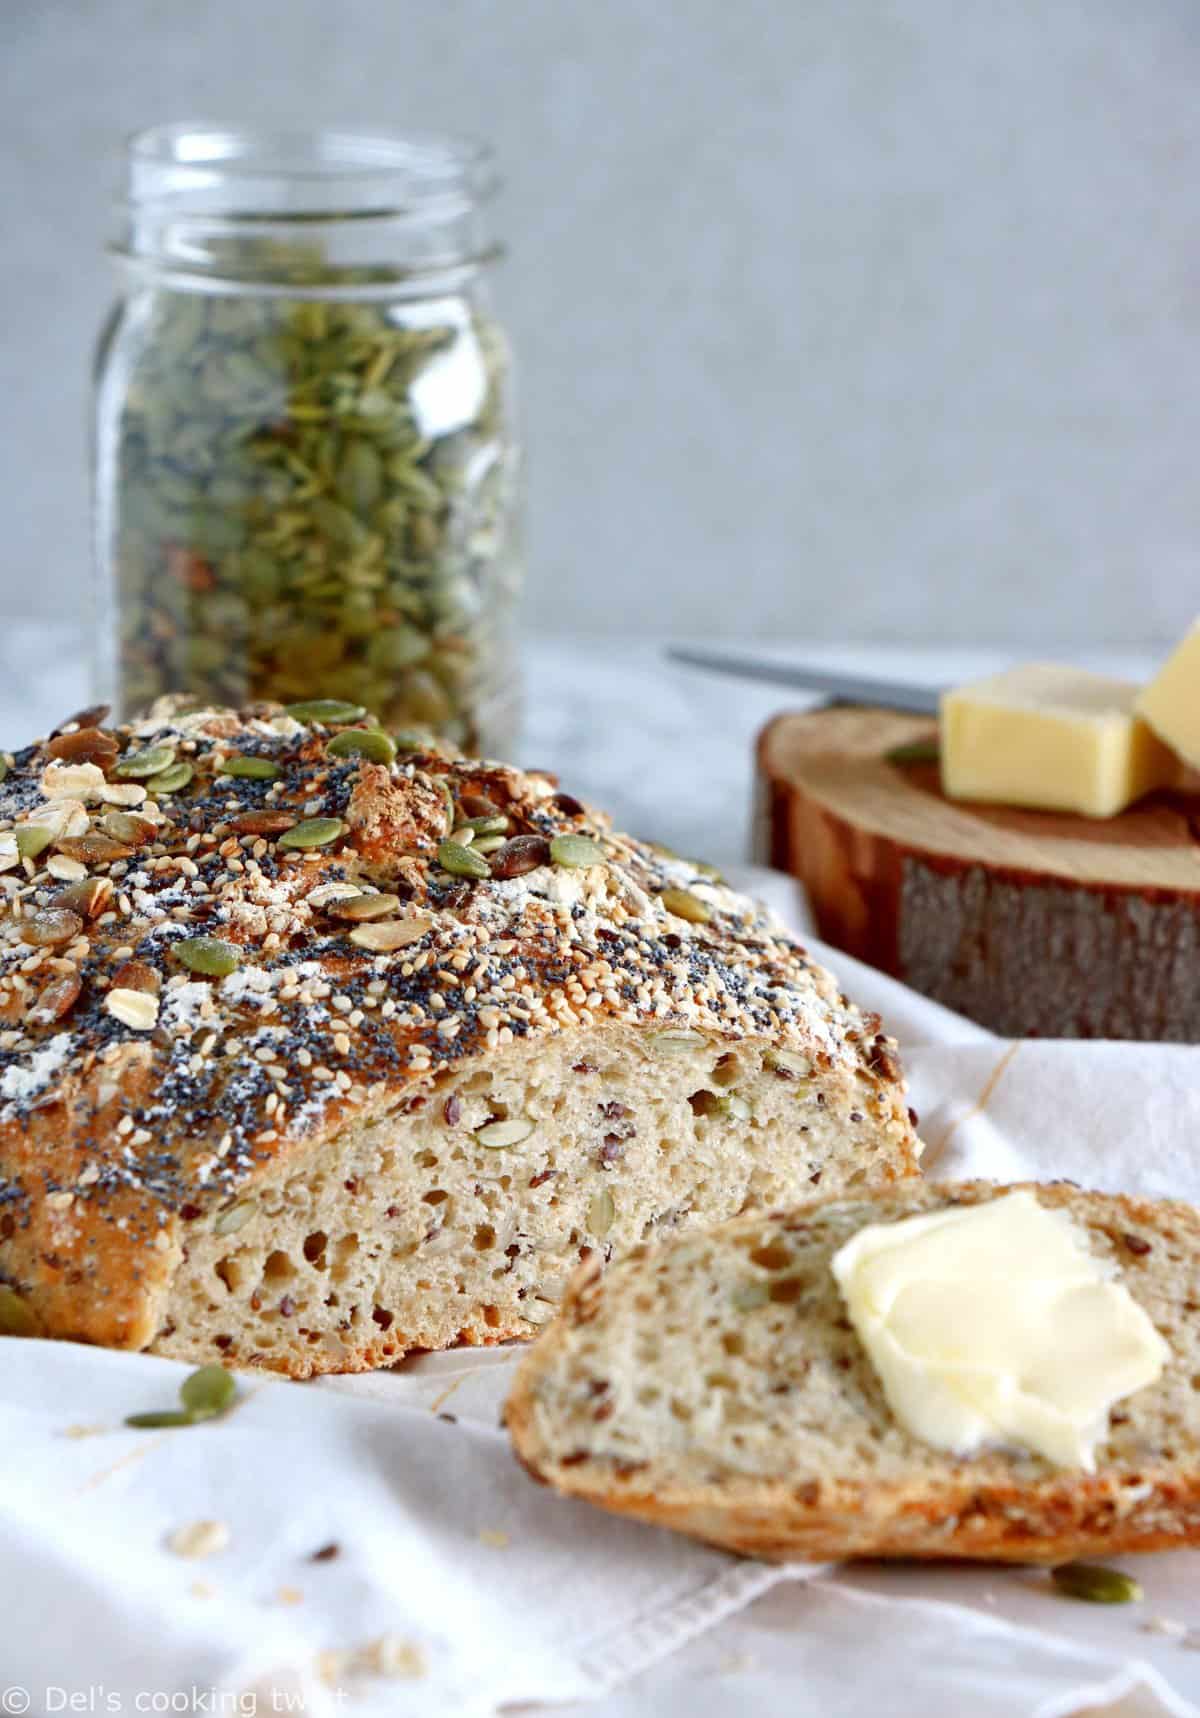
- Multiseed No-Knead Bread
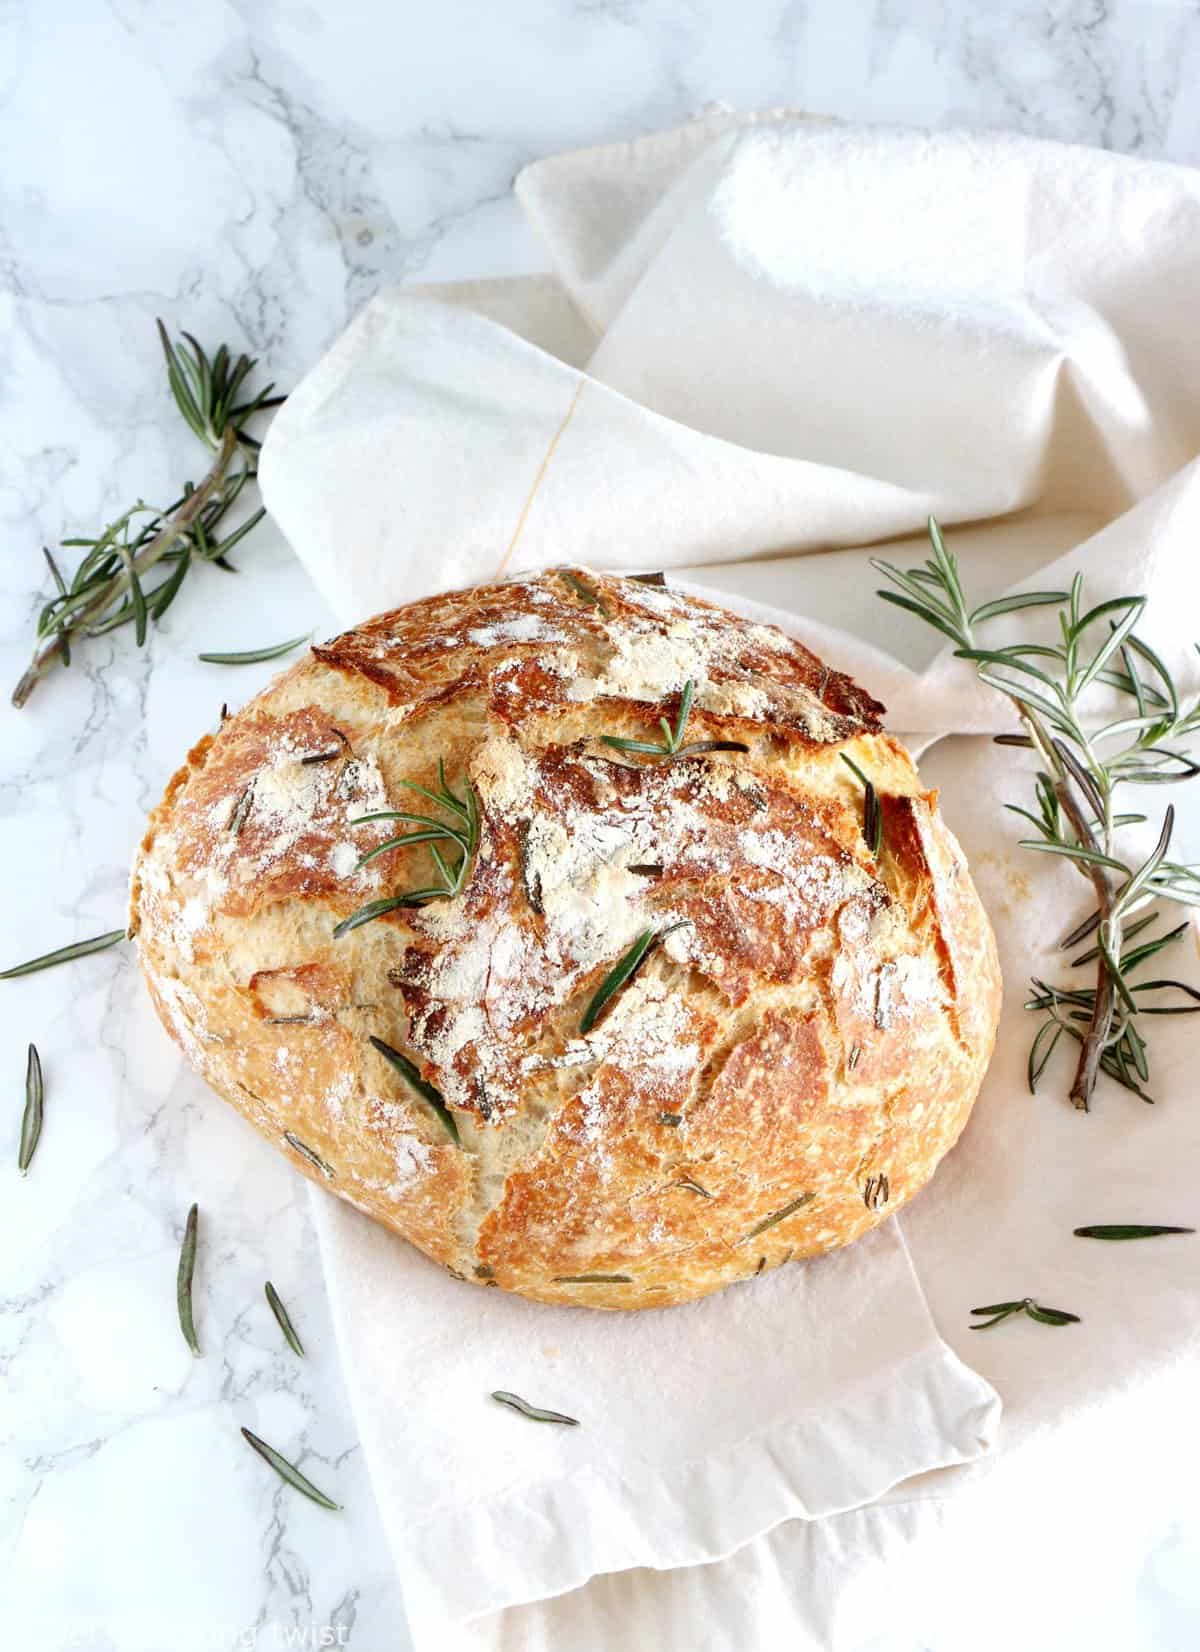
- Rosemary & Green Olives No-Knead Bread
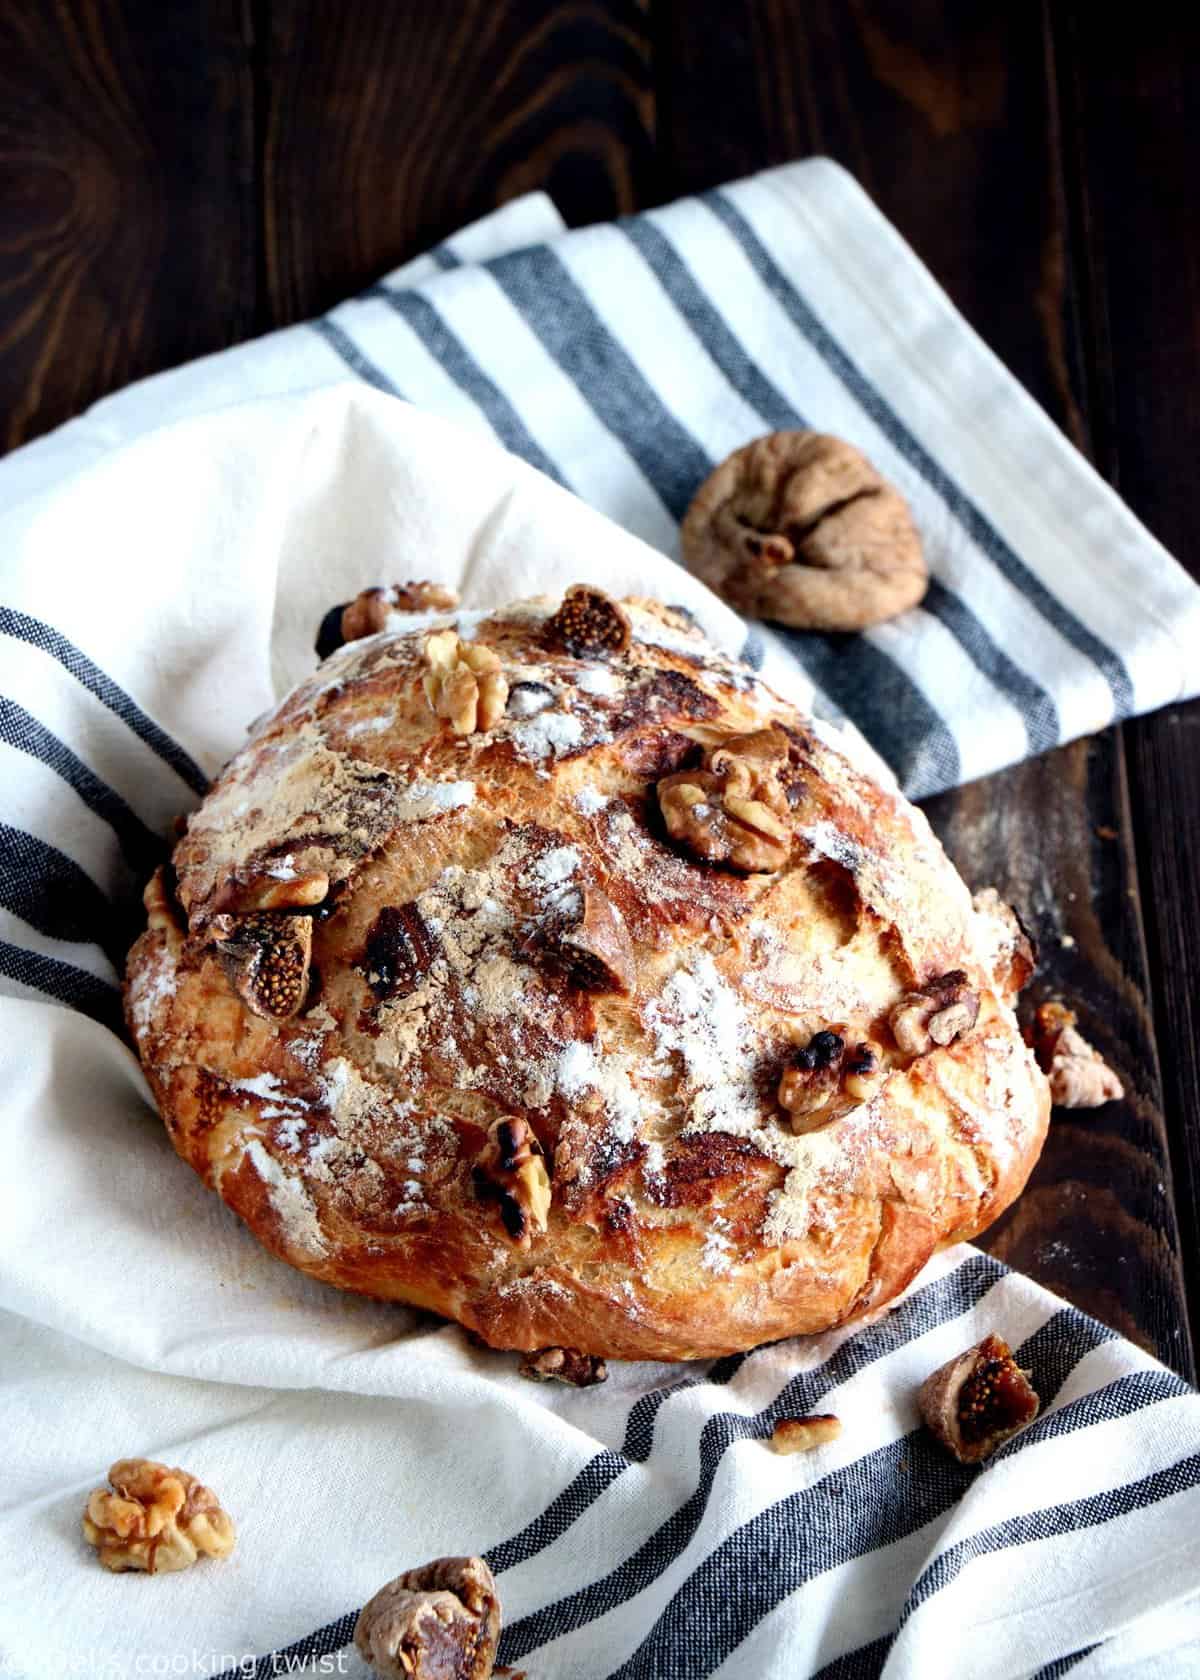
- Rustic Fig & Walnut No-Knead Bread
- And today the Whole Wheat No-Knead Bread
It’s been very fun for me to create all these variations to the original classic no-knead bread, a recipe I discovered through a friend over a year ago and that literally changed my life since then. I would never have believed that making homemade bread could be that easy! You can do it too and I hope my mini series convinced you to try. All you need is stir the ingredients, let rest, and bake. No kneading!
I’m sorry if I am repeating myself but in case you are catching up this mini series now or randomly stumbled upon this recipe, I need to make a quick definition update. A no-knead bread is indeed a method of bread baking in which the kneading part is replaced with a very long fermentation (rising part) instead. To make it simple, it means that you do not need to knead the dough at all, which makes the bread completely effortless. I have been baking and teaching baguettes before, and believe me it’s a whole different story!
The last version of my mini series is a simple whole wheat no-knead bread. You would think that replacing all-purpose with whole wheat wouldn’t need a recipe itself, but there are indeed some rules we need to keep in mind to make it right. Usually, for a classic recipe, it is ideally recommended to replace up to 25% of all-purpose flour with whole wheat flour.
The reason is simple: when using whole wheat flour, your bread texture is denser than it is with all-purpose flour, so you need to find the right balance between taste and texture. Using whole wheat flour only would work somehow but your bread will be dense, hard to slice, to chew… just not what you are expecting when eating bread.
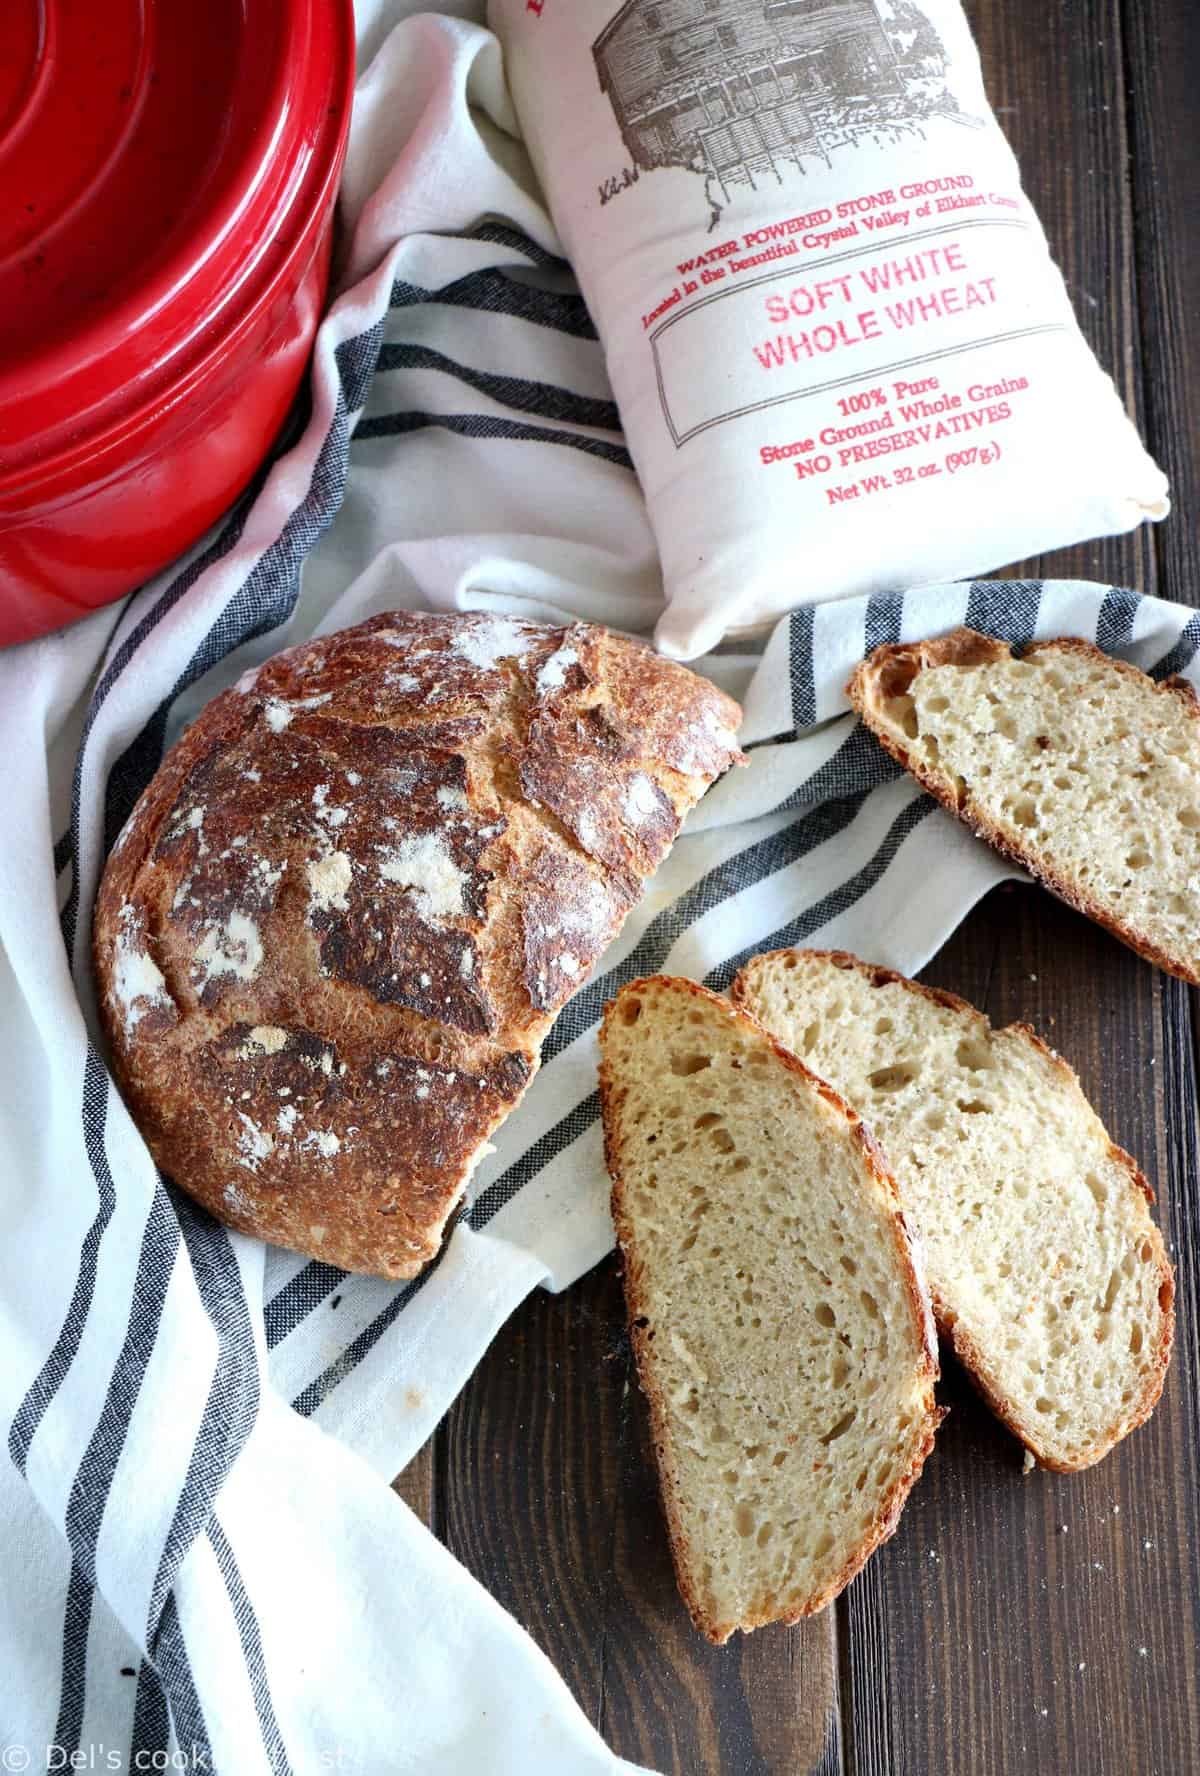
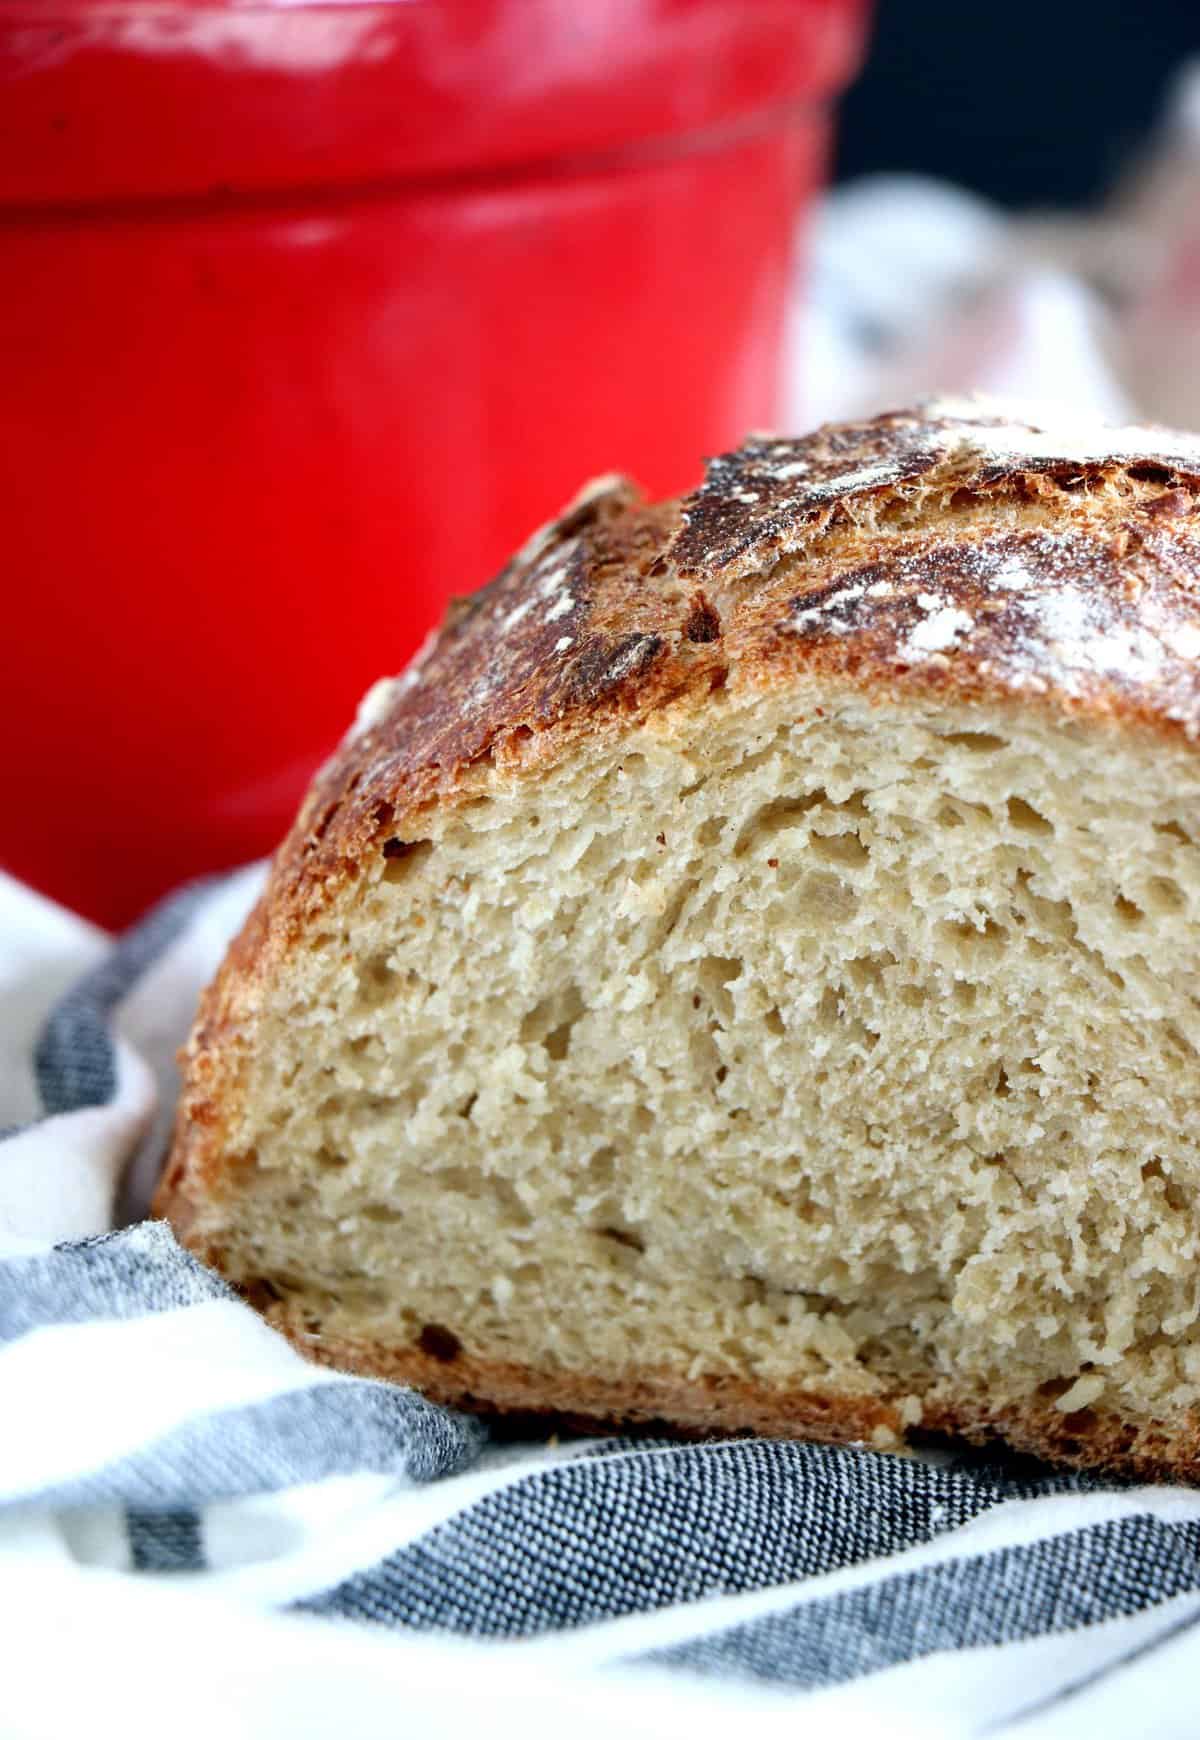
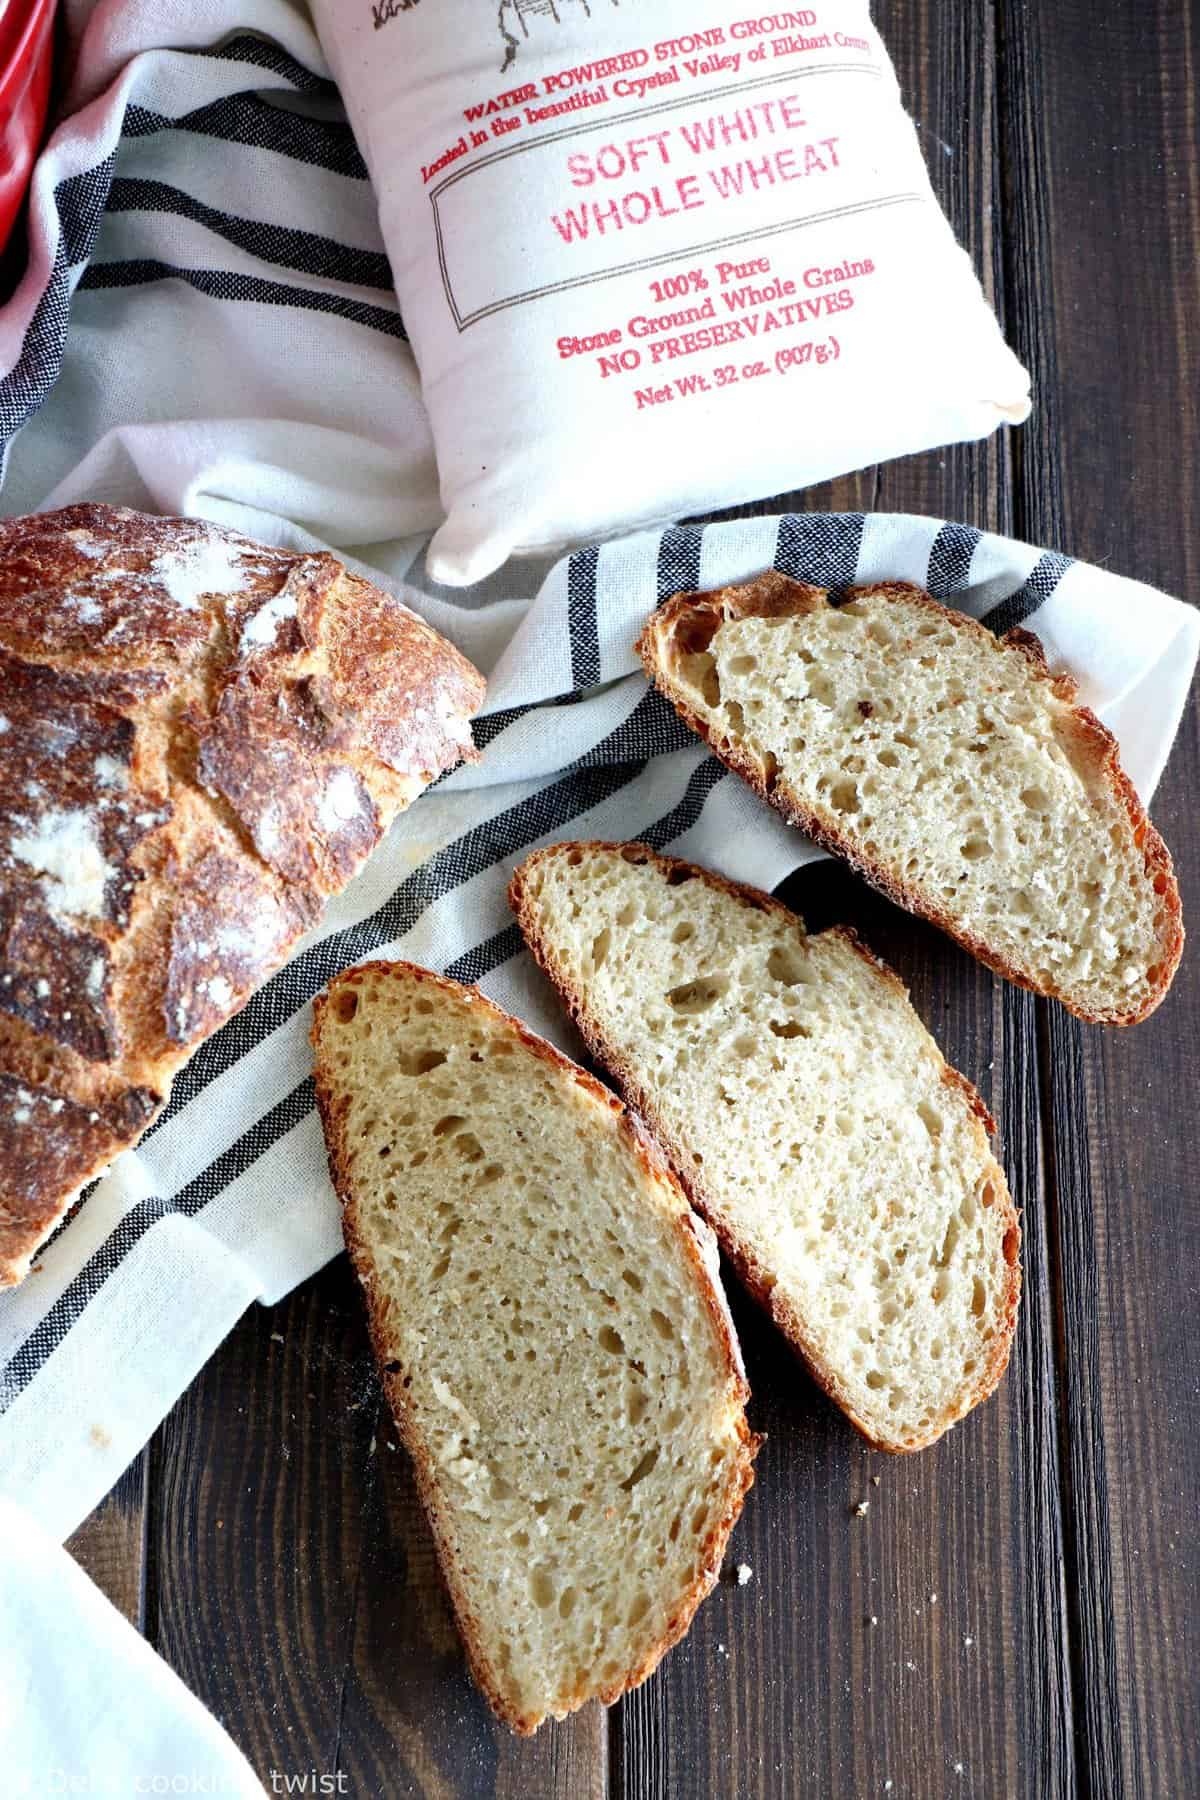
This bread is also a special kind, a no-knead kind to be exact. So I have made a few attempts to see how my bread would turn out with whole wheat flour. In the end, I find that using 1/3 whole wheat flour and 2/3 all-purpose work perfectly fine. You end up with a slightly different texture from the original classic no-knead bread, with a slightly denser texture (but not too dense) and a lovely and subtle nutty taste brought by whole wheat flour.
Using whole wheat also makes your bread healthier in many ways. One of the primary nutritional differences between whole-wheat and white flour is the food’s fiber content. The refining process associated with making white flour separates the fiber-rich brain from the rest of the grain, so white flour typically contains less fiber than its whole-grain counterpart. For example, 1/2 cup of white flour contains 1.3 grams of fiber, while an equal serving of whole-wheat flour contains 6.4 grams.
Foods involving whole wheat flour also regulate your blood sugar after a meal, preventing blood sugar spikes and crashes, so you’re satisfied for longer after your meal. Last but no least, whole-wheat flour provides a nutritional advantage over some white flours due to its vitamin content. Whole-wheat flour contains several vitamins, including folate, riboflavin and vitamins B-1, B-3 and B-5.
So many reasons to try this no-knead bread using whole wheat flour, even if not 100% whole wheat. If you want to increase your fiber intake, you can also add some seeds. My general advice is to vary bread recipes as often as possible so you never get tired of bread. In this end, I hope my mini series helped!
PrintWhole Wheat No-Knead Bread
- Prep Time: 5 mins
- Cook Time: 45 mins
- Total Time: 50 mins
- Yield: 1 bread 1x
- Category: Breads & Brioches
Based on the easy classic no-knead bread recipe, this whole wheat version tastes like artisan bread with no effort. Learn how to master this bread yourself!
Email me this recipe
We’ll send it straight to your inbox, along with weekly food inspiration!
Ingredients
- 2 cups (240g) all-purpose flour
- 1 cup (115g) whole wheat flour
- 1½ teaspoon salt
- ½ teaspoon instant yeast
- 1½ cups (360 ml) room temperature water
Instructions
- In a large mixing bowl, whisk the flours, salt, and yeast together until mixed. Stir in the water until a chunky, thick dough forms. If needed, add a few more teaspoons of water, just enough to get the dough barely wet throughout. Cover the mixing bowl with a cloth or plastic wrap and let it rest overnight (about 12 hours) at room temperature.
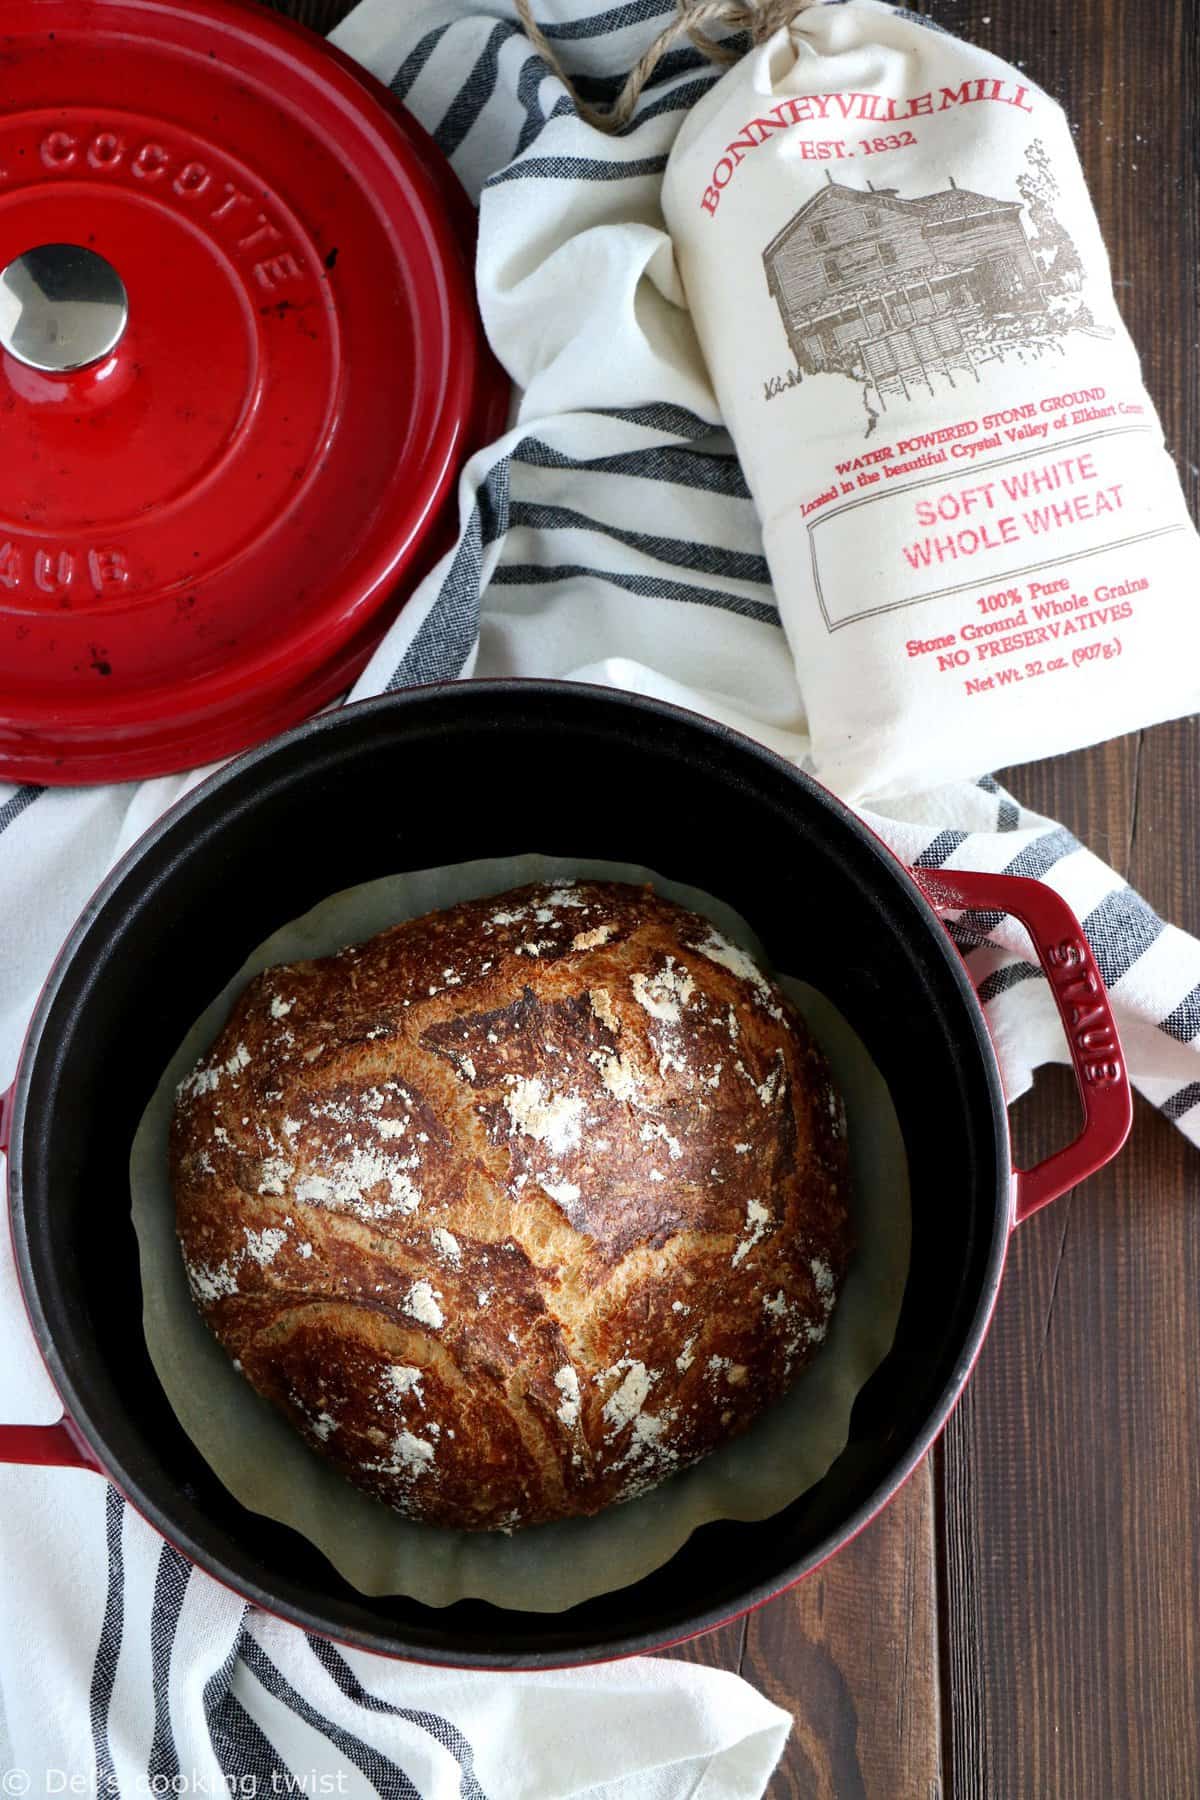
- In the morning, preheat the oven to 450°F (230°C) and place a 4 to 6-quart heavy covered pot (cast iron, enamel or ceramic) inside, until you reach the desired temperature, or ideally for 30 minutes.*
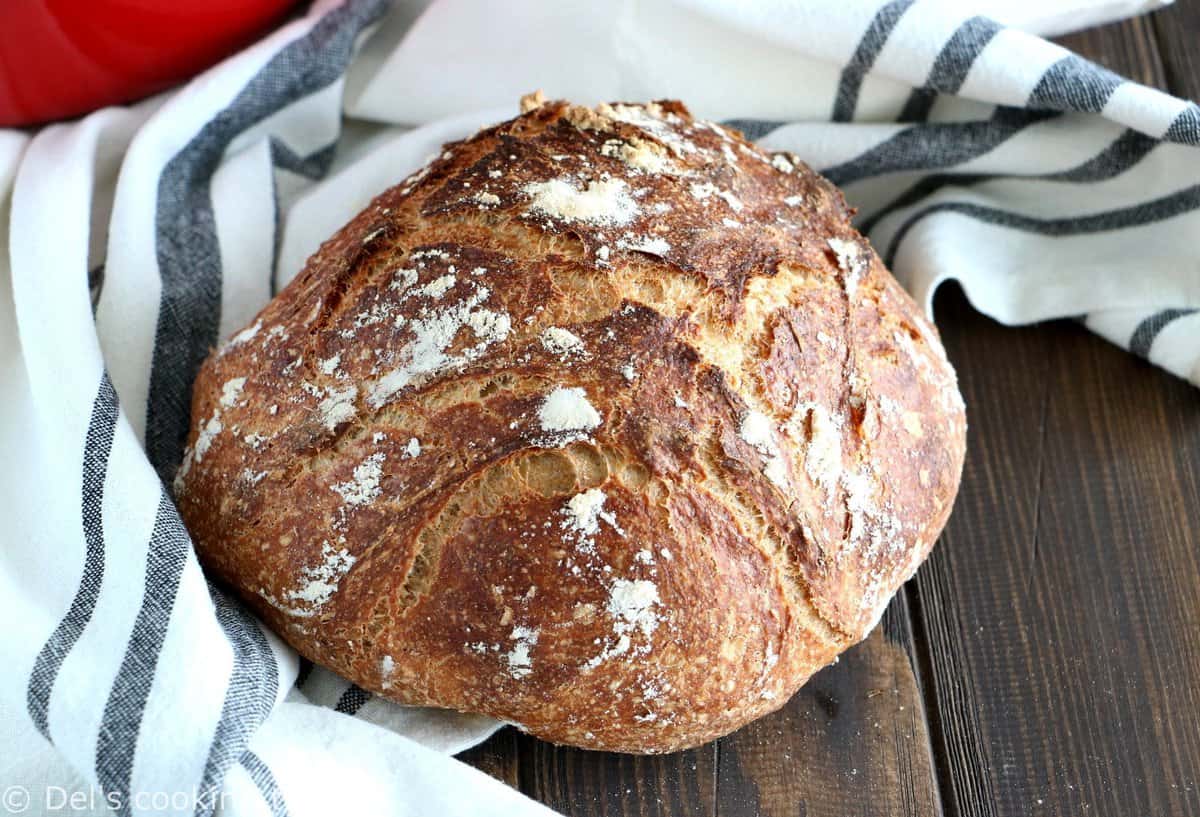
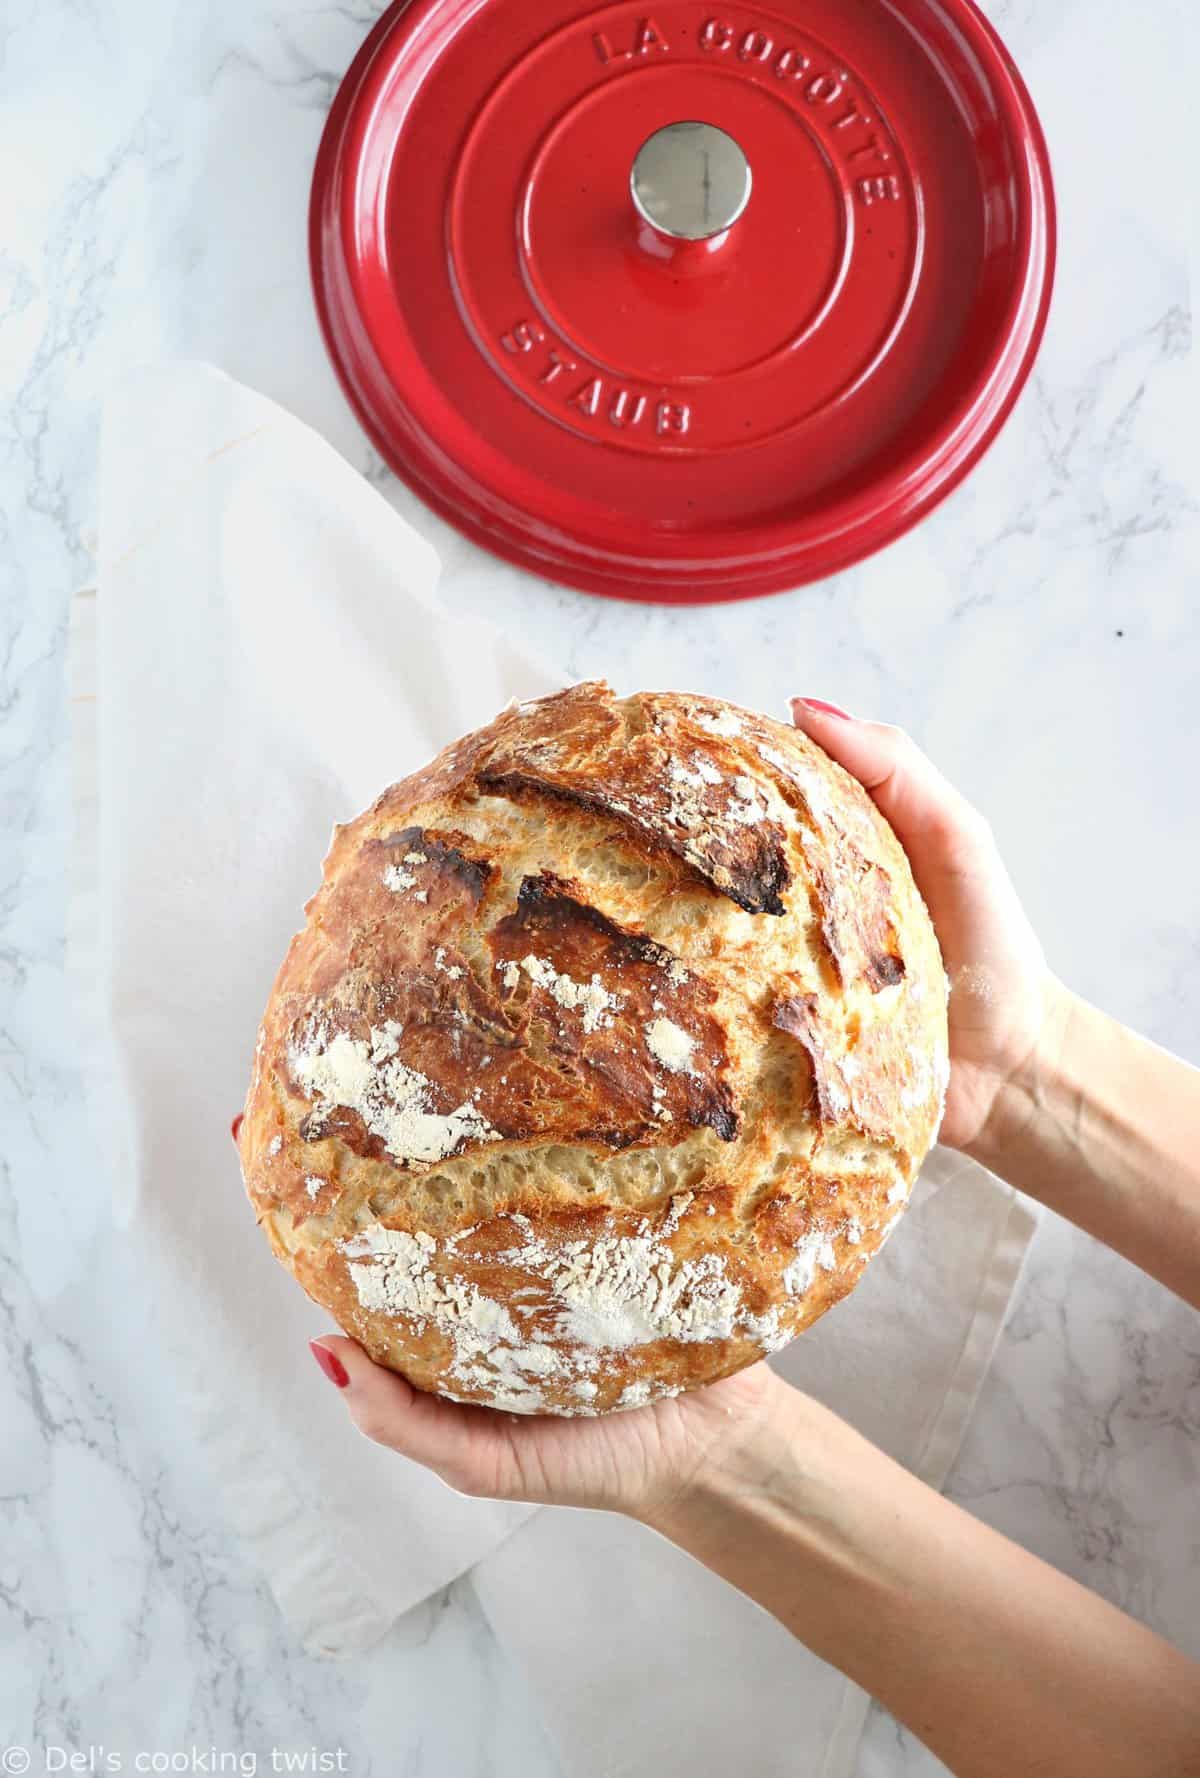
- Once the oven is hot, remove the covered pot, and carefully line with parchment paper (be careful, it’s hot!). Gently scrape the dough from the bowl, shape onto a ball with your hands and place in the pot (the dough will look a little bit sticky and messy but it’s normal, just let it be). Sprinkle some flour on top, and place in the oven with the lid on for 30 minutes. Remove the lid, and bake for another 10-15 minutes to get the outside crust golden brown and crispy. Transfer onto a cooling rack, and let cool. It’s done!
Notes
*If you really have no time, I sometimes skip this part and it works too. Just remember that it’s better if you follow this step but you don’t necessarily have to.
NOTE: this bread doesn’t last long as it dries out quickly. It is best eaten fresh, ideally same day of baking or at the latest the day after.
Did you make this recipe?
Lastly, if you make this Whole Wheat No-Knead Bread, be sure to leave a comment and give this recipe a rating, letting me know how you liked it. And of course, don’t forget to tag me on Instagram! Thank you and enjoy!
Other no-knead bread recipes to try:
Rosemary & Green Olives No-Knead Bread.



Lisa Bingley
Amazing recipe! I skipped the make-into-a-ball step, and just carefully poured the bubbly dough straight into the pot, then sprinkled with flour. (I know from experience it’s too sloppy to wrangle into a ball). Beyond easy to make, with soft fluffy inside and crunchy tasty crust. Bravo! I will be making this regularly.
Greetings from Leicester, UK.
Brooke Ashley
I normally make your multiseed no-knead bread, but this one is faster to prep and I just sprinkled on top two toppings (sesame seeds and pepitas). Easy yummy bread for the win!
Ribault Sabine
Bonjour,
J ai voulu tester votre pain avec de la farine complète la pâte était un peu liquide, je l ai fait reposer toute une nuit mais elle n a pas du tout gonflé, pourquoi à votre avis ? Je ne comprend pas ….
Delphine Fortin
Bonjour Sabine. Avez-vous bien vérifié que votre levure n’était pas un peu vieille ou expirée ? Le pain ne gonfle pas énormément avant cuisson, c’est surtout pendant la cuisson qu’il gonfle bien. Del
Maxine
Hello, I am new to bread making and have been making bread only a few times. I’ve been always using INSTANT dry yeast. However every time during baking a strong vinegar / sour smell comes out of the oven, even though the bread ends up tasting good, not much sour taste. I always thOught it’s because other recipes I followed called for normal active dry yeast, perhaps mine is over fermented. This time using your recipe I followed exact steps, proofed for 11hours, however still that strong smell in the oven. Should this smell be normal or something is off? Thank you!!
Delphine Fortin
Hello! This is a very good question indeed, I’ve never experienced that myself so unfortunately I wouldn’t be able to answer to your question here. Sorry about that. Del
mary bockey
Made this bread & baked today. Delicious! So simple & will make again.
Delphine Fortin
So happy you liked it, Mary. Thanks for your feedback!
L. A. Bad
Hello! Thanks for sharing your recipe. One thing I noticed in all the 5 bread recipes you’ve shared is that the dough DOES NOT require a SECOND proofing or rising after the initial/overnight rise and after shaping the dough. Seems like you put the dough, right after shaping, straight into the pot and into the oven. Most no-knead recipes that I’ve encountered need the dough to rise for 30-60 minutes after shaping and before putting the dough into the preheated covered pot. I thought I need to clear this up before trying your recipes. Please reply promptly as am dying to try them. Thank you.
Delphine Fortin
Hi! I confirm that you do not need a second rising time. I make the recipe several times a week with the same perfect result every single time 🙂 Hope you’ll like it too!
Claire
Bonjour, je viens de faire la pate (qui est aussi liquide mais j’ai utilisé un mélange de farine t45 et t150 j’espère que ça fonctionnera quand même, j’en ai ajouté un peu pour que ce soit un peu plus épais mais ça reste un peu liquide). Par contre je viens de me rendre compte que mon four propose 220 ou 240 degrés, que me conseillez vous pour me rapprocher au mieux de la cuisson que vous indiquez ? Merci à vous !
Delphine Fortin
Bonjour Claire! J’imagine que ma réponse arrive un peu tardivement, j’en suis désolée. J’espère que le pain est à la hauteur de vos attentes! Pour ce qui est du four, je mettrais plutôt 240C mais en surveillant bien la cuisson vers la fin pour éviter que le pain ne soit trop cuit. J’espère que cela vous aidera, si ce n’est pour cette fois, j’espère pour la prochaine. D’ici là, je vous souhaite une très bonne semaine! Del
Claire
Merci pour votre réponse, j’avais fait ainsi et ça marche aussi à 240 ! Le complet monte moins que celui à la farine classique, peut être faut-il le laisser un peu plus… La recette est top en tout cas ! Merci !
du BOT
Bonjour, je voudrais réaliser votre pain cocotte mais vous ne parlez pas de dégazage de pâte, contrairement à d’autre recettes sur le net. Au vu de vos photos votre mie est assez aéré, le dégazage n’est donc pas essentiel ? Merci pour votre réponse. Audrey
Delphine Fortin
Bonjour Audrey! Et toutes mes excuses pour le délai de réponse. Il est parfaitement possible de dégazer rapidement avant de le mettre à cuire mais cette étape n’est cependant pas indispensable et le pain ressortira tout aussi beau mis tel quel dans la cocotte. En espérant avoir répondu à votre question. Del
Karen
Much easier to put the dough in the parchment paper then drop the whole thing in to the hot dutch oven. Will try with some wholewheat, thanks!
COCODILLO
Bonjour. Je trouve ma pate à pain très liquide. Est ce normal ? Est ce un problème de dosage d eau ou bien la pâte prendra corps lorsque elle aura levé ? Merci pour votre réponse et bonne journée.
Delphine Fortin
Bonjour Corinne! Cela arrive en effet certains jours, tandis que d’autres non, et ce avec les mêmes proportions d’ingrédients. La bonne nouvelle c’est que cela fonctionne quand même. Vus pouvez néanmoins rajouter un tout petit peu de farine (mais pas trop) si vous le souhaitez pour que la pâte ait un peu plus de consistance et ne soit plus collante ; c’est pour ma part ce que je fais lorsque cela m’arrive. En espérant avoir répondu à votre question. Bien à vous. Del
Juliette Cuvelier
Bonjour Delphine,
merci pour vos recettes, j’adore votre blog!
j’ai un régime sans gluten. je voulais savoir si vous aviez une recette de pain sans gluten cuit à la cocotte?
merci
Juliette
Delphine Fortin
Bonjour Juliette, très heureuse d’apprendre que le blog vous plaise, merci beaucoup pour vos compliments. Concernant le pain cocotte sans gluten, c’est une version sur laquelle je n’ai pas encore travaillé mais c’est un défi intéressant. Certaines personnes ayant testé avec de la farine sans gluten (souvent un mélange de plusieurs farines) disent avoir obtenu un résultat intéressant niveau texture, bien que le pain n’ait pas levé autant et que bien sûr le goût en était différent. Bien à vous. Del
Hélène S.
Encore superbe et cela doit être savoureux !
Josefina
Merci beaucoup pour partager cette mini sériés avec nous
Je vais réaliser toutes
Par le moment je fait les 2 premières
Je suis contente avec le réussi
Merci
Josefina
Delphine Fortin
Oh super, ravie d’apprendre cela 🙂 N’hésitez pas à partager vos réalisations sur le groupe Facebook “In the kitchen with Del’s cooking twist”, c’est toujours un plaisir !
Thenaisy
Magnifique cette série ! Merci ma Delphine bisous
Delphine Fortin
Ravie qu’elle te plaise, Véro, merci beaucoup! 🙂
LadyMilonguera
Ton pain cocotte est vraiment superbe !
Delphine Fortin
Merci beaucoup ma belle !