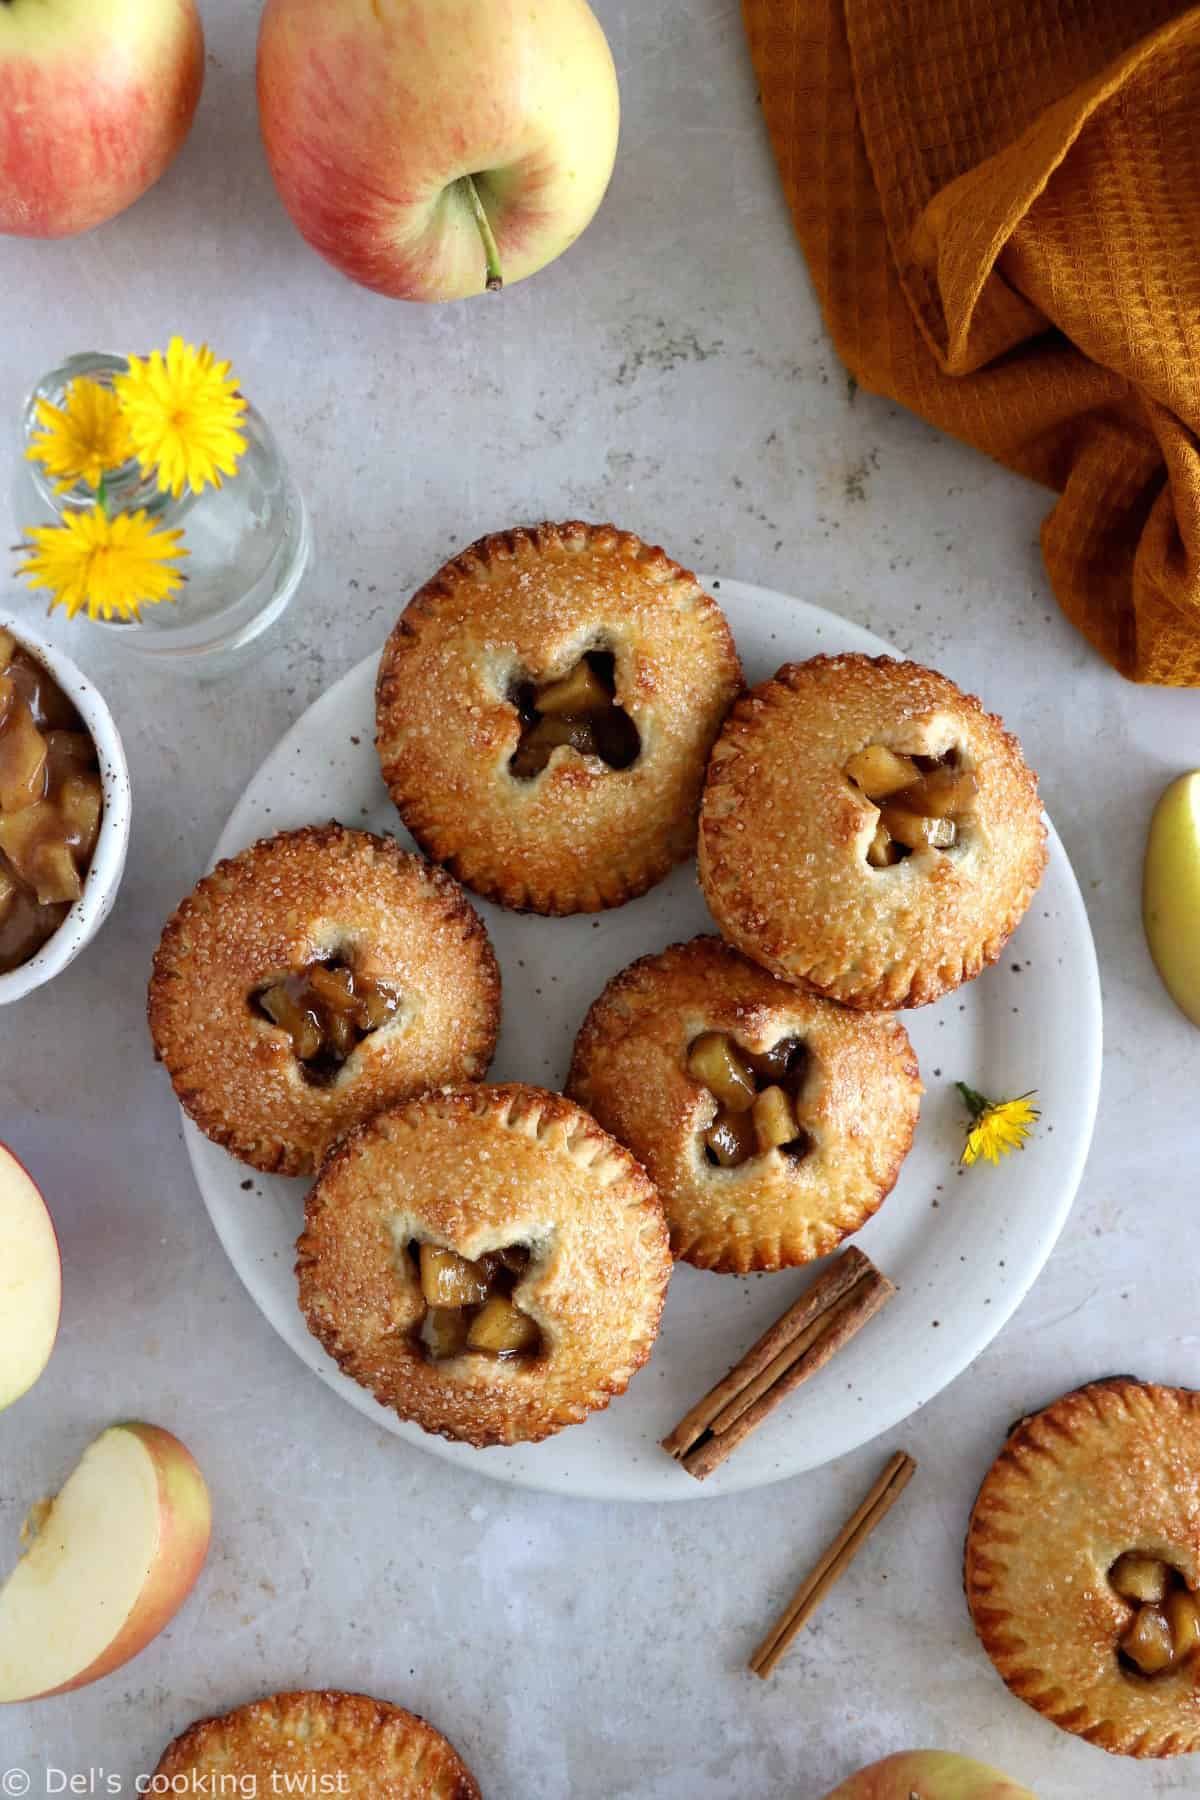
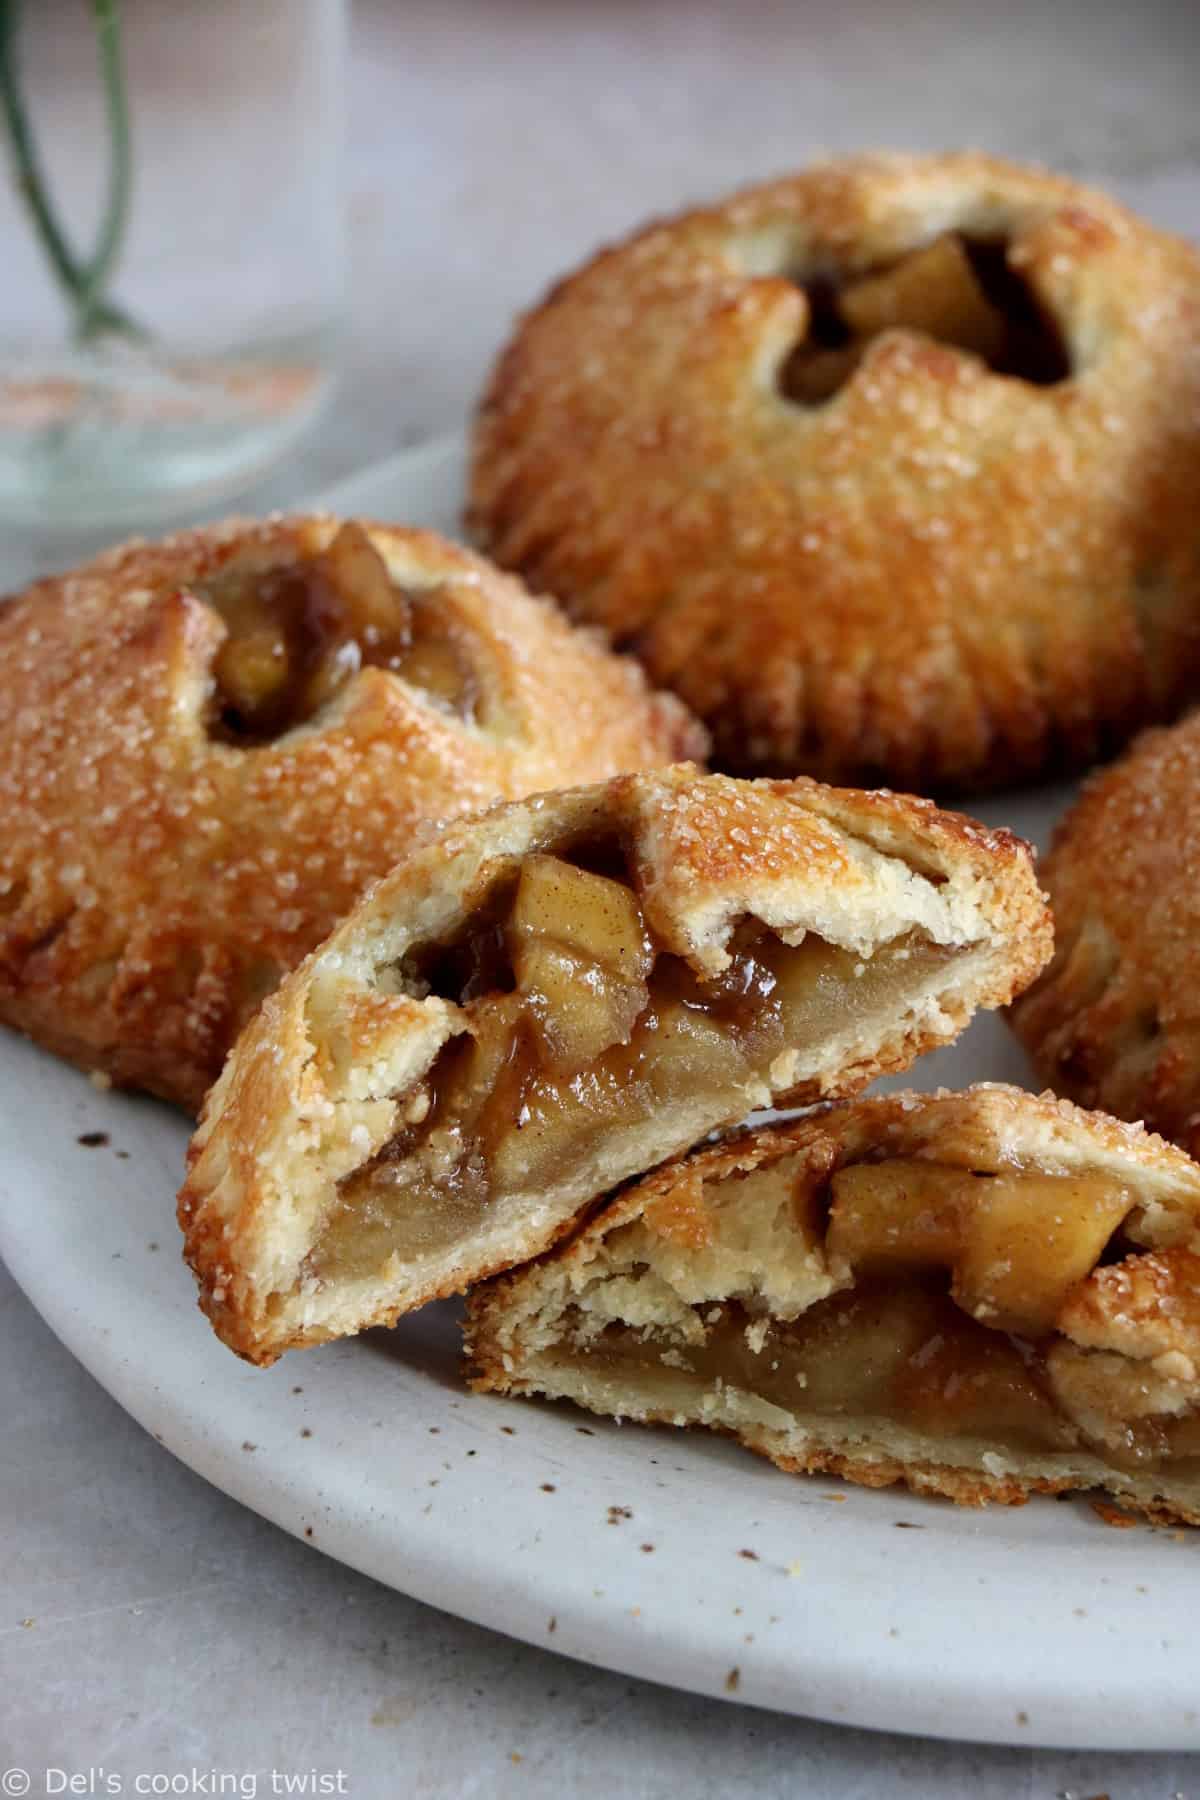
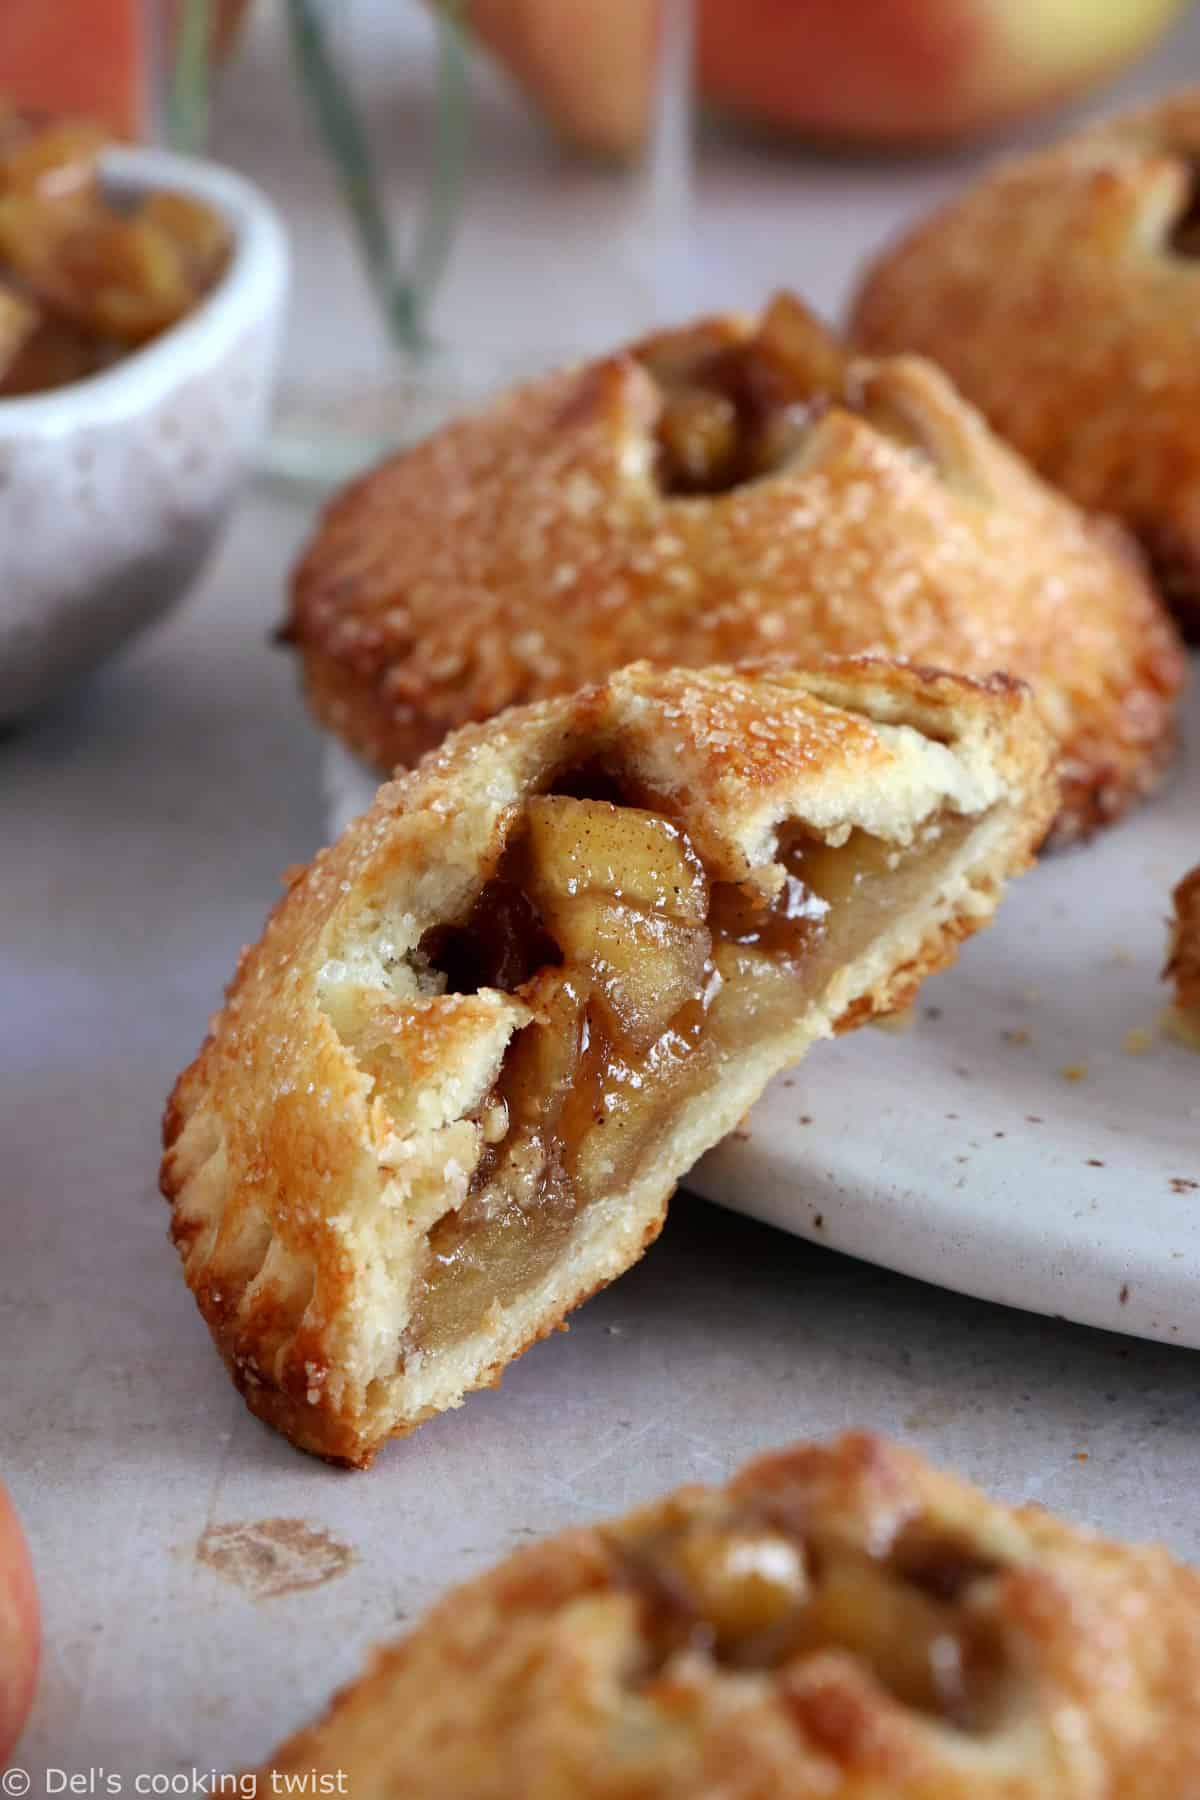
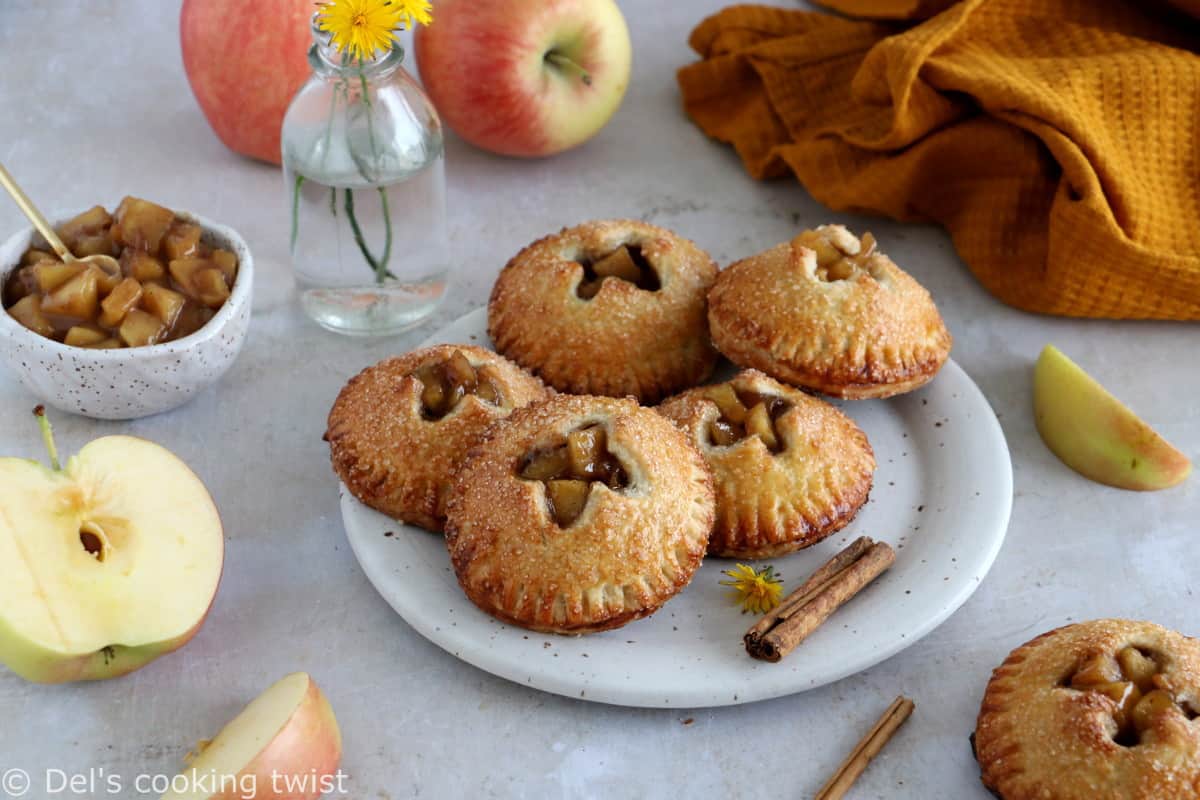
These adorable apple hand pies are like apple pie in individual portions. They feature a sweet apple cinnamon filling tucked inside an irresistible flaky crust sprinkled with sugar. They’re super fun to make and perfect for fall baking.
Email me this recipe
We’ll send it straight to your inbox, along with weekly food inspiration!
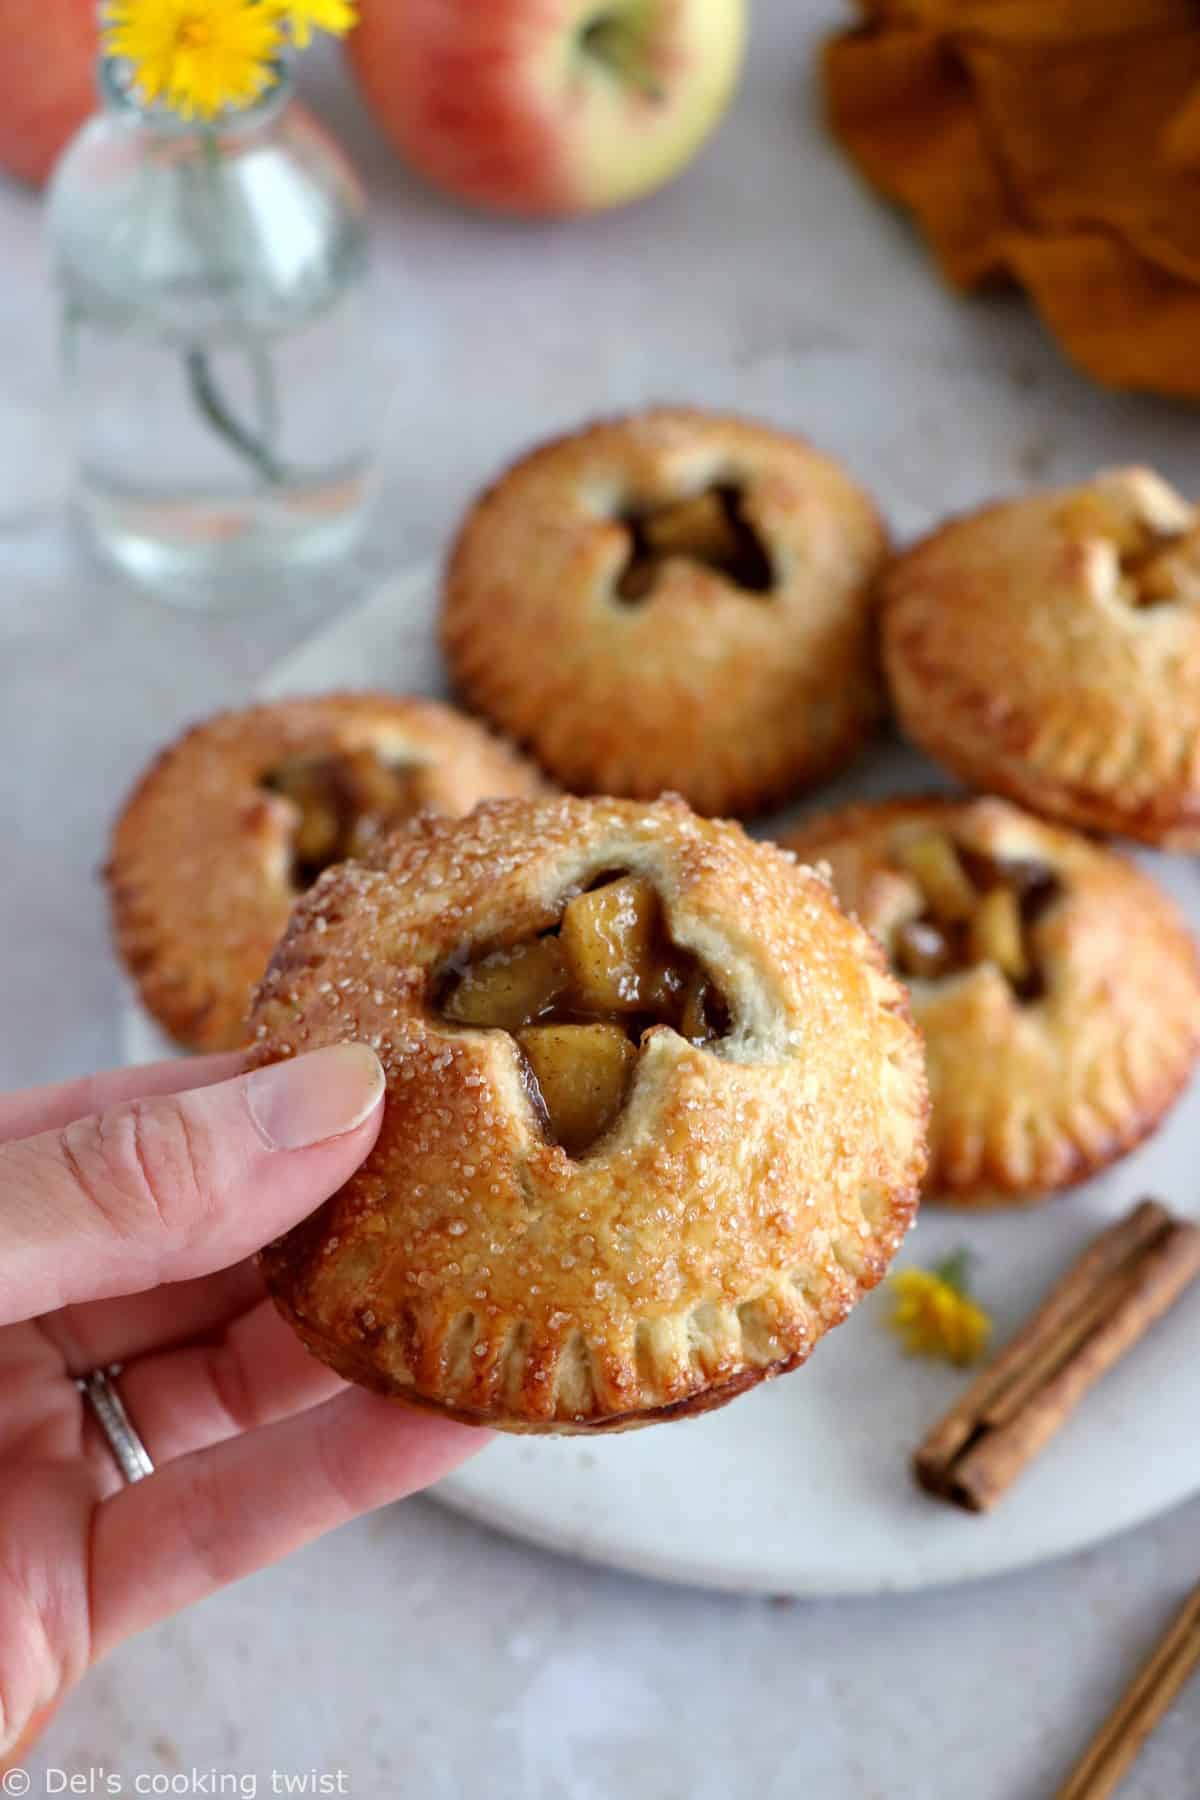
We sometimes call them apple hand pies, mini apple pies, or apple turnover… Whatever you call them, these little flaky pastries filled with apple and spices are always a crowd-pleaser. They’re shaped for a single serving, which makes them super cute and handy!
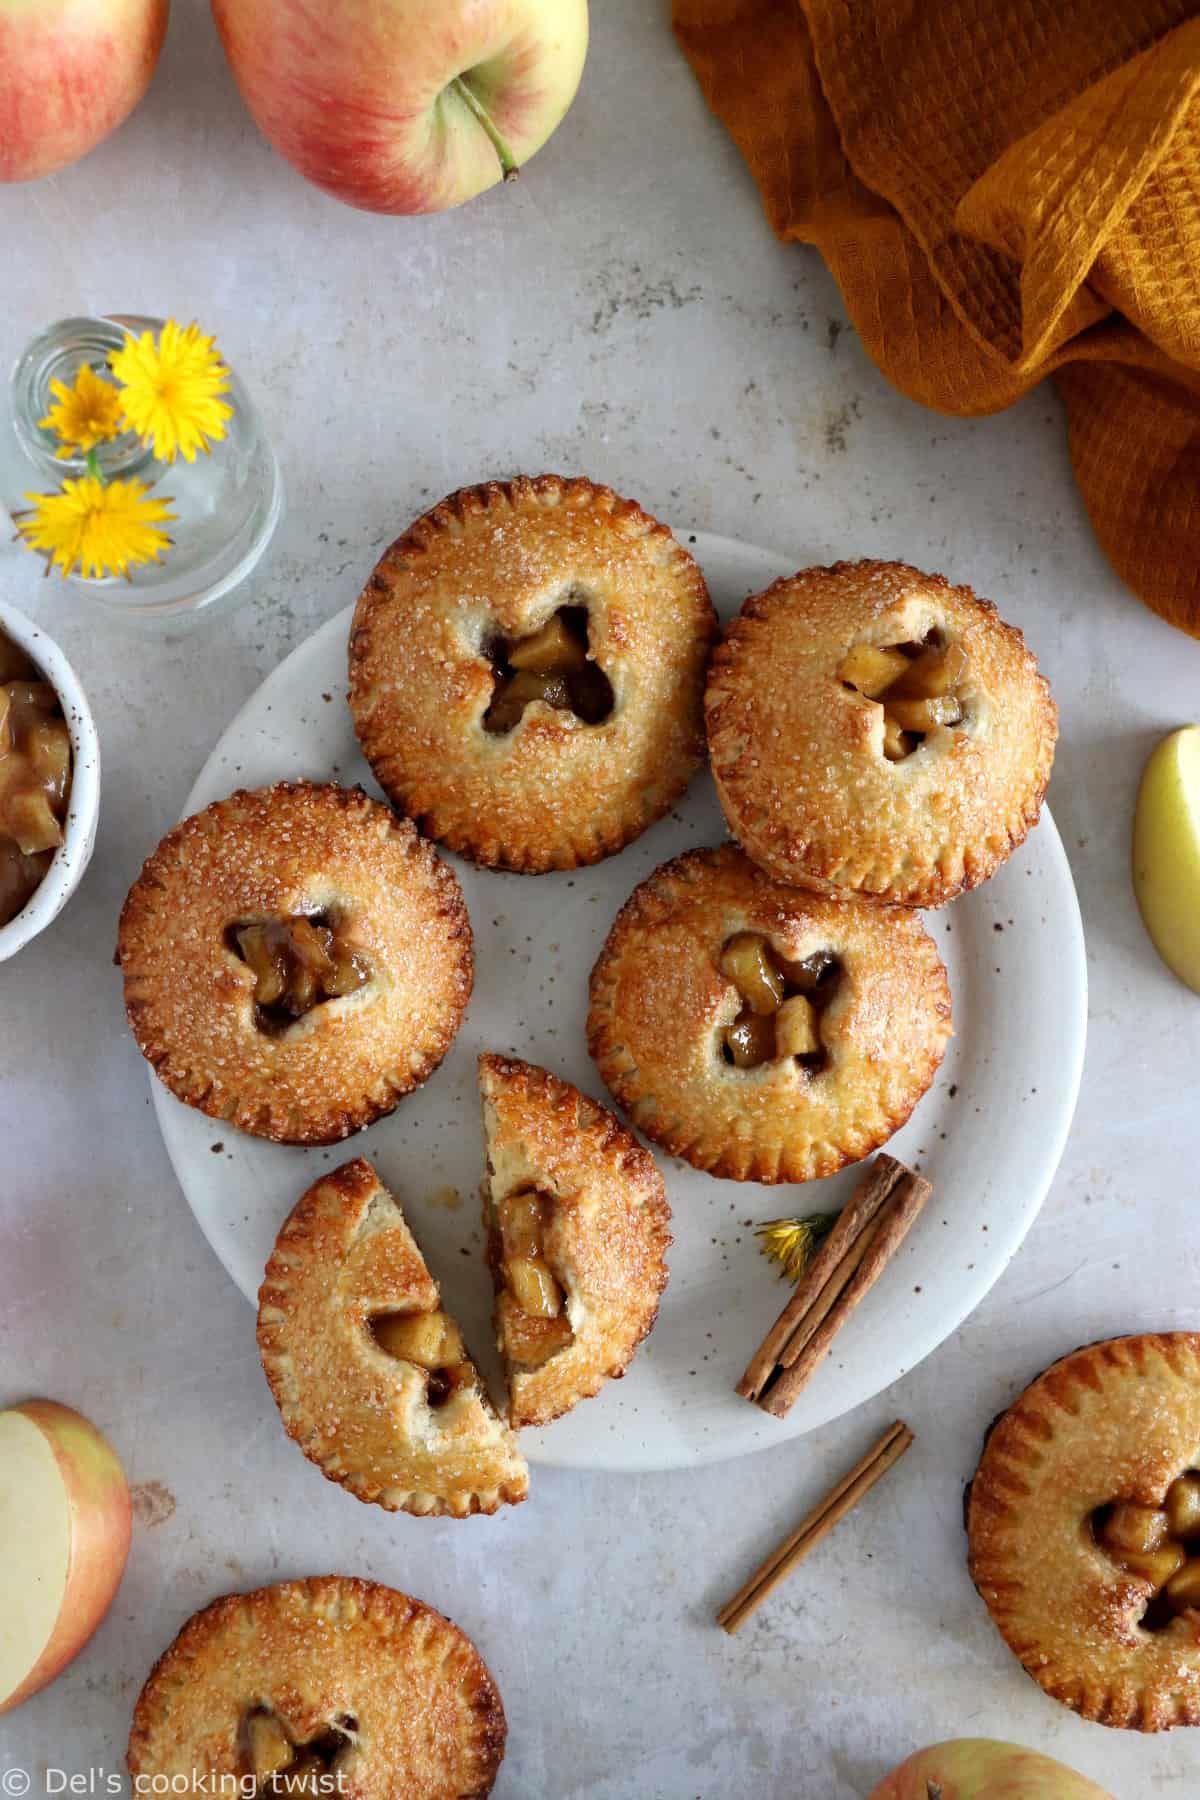
These apple pockets are also super fun to make in various shapes, and you can play with the fillings too. Learn how to make them from scratch and they’ll soon become your favorite fall baking project on a rainy day.
Why you’ll love these apple hand pies
- They’re like mini apple pies (or individual apple pie) ✔
- A rich, buttery, flaky crust sprinkled with sugar ✔
- All the flavors of fall with a sweet apple cinnamon filling ✔
- They’re super fun to make ✔
- You can bring them to potlucks and picnics ✔
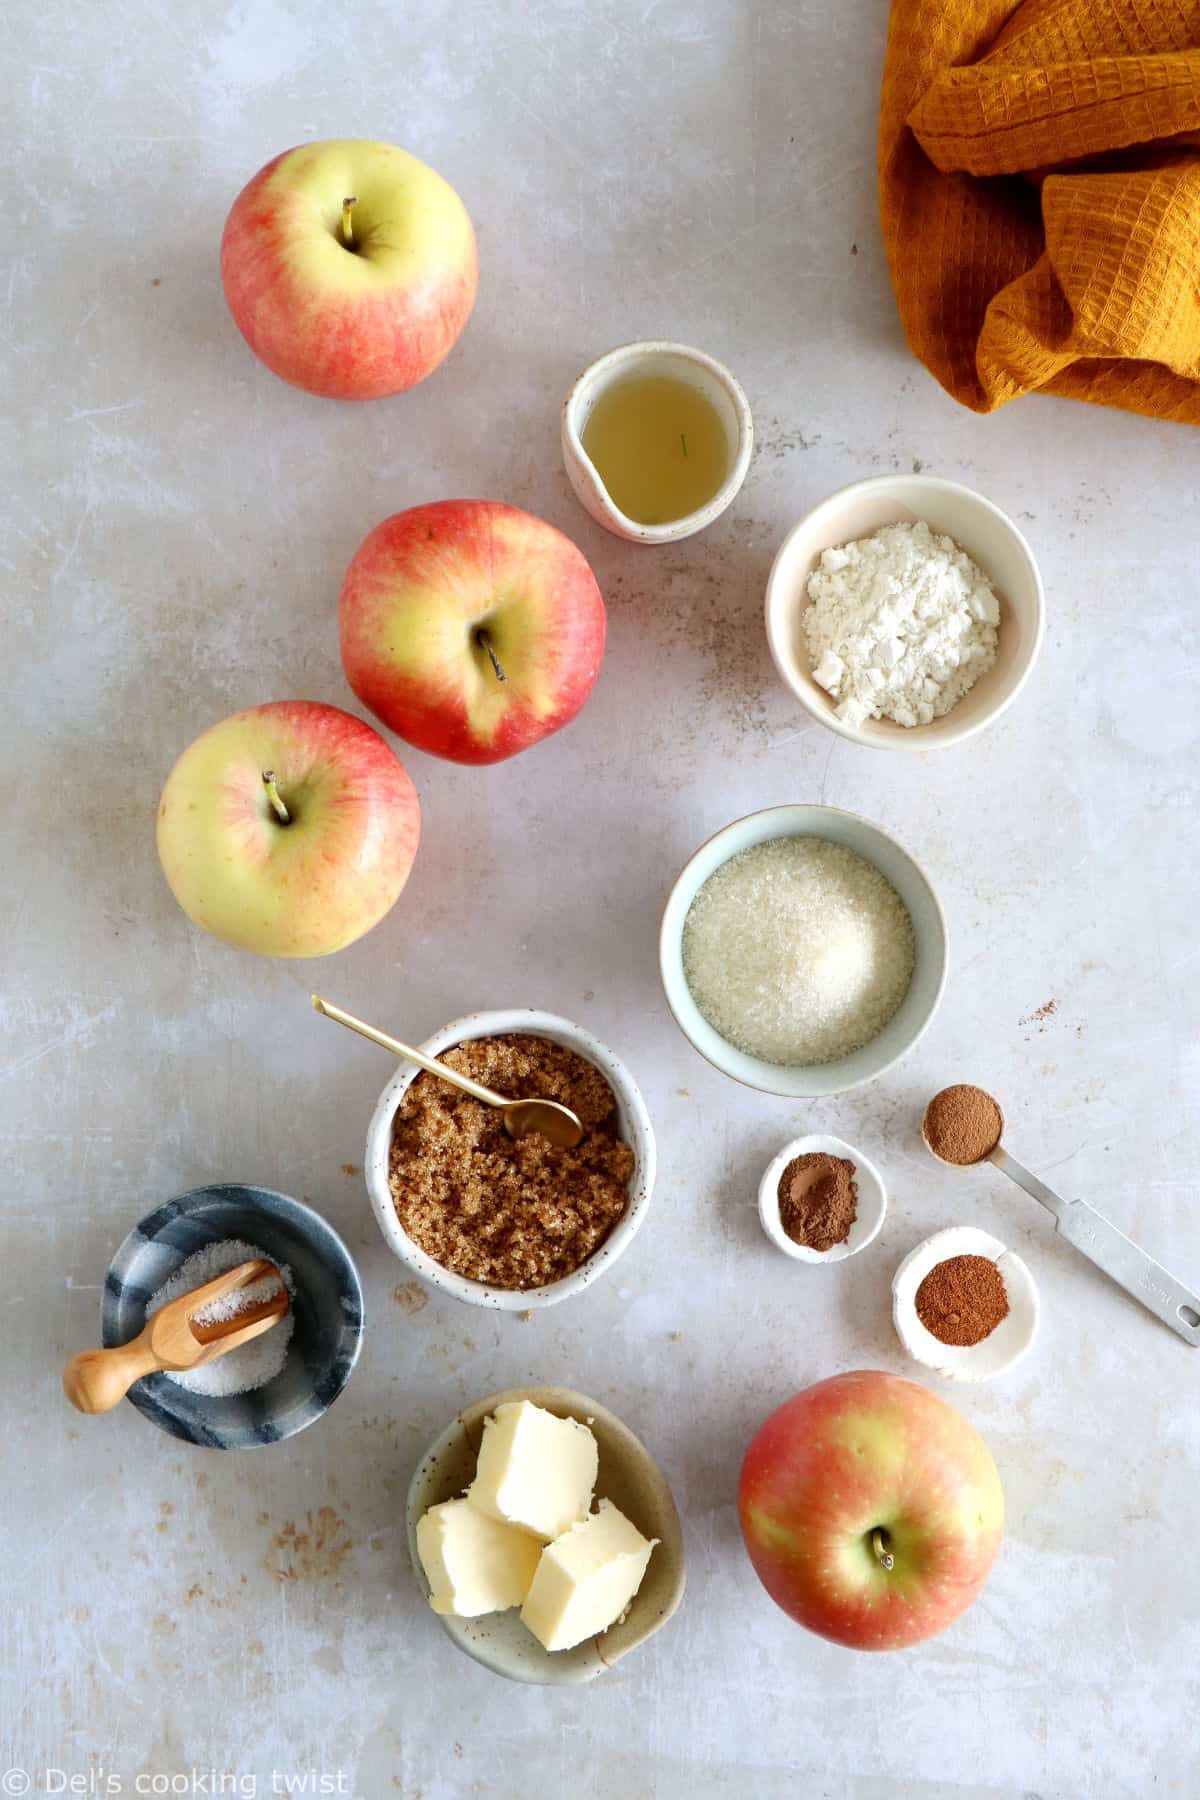
Apple hand pie filling ingredients
- Apples. You can use any apple you like, or mix them for a sweet-tart combination. Honeycrisp, Golden, Granny Smith are just a few ideas that work well in an apple pie.
- Unsalted butter. You need it to cook the apples and make them soft and tender. My tip: melt the butter until slightly brown for a subtle caramelized touch.
- Spices (cinnamon, nutmeg, allspice). If you are sensitive to spices, you can use cinnamon only, or replace them all with 2 teaspoons vanilla extract instead.
- White + brown sugar. The combination of both sugars adds some caramelized notes to the apple filling. Delicious!
- Lemon juice. I love the addition of lemon juice for a touch of acidity. You can also drizzle some lemon juice over the uncooked diced apples to prevent them from browning. Another possible option consists in using apple cider vinegar instead of lemon juice.
- All-purpose flour. It helps the filling to thicken, don’t skip it.
A few words about the crust
I used my galette crust recipe, that I use for many fruit tarts and galettes. The recipe is very straightforward, sweet and irresistibly crunchy. I’ve been using this recipe for years and it always leave my guests with a Wow expression on their face. I’m confident you will love it too. The only thing you need to think about is chilling the dough in the refrigerator before using.
How to shape these apple hand pies?
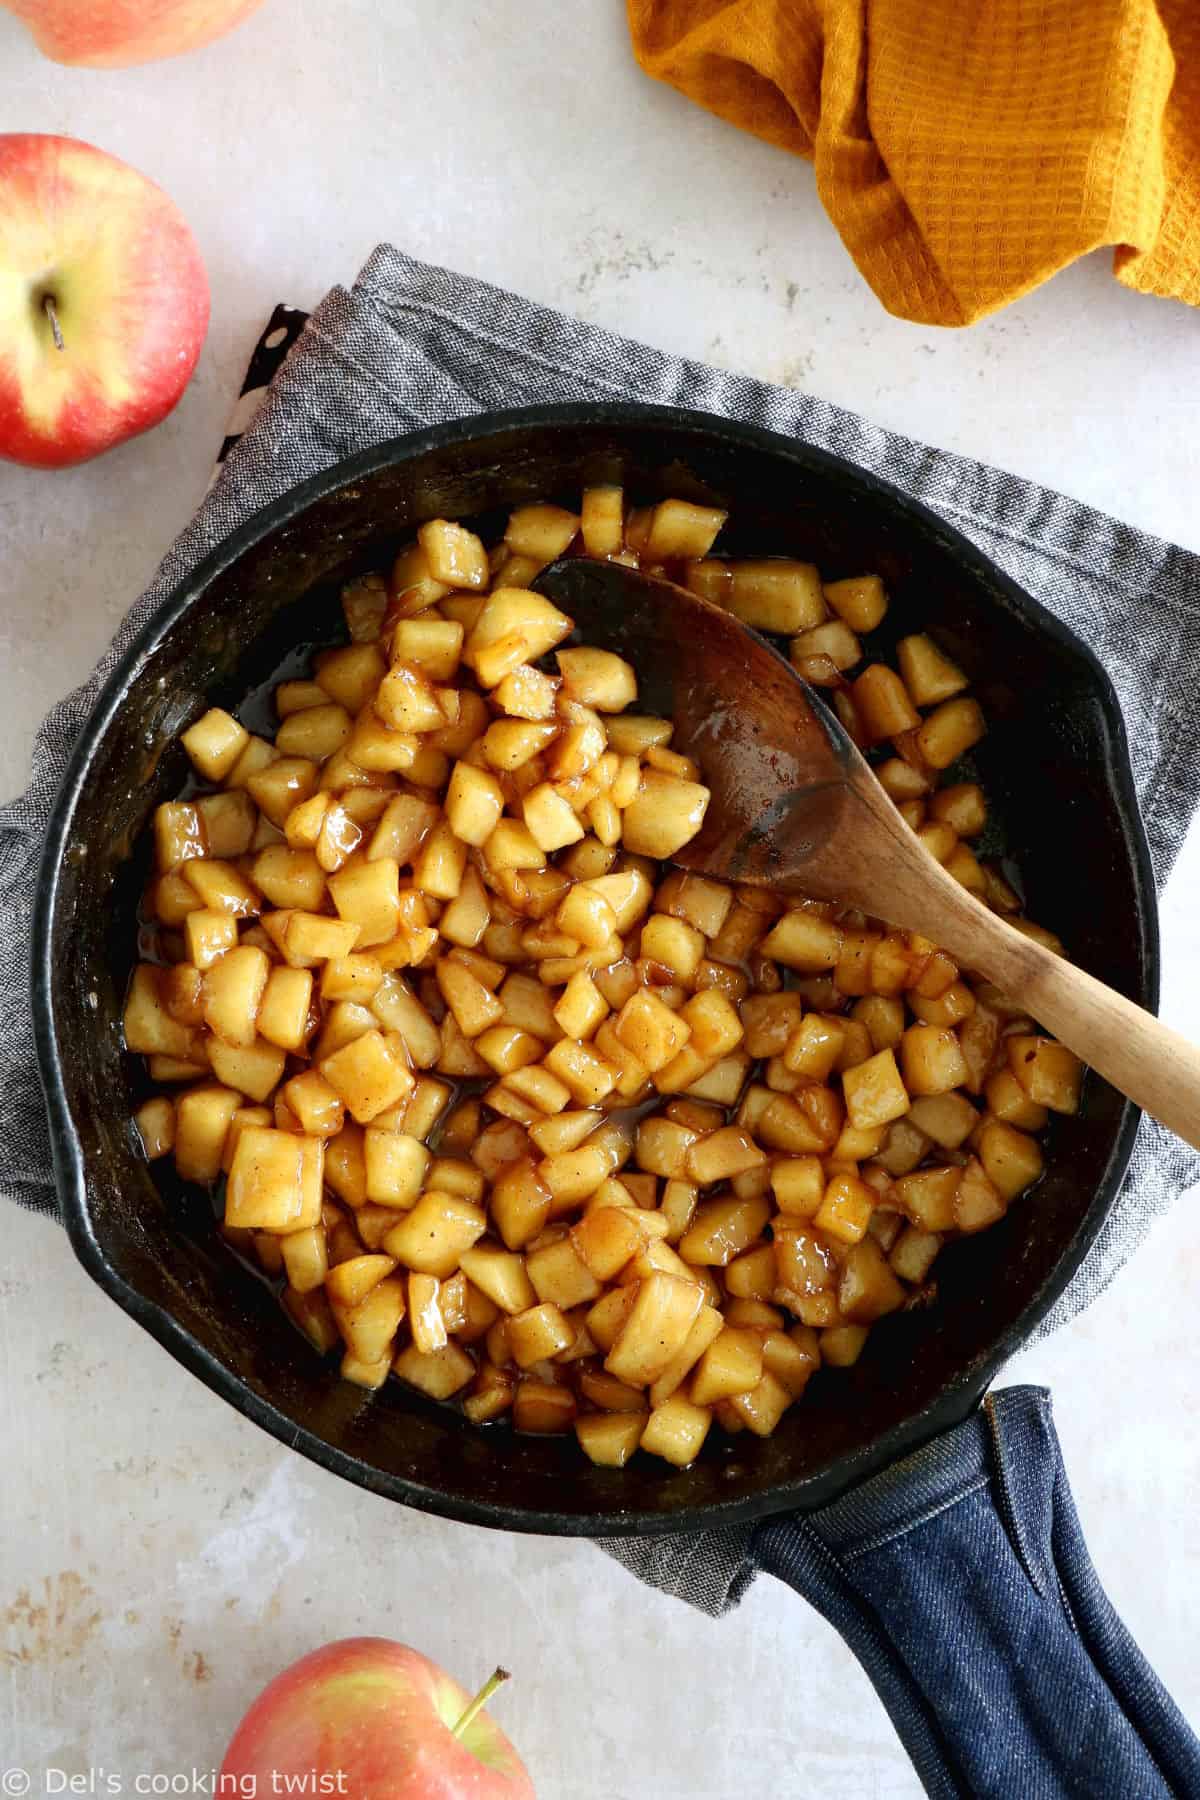
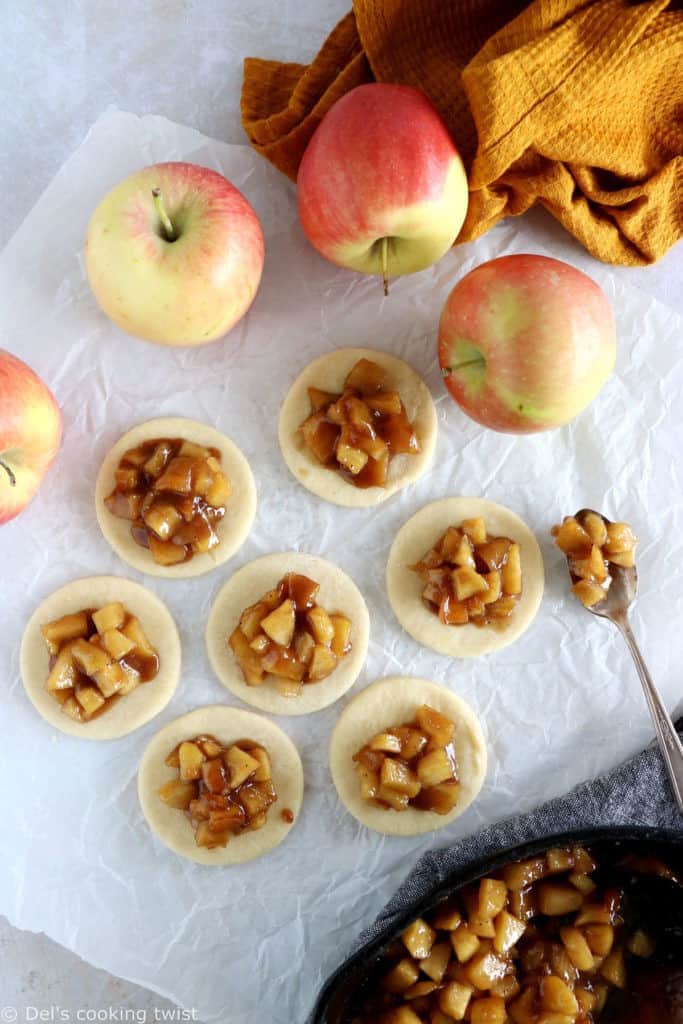
- Roll out the first chilled dough, and cut 12-circles, using a 3.5-inch/9cm cookie cutter (these are the bottom crusts).
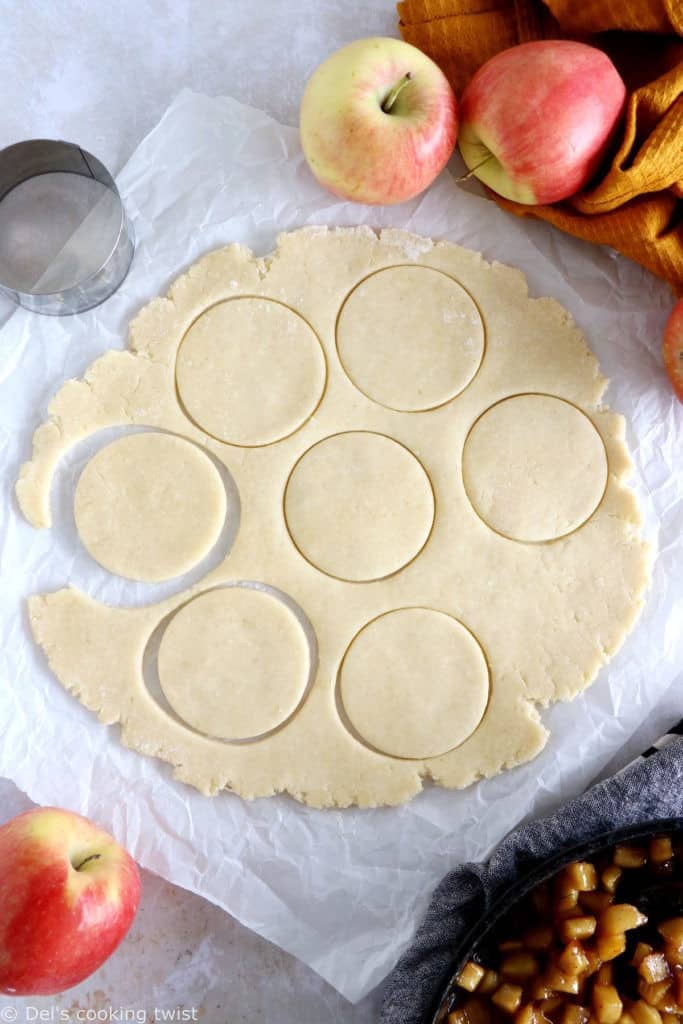
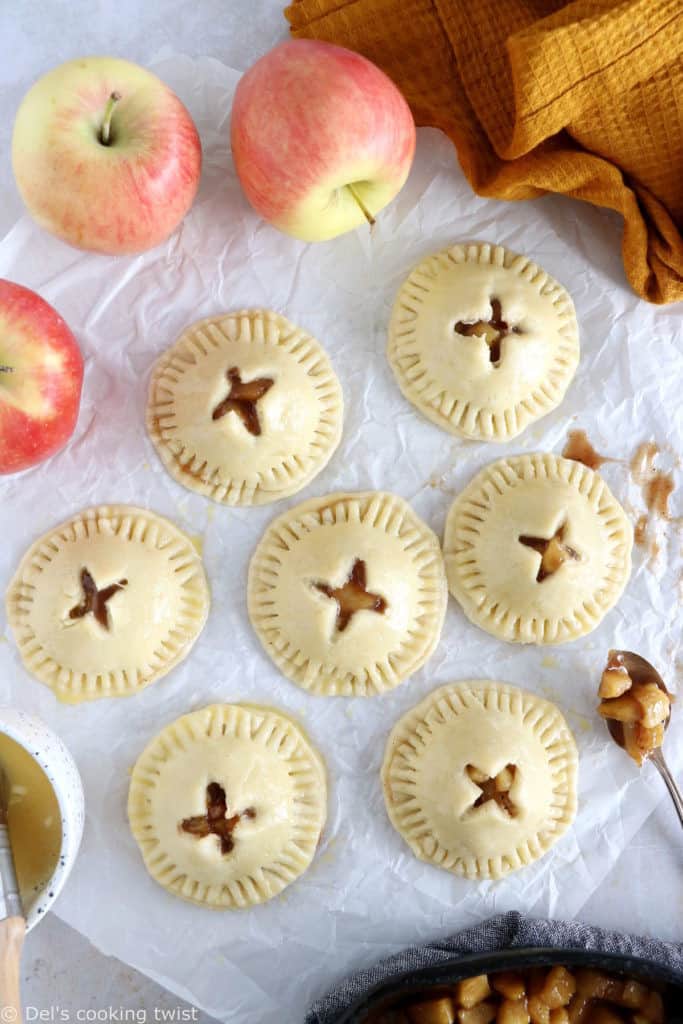
- Roll out the second dough, cut the remaining 12 circles, and cut slits into each of them, using a small knife (these are the top crusts).
- Divide the apple filling into the first 12 circles (no slits), leaving a border all around. Gently brush the edge with water.
- Cover with the remaining 12 circles (with a slit), and crimp with a fork.
- Brush with egg wash, and sprinkle with coarse sugar on top. Refrigerate for 15 minutes before baking.
Pro tips
Cut the apples into bite-size pieces. Remember that hand pies are pretty small and you want to make sure the apple fit in the center. To do so, ensure you dice the apple into bite-size pieces.
Always work with a chilled dough. The chilling time before using the dough is mandatory, don’t skip this step. Then at any step of the recipe, you can pop the dough in the refrigerator or in the freezer if you feel it’s getting a little too warm and too soft. I also recommend you place the ready-to-baked hand pies in the refrigerator before baking.
Make a few slits to vent. Cut slits into each of the top circles (or any other shape you chose), using a small knife, so that steam can escape while baking. You can either do a little cross pattern like I did, make two parallel slits, or even use small cookie cutters to cut out tiny designs.
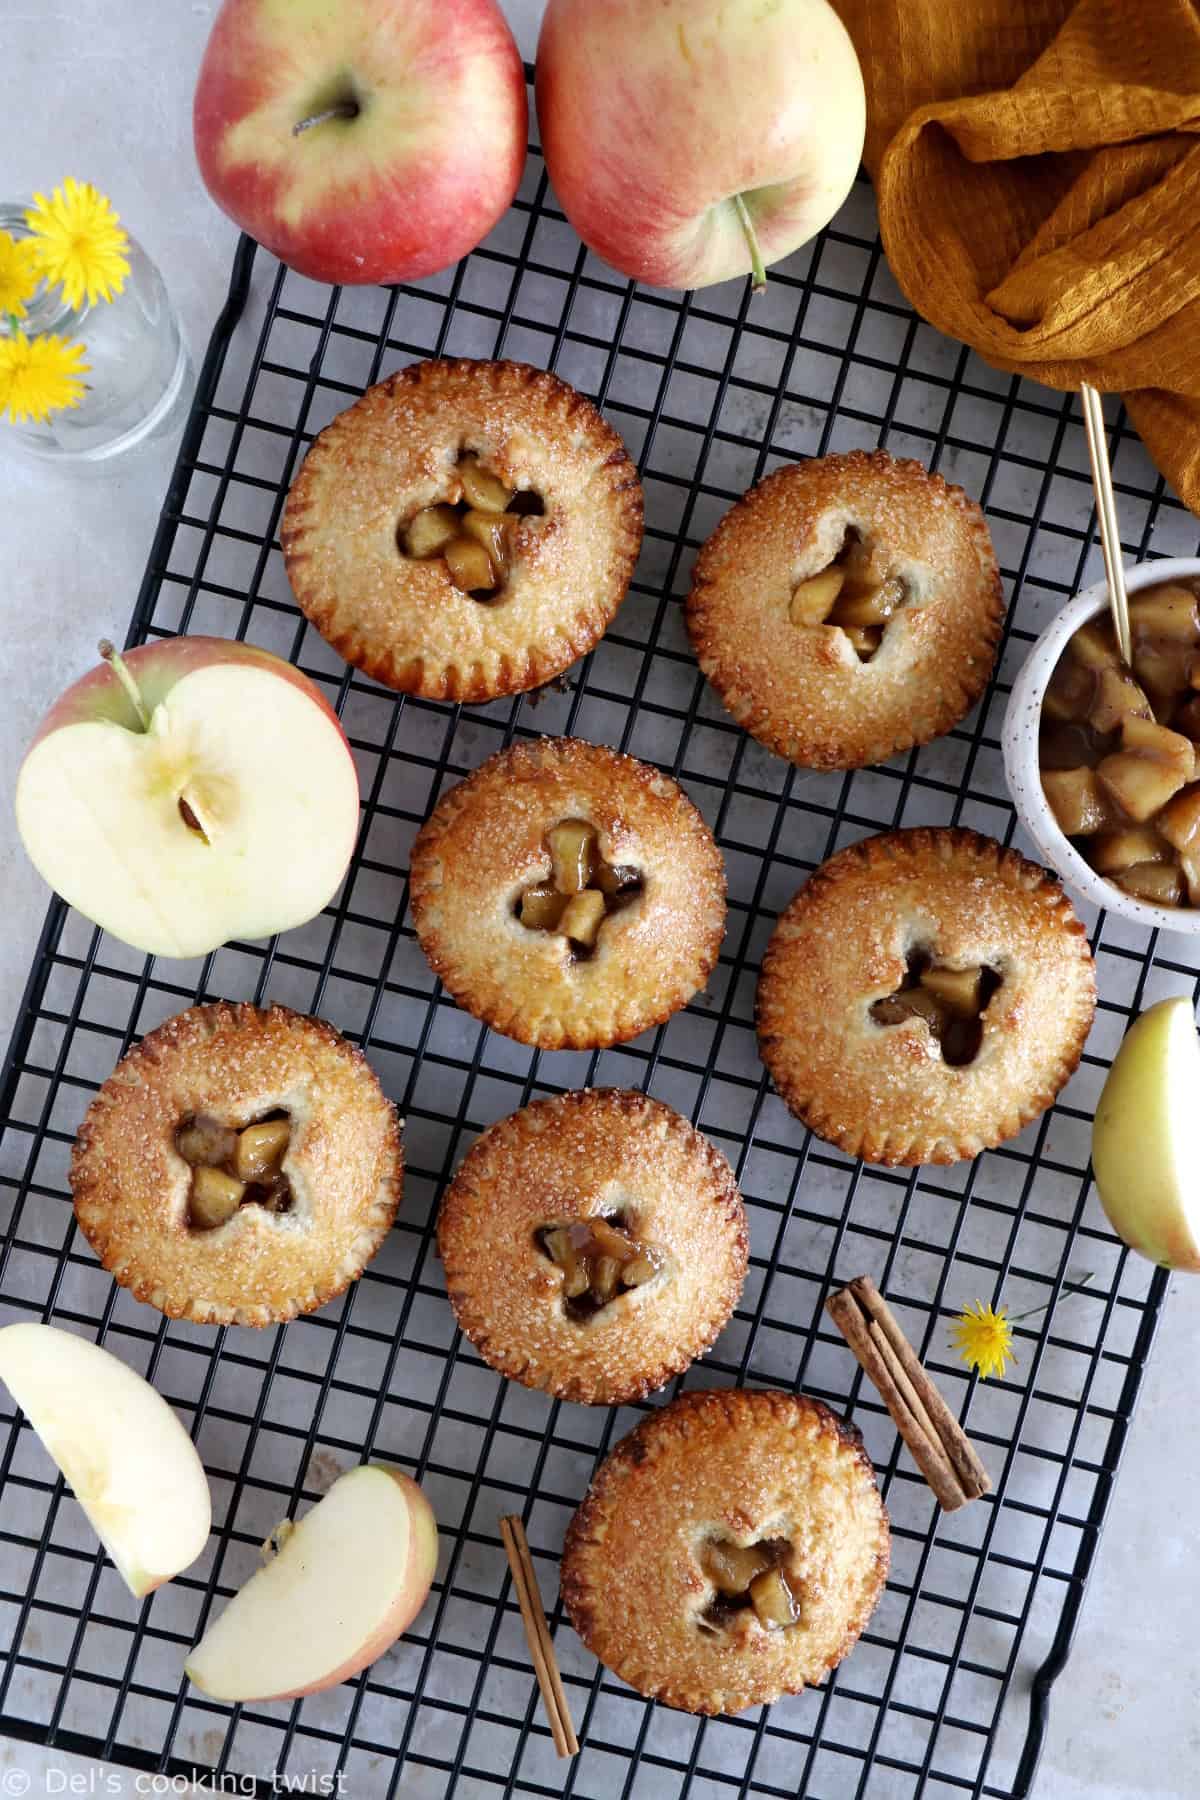
Sprinkle with sugar. I highly recommend sprinkling some coarse sugar over the crust after you brushed them lightly with egg wash. It makes the crust extra crunchy and just irresistible.
FAQ
How to make the recipe in advance? You can prepare the dough up to 5 days in advance and keep it refrigerated until ready to use, or you can freeze it for 3 months (double wrapped in cling film, and then thawed at room temperature). The apple filling can also be prepared up to 2 days in advance, and kept in an airtight container in the refrigerator.
Can I freeze apple hand pies? Yes, you can freeze them once baked and completely cooled. Simply place them in a large ziploc bag and freeze for up to 3 months. Thaw in the refrigerator, then pop in the oven (preheated at 350°F/180°C) for 5 minutes. And voilà!
Can I make a regular apple pie with this recipe? You could, but I suggest you make my Classic Apple Pie instead.
Is it possible to scale the recipe? Absolutely. You can either divide the dough recipe in half (use the dough proportions following this recipe) and make half of the apple filling, or you can double the recipe to feed a crowd.
Recipe variations: fillings and shapes
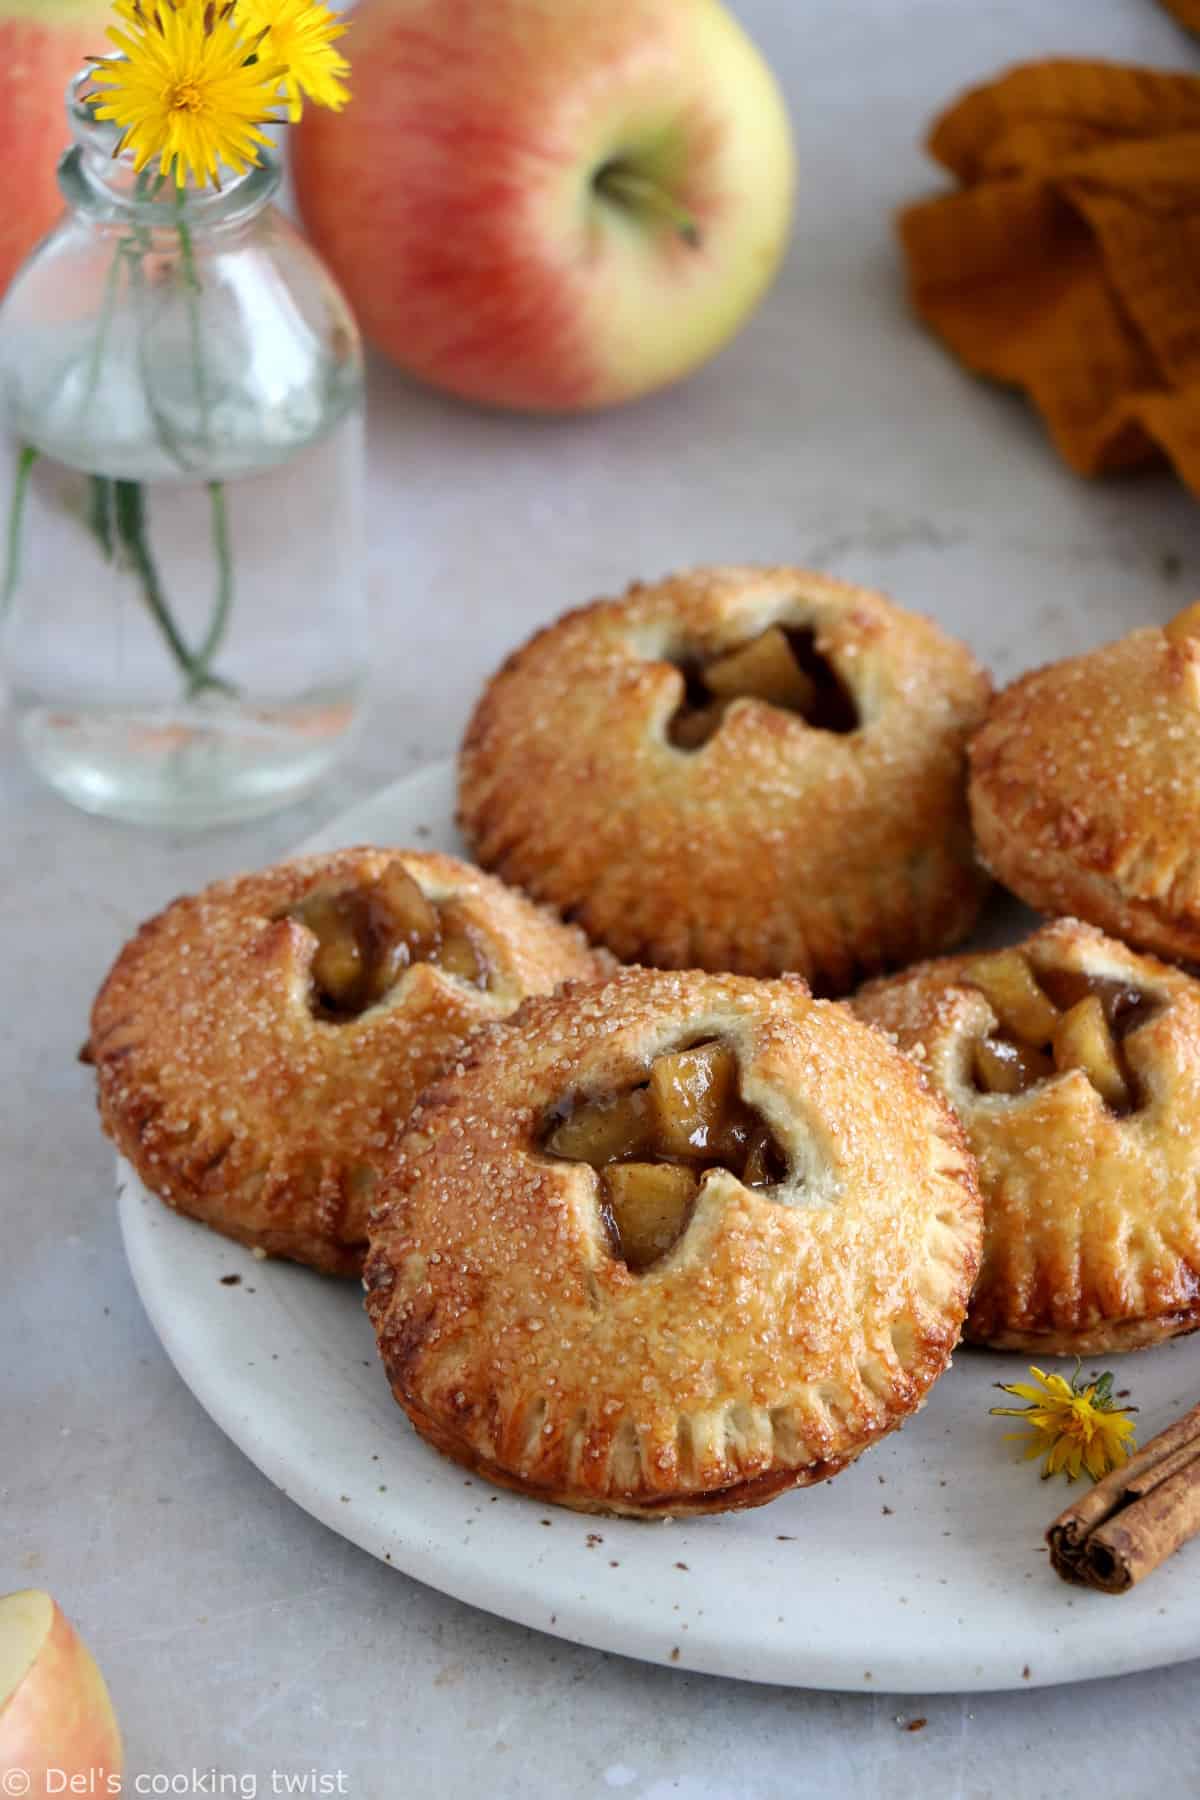
You can easily create hand pie variations, using different cookie cutters, such as rectangles, heart shapes or any other shape of your choice. You don’t have any cookie cutter? Use a glass, or simply roll out the doughs into 2 large rectangles and divide into equal rectangles, they will become your shapes.
As for the filling, you can replace the apple pie filling with an apple-pear filling, an apple-blackberry filling, or even cherry filling for a summer version.
More apple desserts:
- Classic Apple Pie (readers’ favorite)
- Best Apple Crisp Recipe
- Whole Wheat Apple Bread
- Chai Spice Dutch Apple Pie
Other fall pies you may like:
Apple Hand Pies
- Prep Time: 1 hour
- Cook Time: 25 mins
- Total Time: 1 hour 25 minutes
- Yield: 12 hand pies 1x
- Category: Cakes and pies
- Cuisine: American
These adorable apple hand pies are like apple pie in individual portions. They feature a sweet apple cinnamon filling inside an irresistible flaky crust sprinkled with sugar. They’re super fun to make and perfect for fall baking.
Email me this recipe
We’ll send it straight to your inbox, along with weekly food inspiration!
Ingredients
For the crust:
- 3 cup (380g) all-purpose flour
- ½ teaspoon salt
- ½ cup (100g) granulated sugar + extra for sprinkling
- 1 cup (230g) cold unsalted butter, diced
- ½ cup (120 ml) ice water, plus more as needed
- 1 egg, beaten, for brushing
For the filling:
- 4 small apples, peeled, cored and diced into small pieces*
- 3 Tablespoons (45g) unsalted butter
- ¼ cup (50g) white sugar
- ¼ cup (45g) light brown sugar
- 1 teaspoon ground cinnamon
- ¼ teaspoon ground nutmeg
- ¼ teaspoon ground allspice
- A pinch of salt
- 2 teaspoons lemon juice
- 2 Tablespoons all-purpose flour
Instructions
For the crust:
- Whisk the flour, sugar and salt together in a medium bowl. Cut in the cold butter until the mixture resembles coarse, pea-sized crumbs. Add ice cold water, and gently knead the dough a few times in the bowl until it all comes together.
- Divide in 2 equal parts, flatten each ball into a thick disk, and wrap them separately in plastic wrap. Refrigerate for 30 minutes to 1 hour.
Filling and assembling:
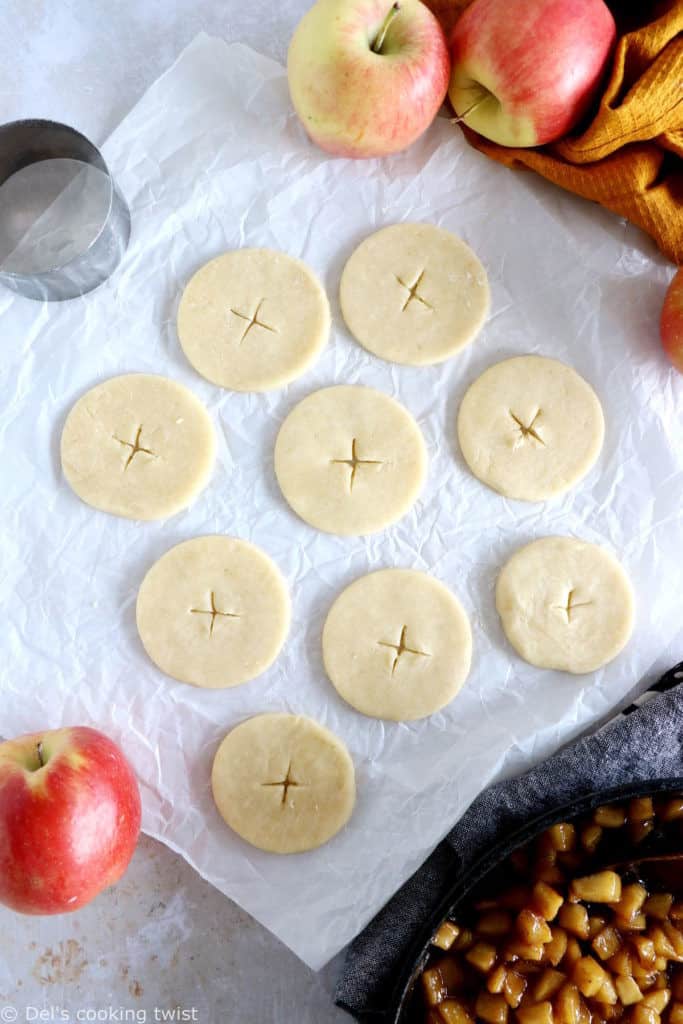
- Melt the butter in a large skillet over medium heat. Add diced apples, and cook for about 5-8 minutes, stirring often, until apples are soft and tender. Mix in white and brown sugar, cinnamon, nutmeg, all spice, and a pinch of salt. Pour in the lemon juice, and continue cooking for about 2 minutes, until apples are soft and sticky. Add the flour, mix well, and allow mixture to thicken. Remove from heat and let cool at room temperature for 30 minutes.
- Preheat the oven to 375°F (190°C) and line a large baking sheet with parchment paper.
- On a lightly floured work surface, roll out the first chilled dough. Using a 3.5-inch/9cm cookie cutter**, cut into 12 circles (these are the bottom crusts). Re-roll any scraps as needed, and transfer to the baking sheet. Repeat with the second pie dough, and cut slits into each of the remaining 12 circles, using a small knife, so that steam can escape while baking***.
- Divide the apple filling into the 12 bottom circles (no slits), leaving a border all around. Gently brush the edge with water, then cover with the remaining 12 circles (with a slit). Press your fingers all around the edges to seal, then crimp with a fork. Lightly brush the top with egg wash, and sprinkle with coarse sugar. Refrigerate for 15 minutes.
- Bake for 25 minutes or until hand pies are golden brown, rotating the pan halfway through baking. Remove from the oven and let cool for about 10 minutes before serving.
Notes
* You can use any apples you like (Granny Smith, Honeycrisp, Gala, Fuji, Golden, etc.). Make sure you dice apple into small pieces that will fit inside the circles.
** In order to get 12 hand pies, you need a 3.5-inch (9 cm) round cookie cutter or slightly smaller.
*** If at any time the dough becomes too soft or warm, place it in the refrigerator for about 10 minutes before using it again and cut circles.
Did you make this recipe?
Lastly, if you make this Apple Hand Pies, be sure to leave a comment and give this recipe a rating, letting me know how you liked it. And of course, don’t forget to tag me on Instagram! Thank you and enjoy!
