Based on the world-famous no-knead bread recipe, this multiseed version is equally easy to prepare and is perfect for breakfast.
Email me this recipe
We’ll send it straight to your inbox, along with weekly food inspiration!
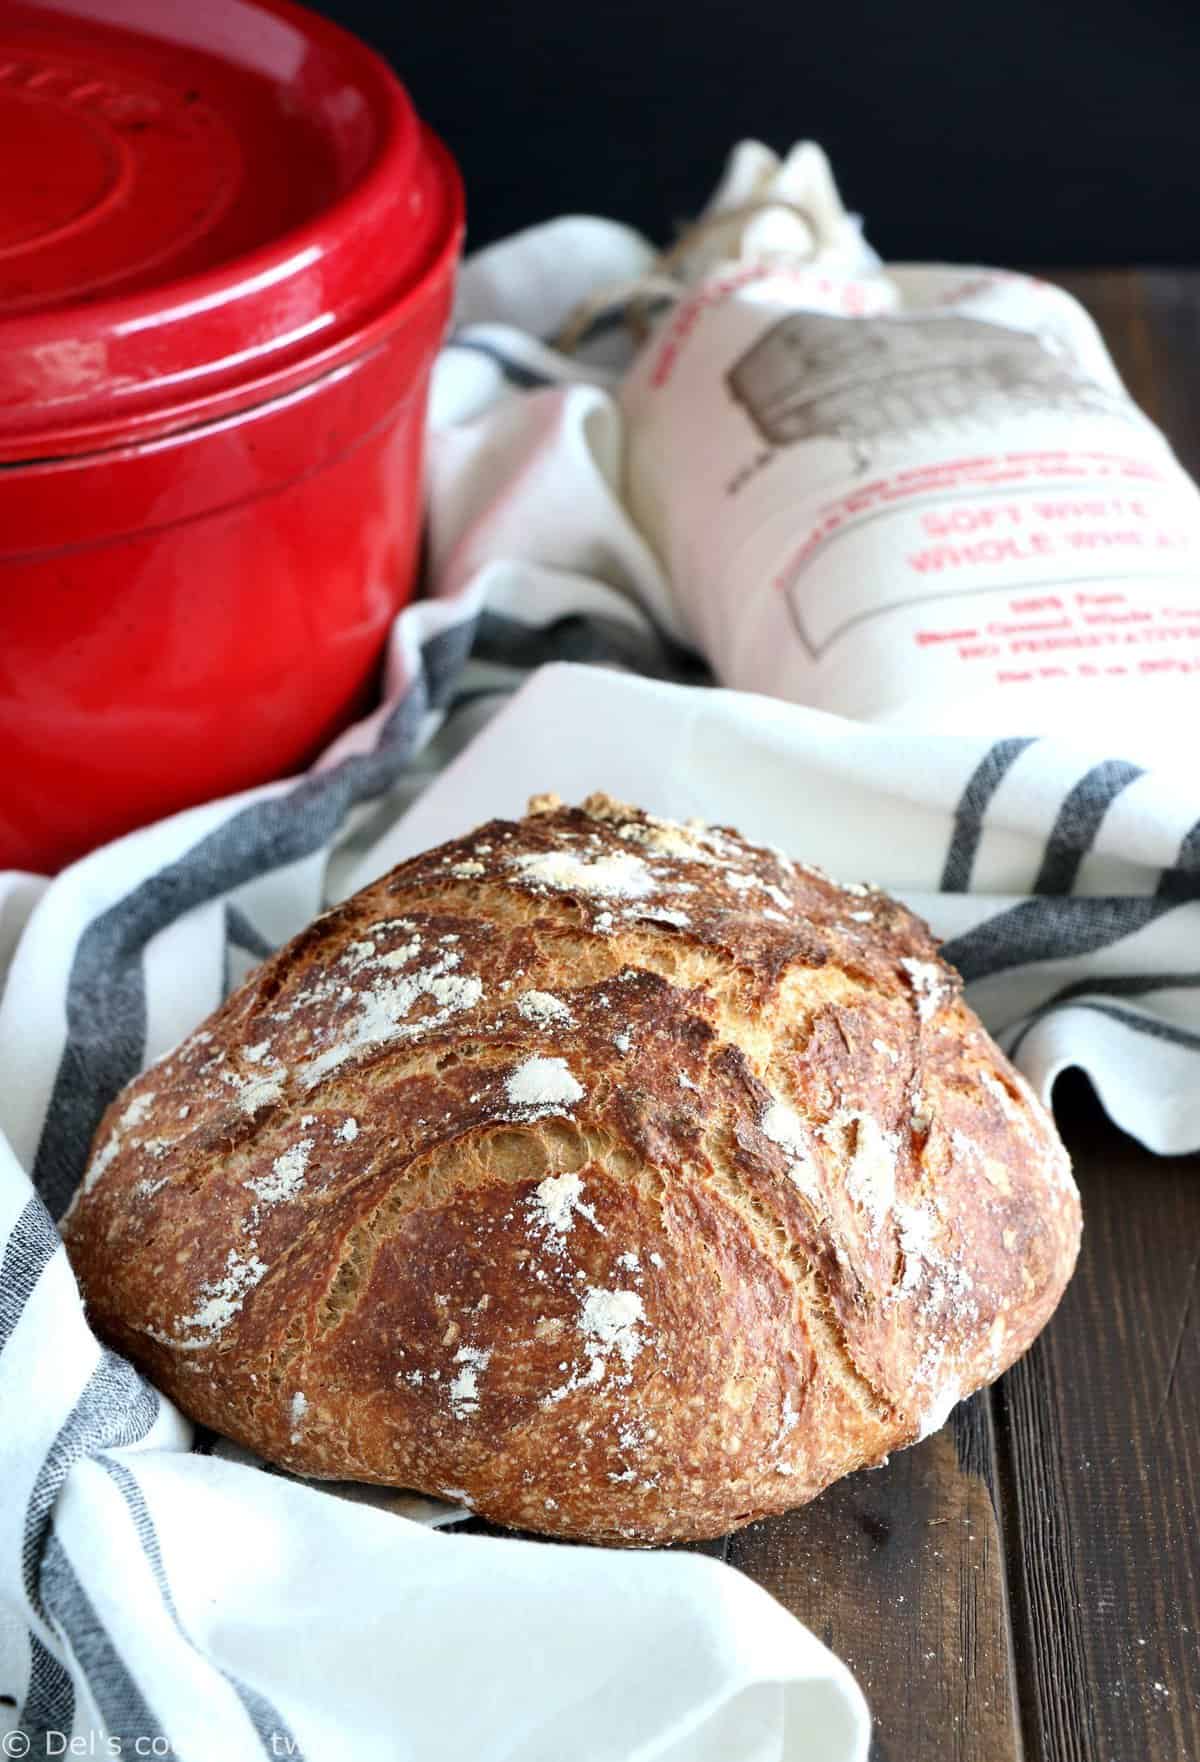
We are now day #2 of our bread week on the blog! We started our mini series yesterday with the world famous easy classic no-knead bread recipe, a fantastic bread that everyone can prepare at home in no time and most importantly with absolutely no effort. As its name says, the recipe doesn’t call for kneading the dough, unlike most bread recipes, which clearly makes it ridiculously easy to prepare.
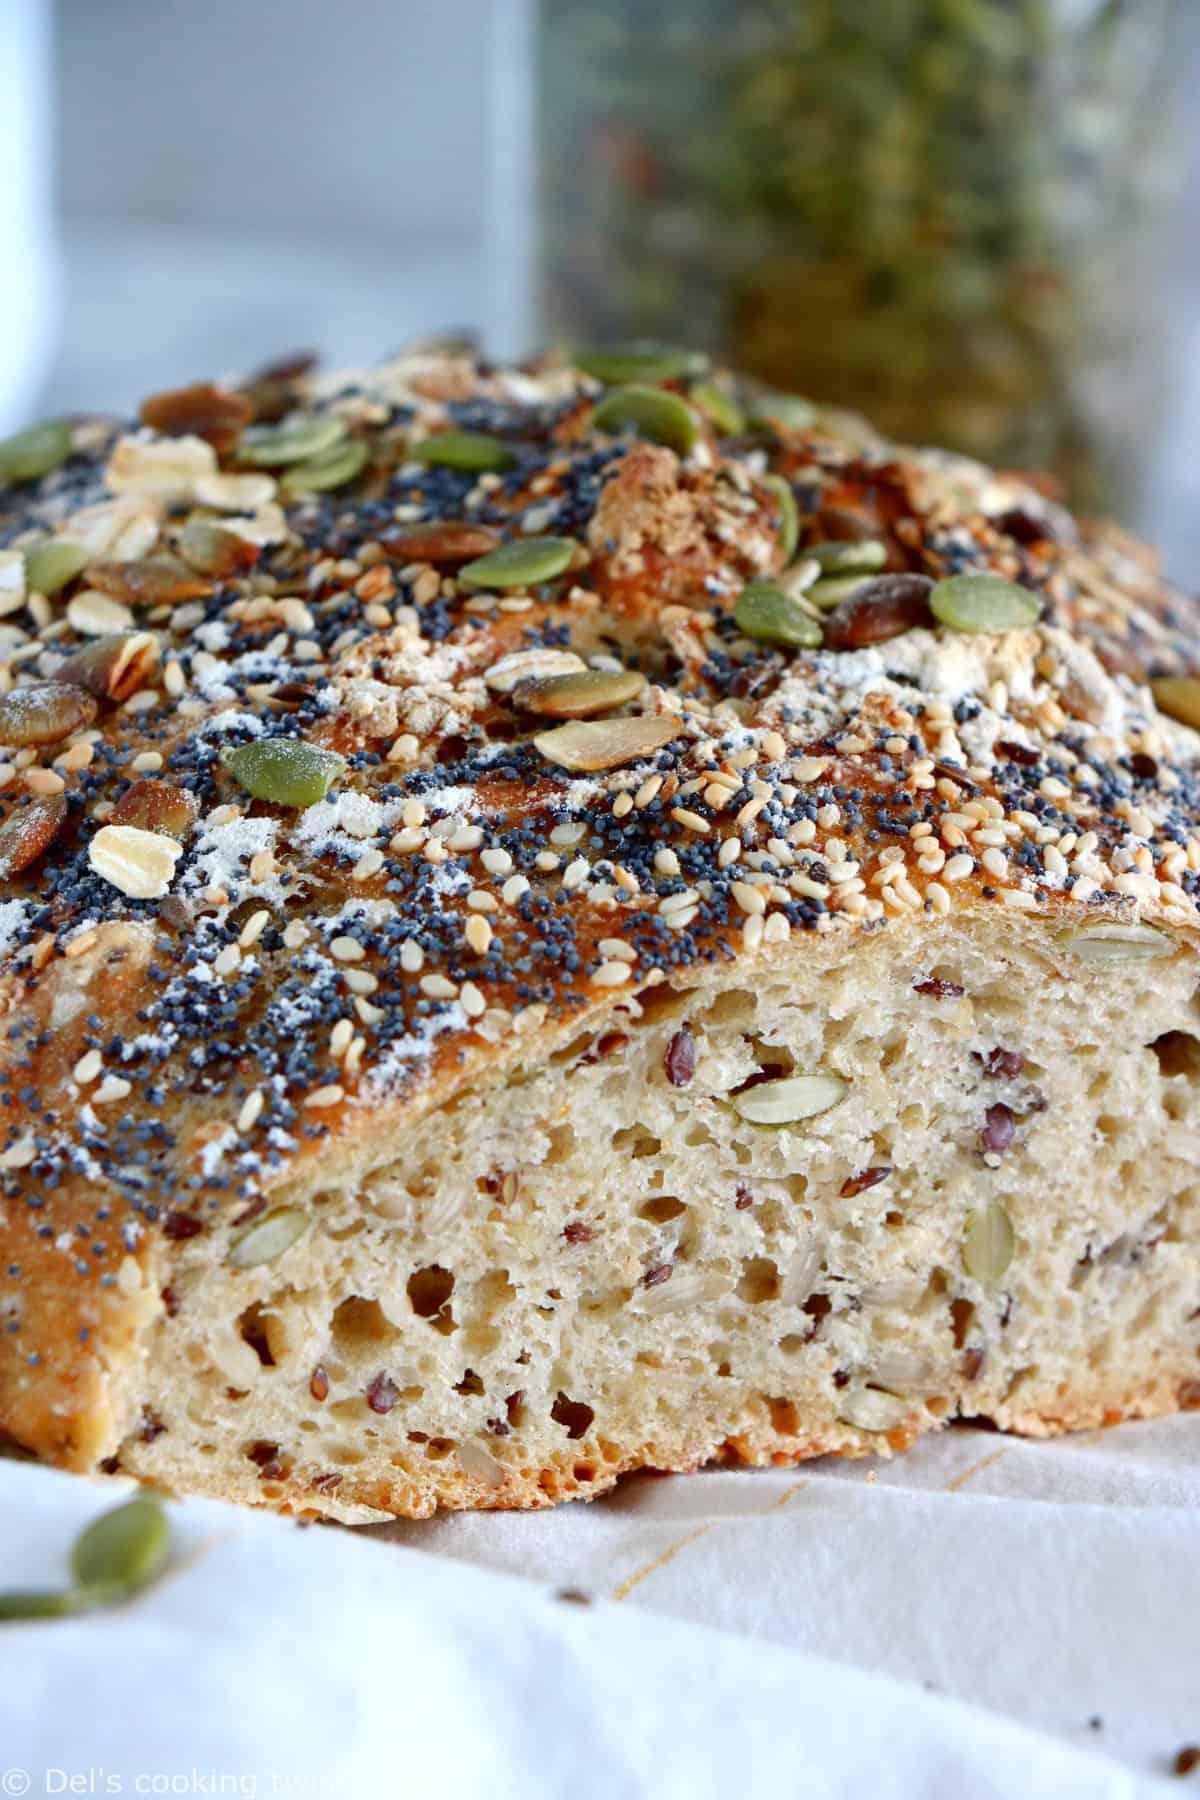
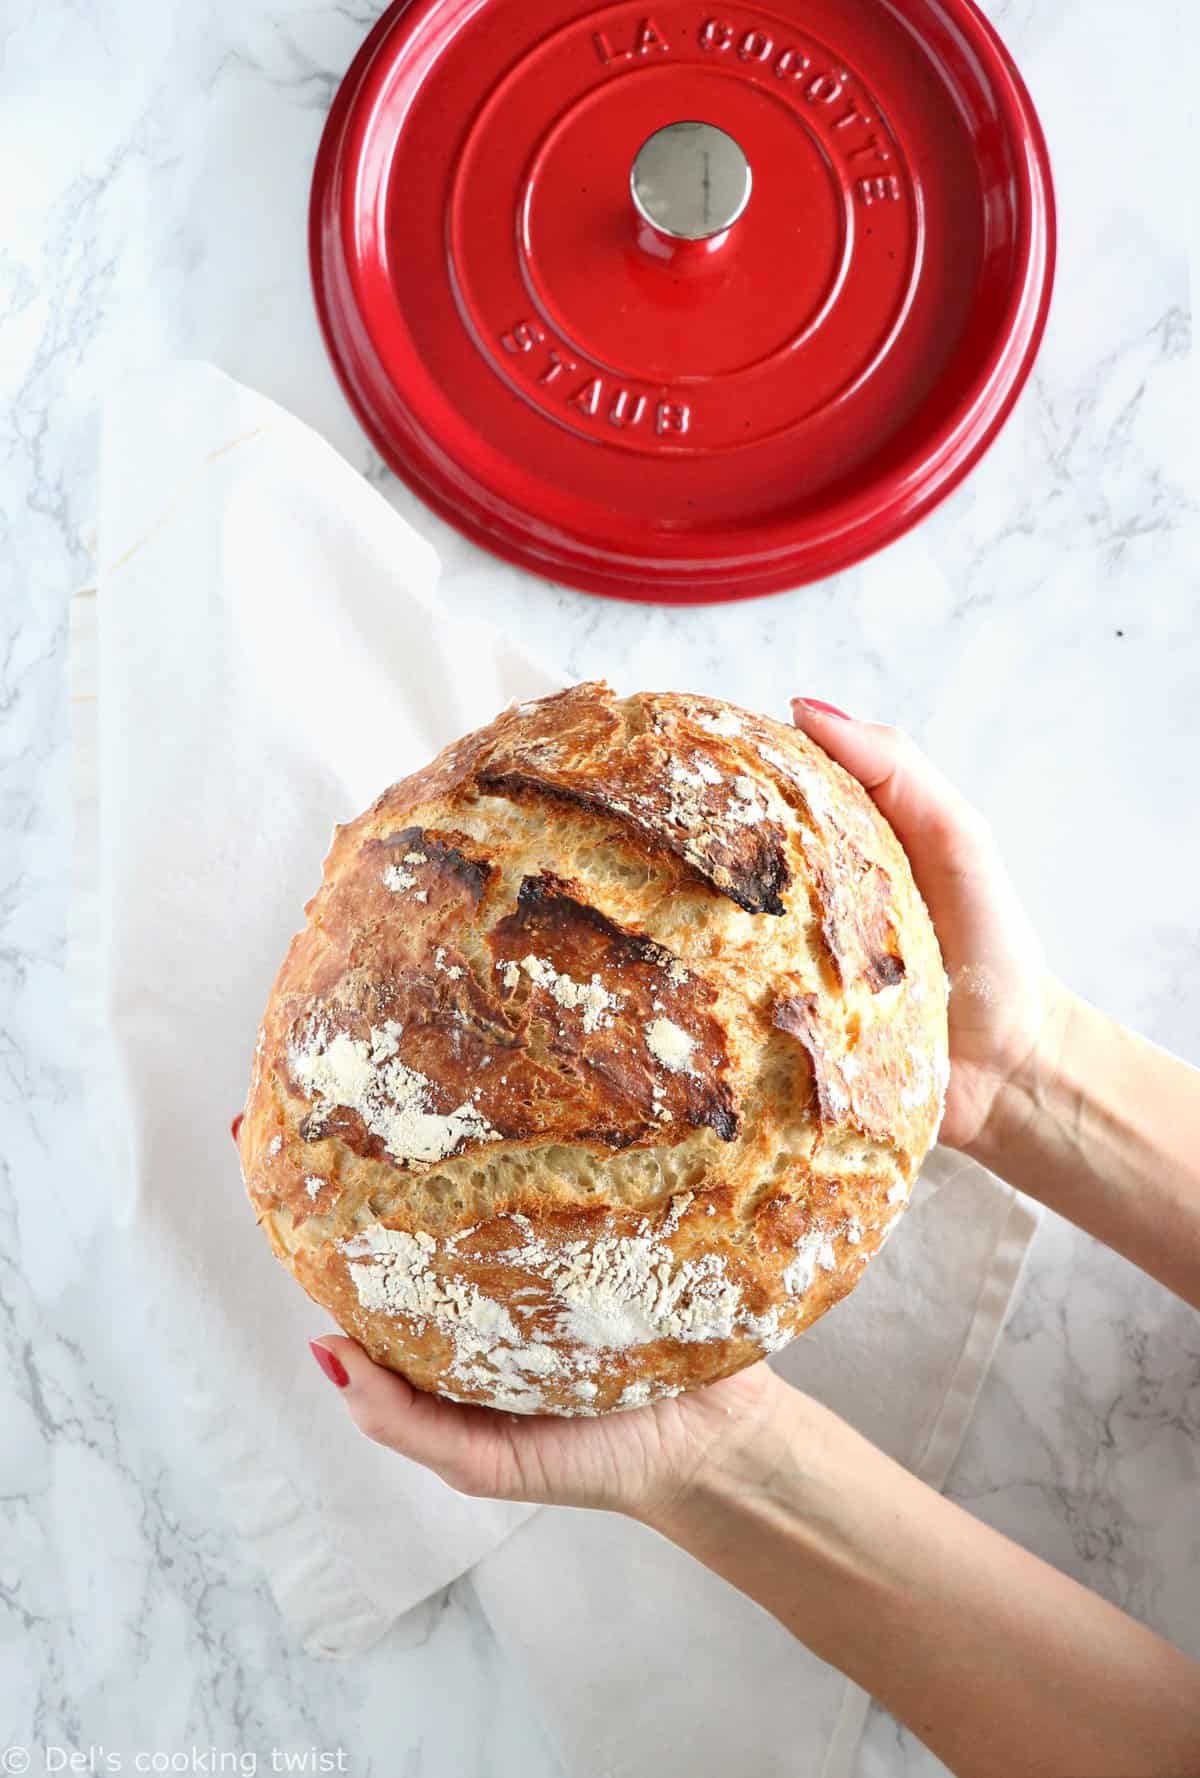
In this recipe, the kneading part is indeed replaced with a very long rising time, usually overnight or approximately 12 hours. The rest is easy as an apple pie (well actually much, much easier!): all you need is mix the ingredients together, let rest for quite a while, and then simply bake in a covered pot. All this minimum effort for a maximum result: a lovely crispy bread with a soft chewy texture inside. So easy that I actually decided to twist the original recipe a little bit to create different variations.
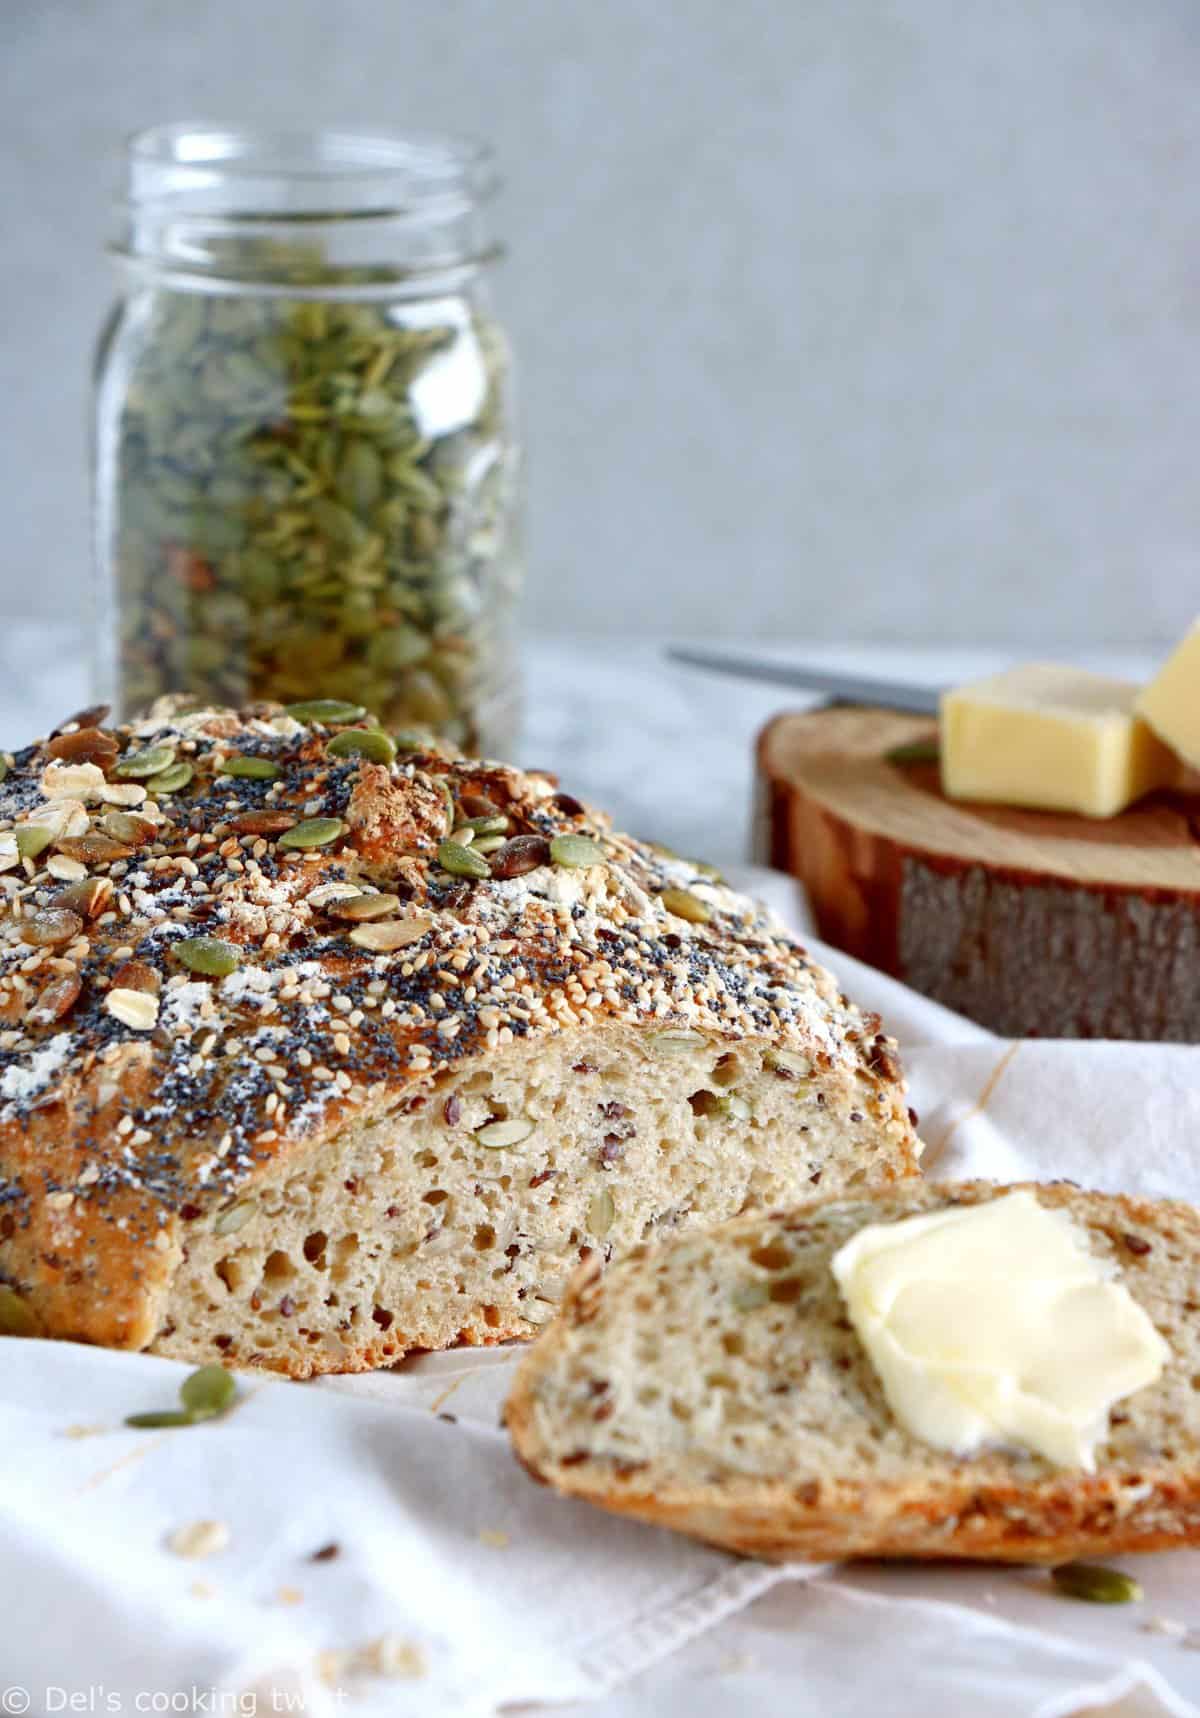
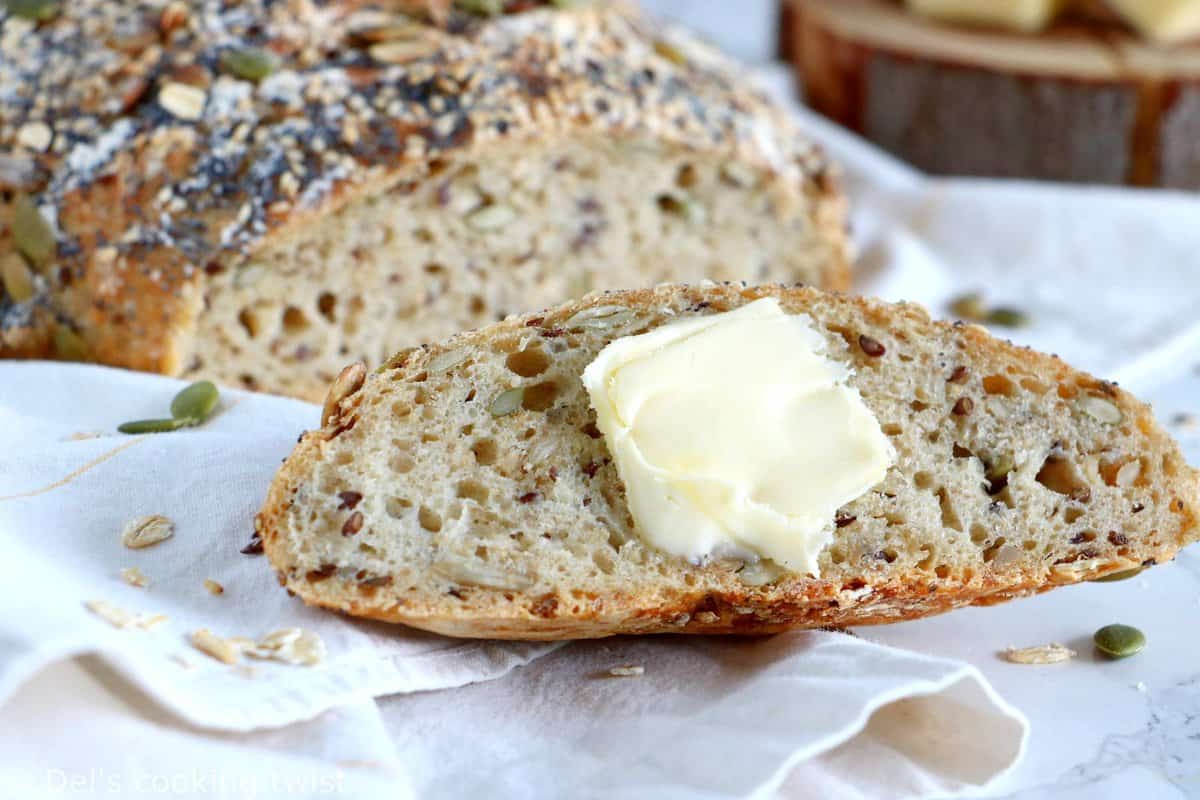
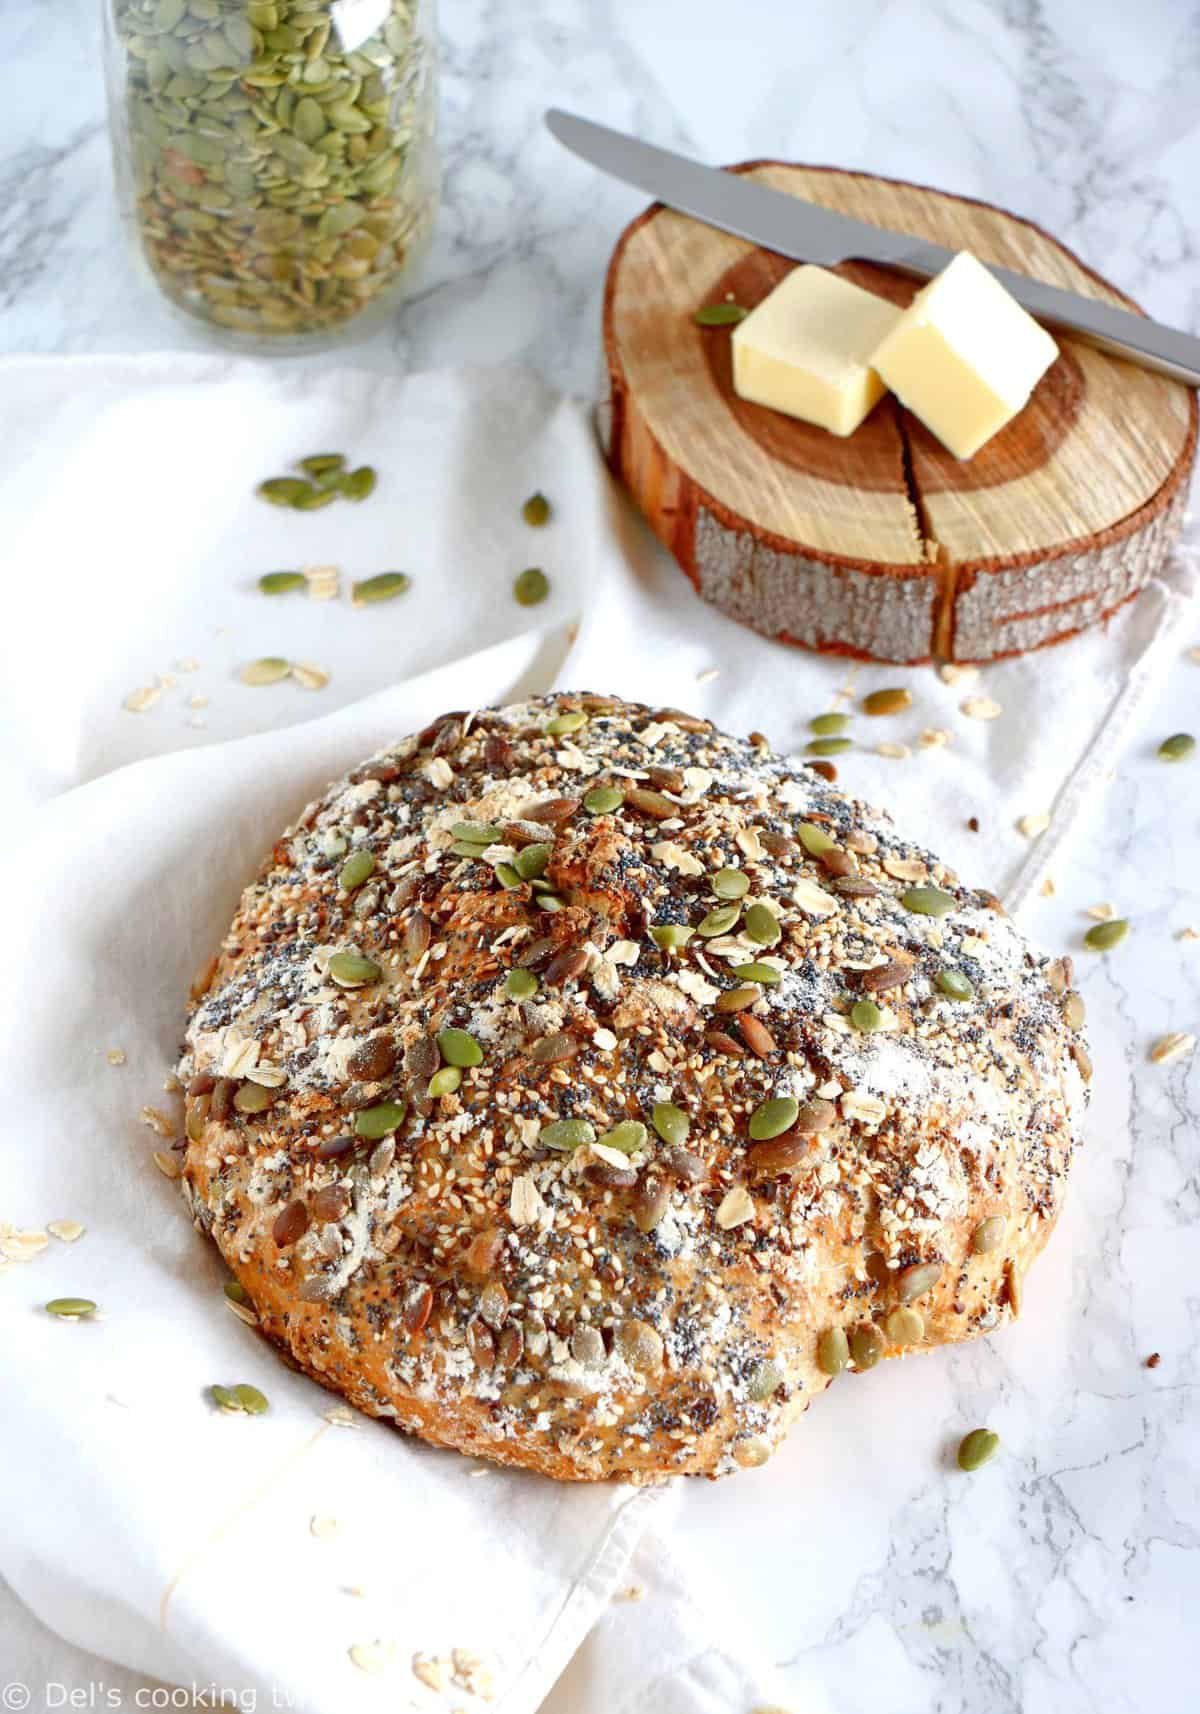
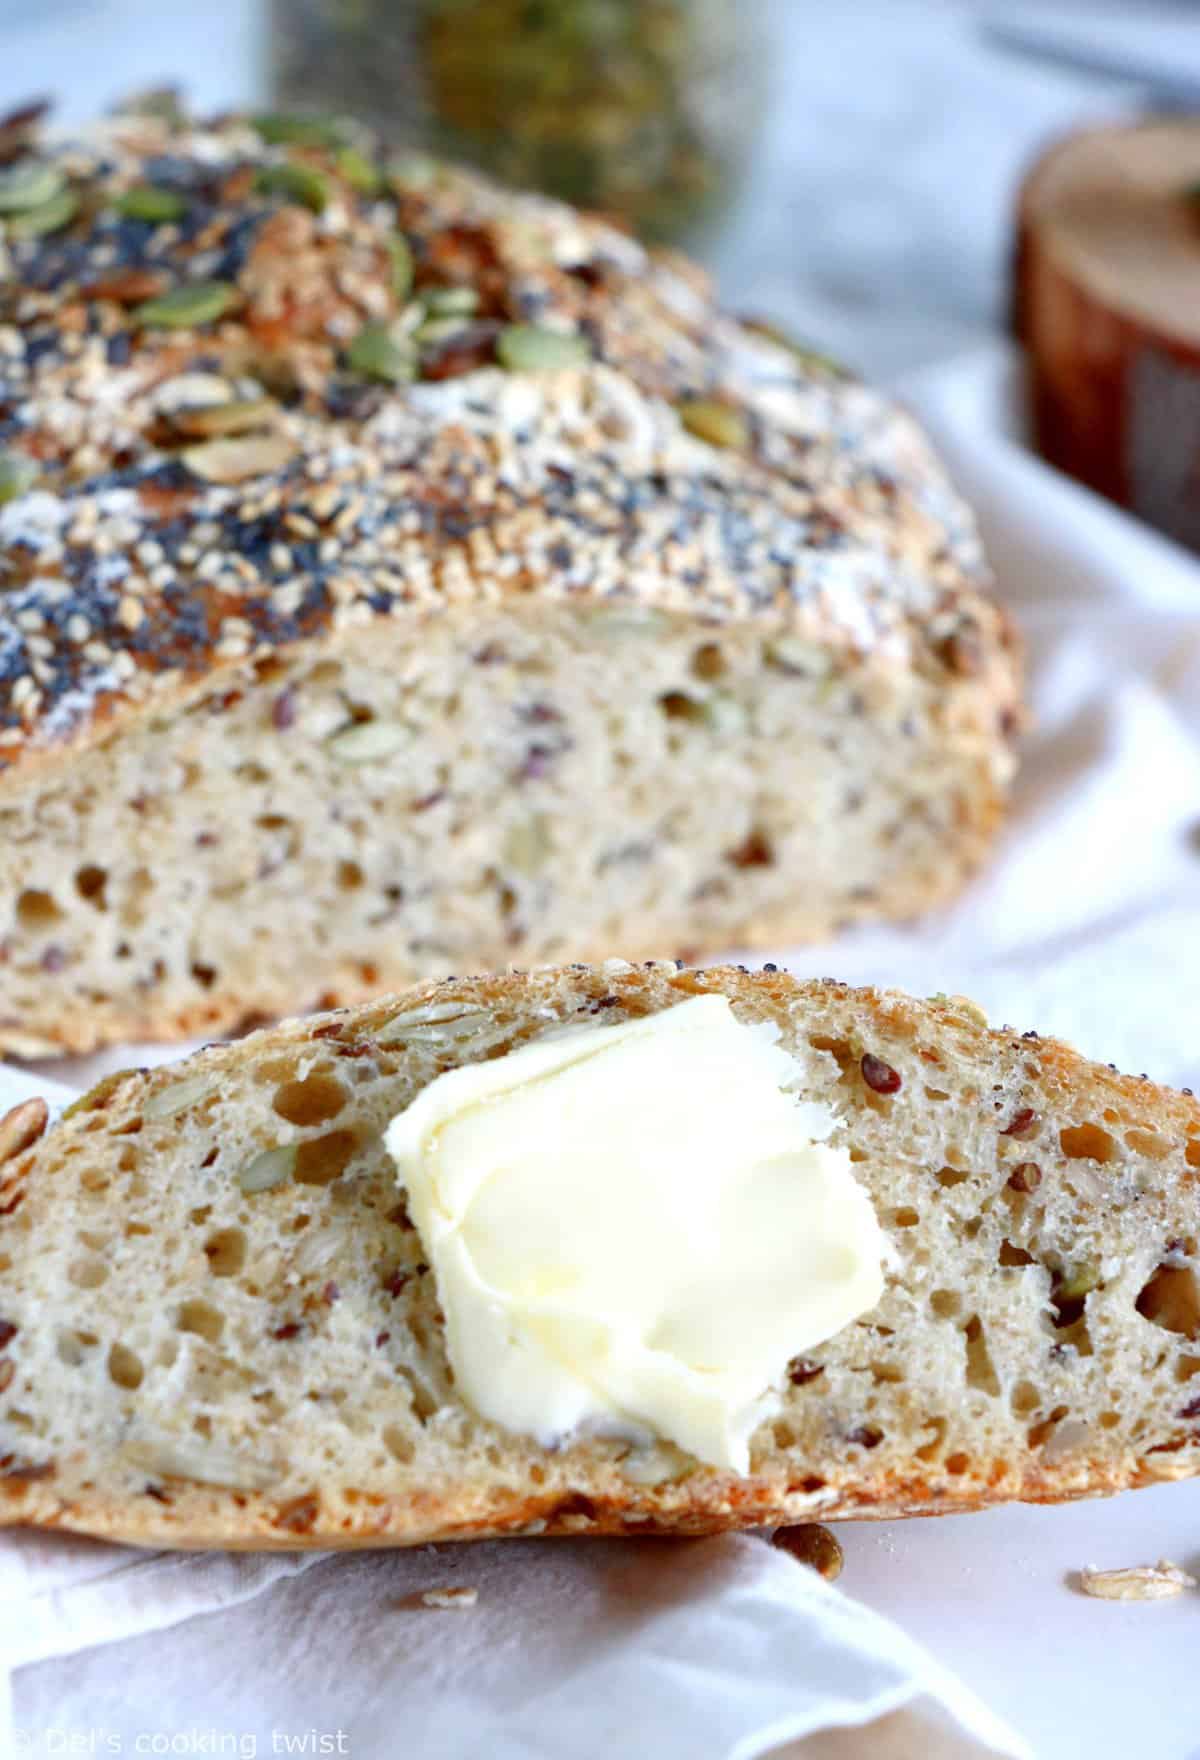
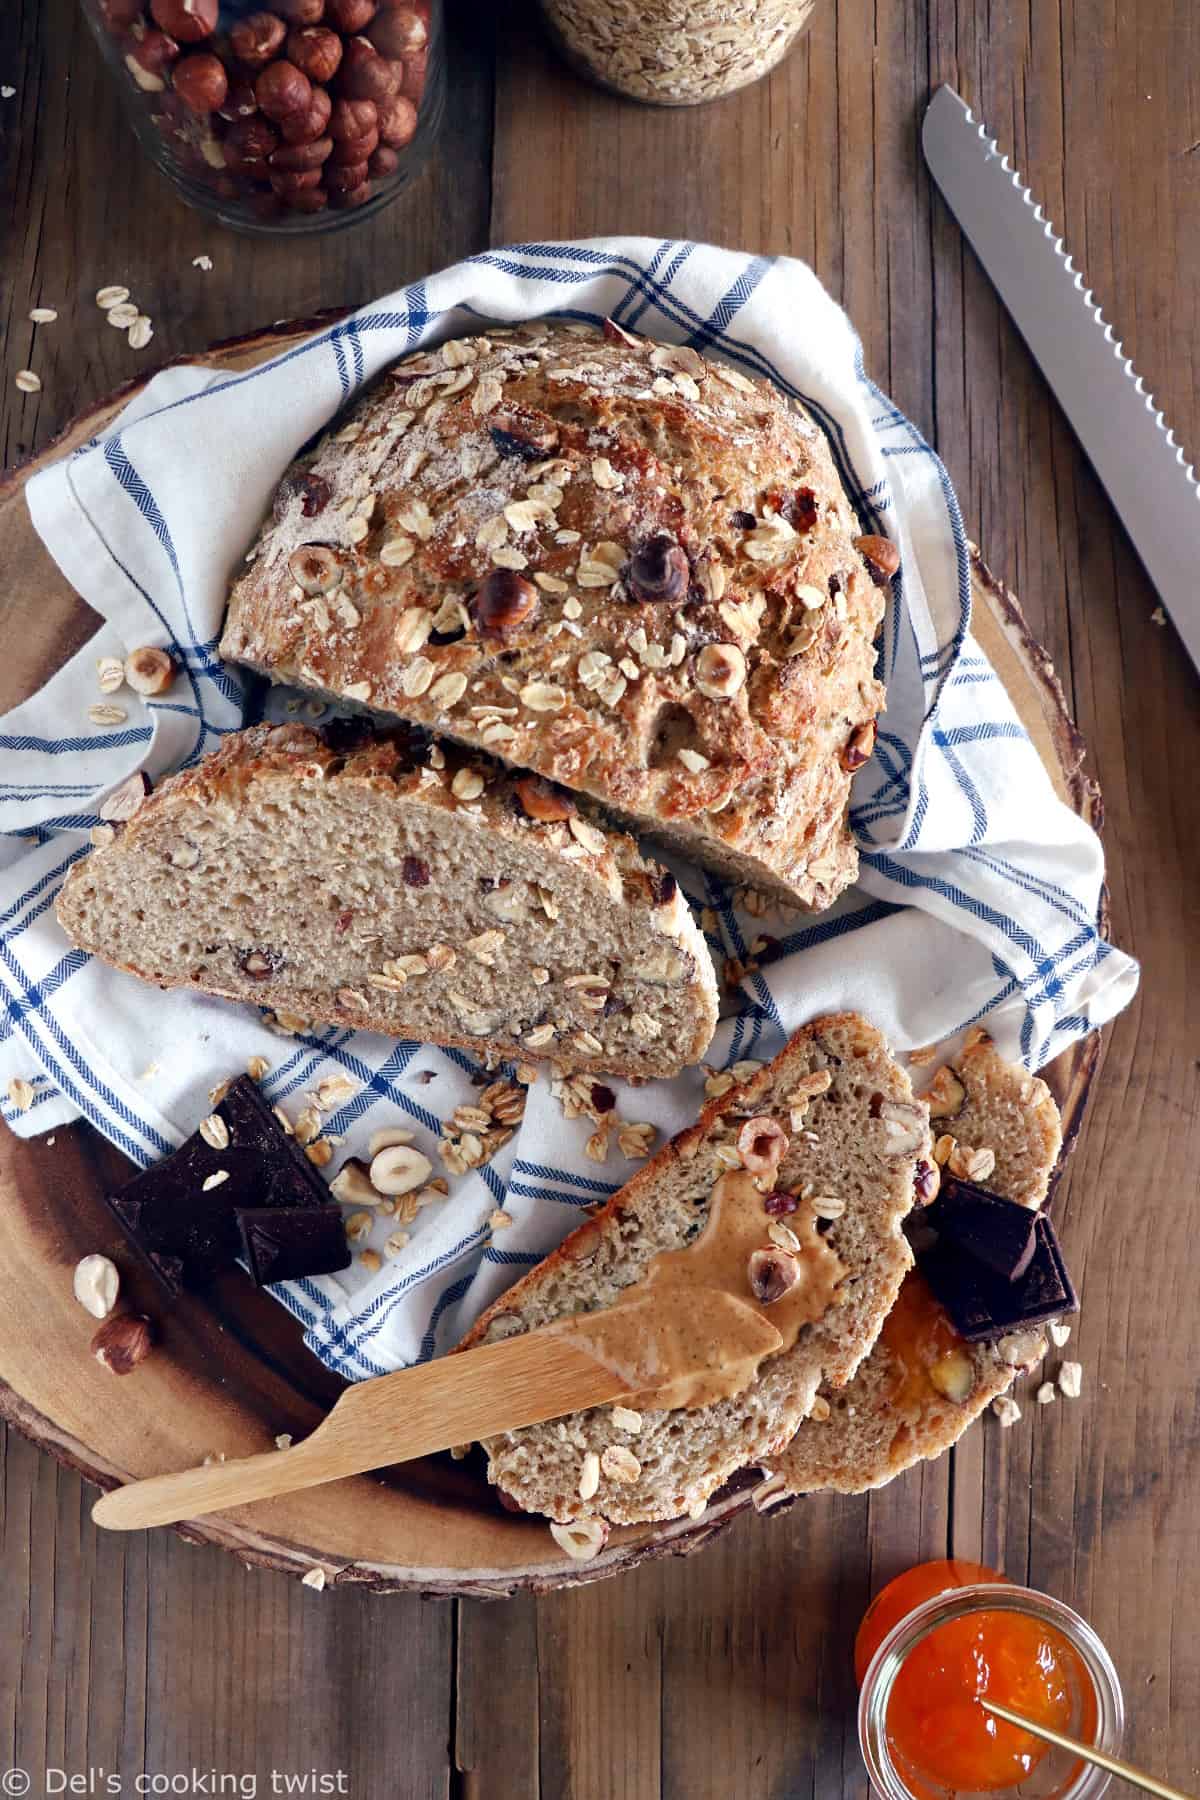
Today, I am sharing for the multiseed version of this no-knead bread. I’m obsessed with seeds and grains in general, and always find them delicious in a bread while they bring additional fiber to the whole bread. In a word, there are only good reasons to add seeds in your food. Multiseed bread is perfect for breakfast, served with butter and jam for instance, but it also works beautifully with cheese or any other savory spread, such as a roasted red pepper hummus, a carrot turmeric hummus or a roasted cauliflower hummus.
Coming back to the recipe, all you need to do is basically add some seeds of your choice to the classic no-knead bread recipe. In the recipe I suggest here however, I also made a few other changes in order to bring an additional nutty taste to the bread. Instead of using all-purpose flour only, I partly replaced it with whole wheat flour and old-fashioned rolled oats.
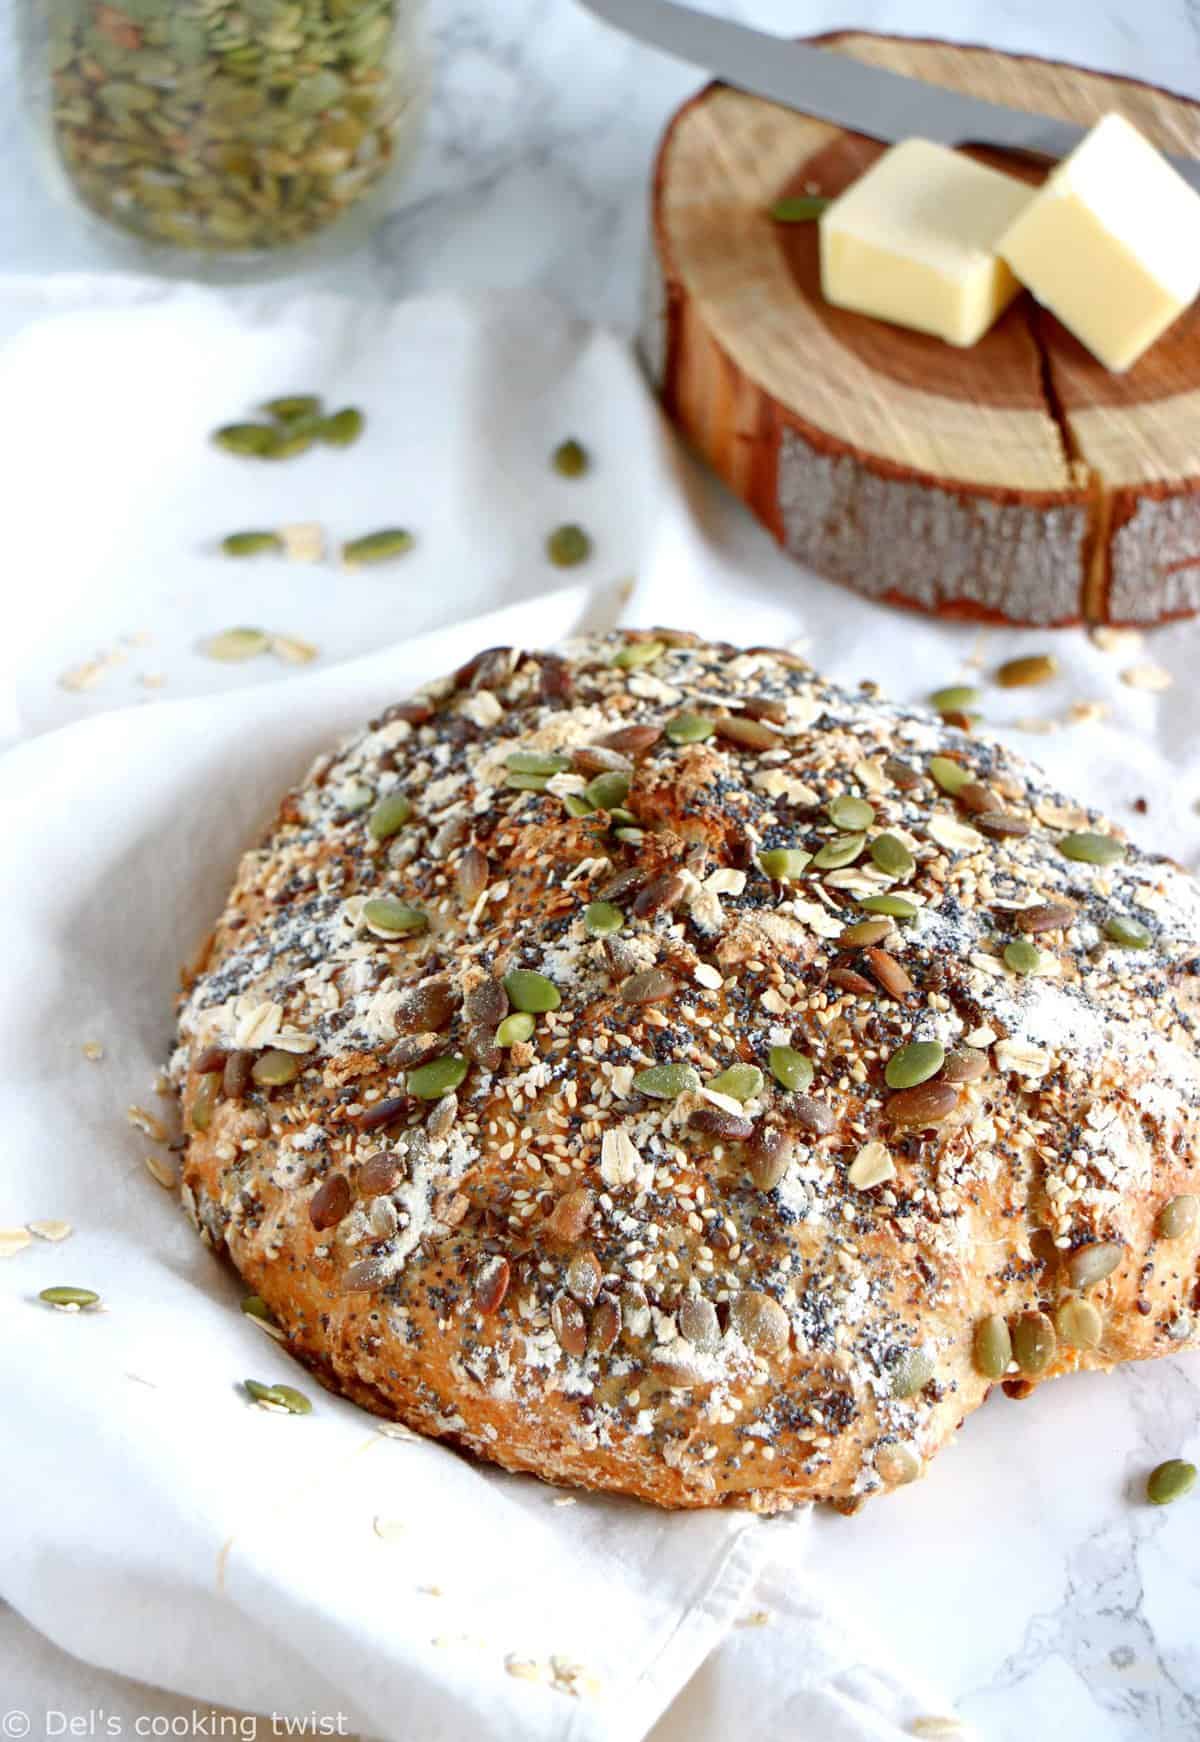
When it comes to the choice of seeds, feel free to use the ones you like most or have at hand, as there is no specific rule. I personally like to use pumpkin and sesame seeds as a base, and then I add a few others such as poppy seeds or flaxseeds if I feel like it. You could also use sunflower seeds, anise seeds, caraway seeds, cumin seeds, and why not cardamom seeds. So many ways to be creative!
The quantities I recommend are purely indicative. I recommend 2 tablespoons of the main seeds I want in the bread, and 1 for the other ones. Depending on how many different seeds you are using you can go up to 3 tablepoons of the two main seeds you are using. Don’t use too much of the seeds either to make sure you are still able to taste the bread itself. As for the final touch, I like to add a few more seeds over the bread. Just be careful they do not burn when you remove the lid in the baking process – so look closely and maybe remove the bread after 10 minutes instead of 15 (it can vary from one oven to another).
I now leave you with the recipe with this piece of advice: mix all the ingredients together tonight (again, there is nothing to do!), let rise overnight and bake it for breakfast tomorrow morning. The idea of baking this bread always helps me to get up early in the morning and puts me in a very good mood. Yes, I bake my own homemade bread, and so will you from now on!
PrintMultiseed No-Knead Bread
- Prep Time: 5 mins
- Cook Time: 45 mins
- Total Time: 50 mins
- Yield: 1 bread 1x
- Category: Breads & Brioches
Based on the world-famous no-knead bread recipe, this multiseed version is equally easy to prepare and is perfect for breakfast.
Email me this recipe
We’ll send it straight to your inbox, along with weekly food inspiration!
Ingredients
- 2 1/2 cups (300g) all-purpose flour
- 1/4 cup (30g) whole wheat flour
- 1/4 cup (25g) old-fashioned rolled oats + 1 Tablespoon for sprinkling on top
- 2 Tablespoons pumpkin seeds + 1 Tablespoon for sprinkling on top
- 2 Tablespoons sesame seeds + 1 Tablespoon for sprinkling on top
- 1 Tablespoon flaxseeds + 1 Tablespoon for sprinkling on top (optional)
- 1 Tablespoon poppy seeds + 1 Tablespoon for sprinkling on top (optional)
- 1½ teaspoon salt
- ½ teaspoon instant yeast
- 1½ cups (360 ml) room temperature water
Instructions
- In a large mixing bowl, whisk the flours, oats, salt, yeast, and seeds together until mixed. Stir in the water until a chunky, thick dough forms. If needed, add a few more teaspoons of water, just enough to get the dough barely wet throughout. Cover the mixing bowl with a cloth or plastic wrap and let it rest overnight (about 12 hours) at room temperature.
- In the morning, preheat the oven to 450°F (230°C) and place a 4 to 6-quart heavy covered pot (cast iron, enamel or ceramic) inside, until you reach the desired temperature, or ideally for 30 minutes.*
- Once the oven is hot, remove the covered pot, and carefully line with parchment paper (be careful, it’s hot!). Gently scrape the dough from the bowl, shape onto a ball with your hands and place in the pot (the dough will look a little bit sticky and messy but it’s normal, just let it be). Sprinkle the extra seeds on top, and place in the oven with the lid on for 30 minutes. Remove the lid, and bake for another 10-15 minutes to get the outside crust golden brown and crispy. Transfer onto a cooling rack, and let cool. It’s done!
Notes
*If you really have no time, I sometimes skip this part and it works too. Just remember that it’s better if you follow this step but you don’t necessarily have to.
NOTE: this bread doesn’t last long as it dries out quickly. It is best eaten fresh, ideally same day of baking or at the latest the day after.
Did you make this recipe?
Lastly, if you make this Multiseed No-Knead Bread, be sure to leave a comment and give this recipe a rating, letting me know how you liked it. And of course, don’t forget to tag me on Instagram! Thank you and enjoy!
Other no-knead bread recipes to try :
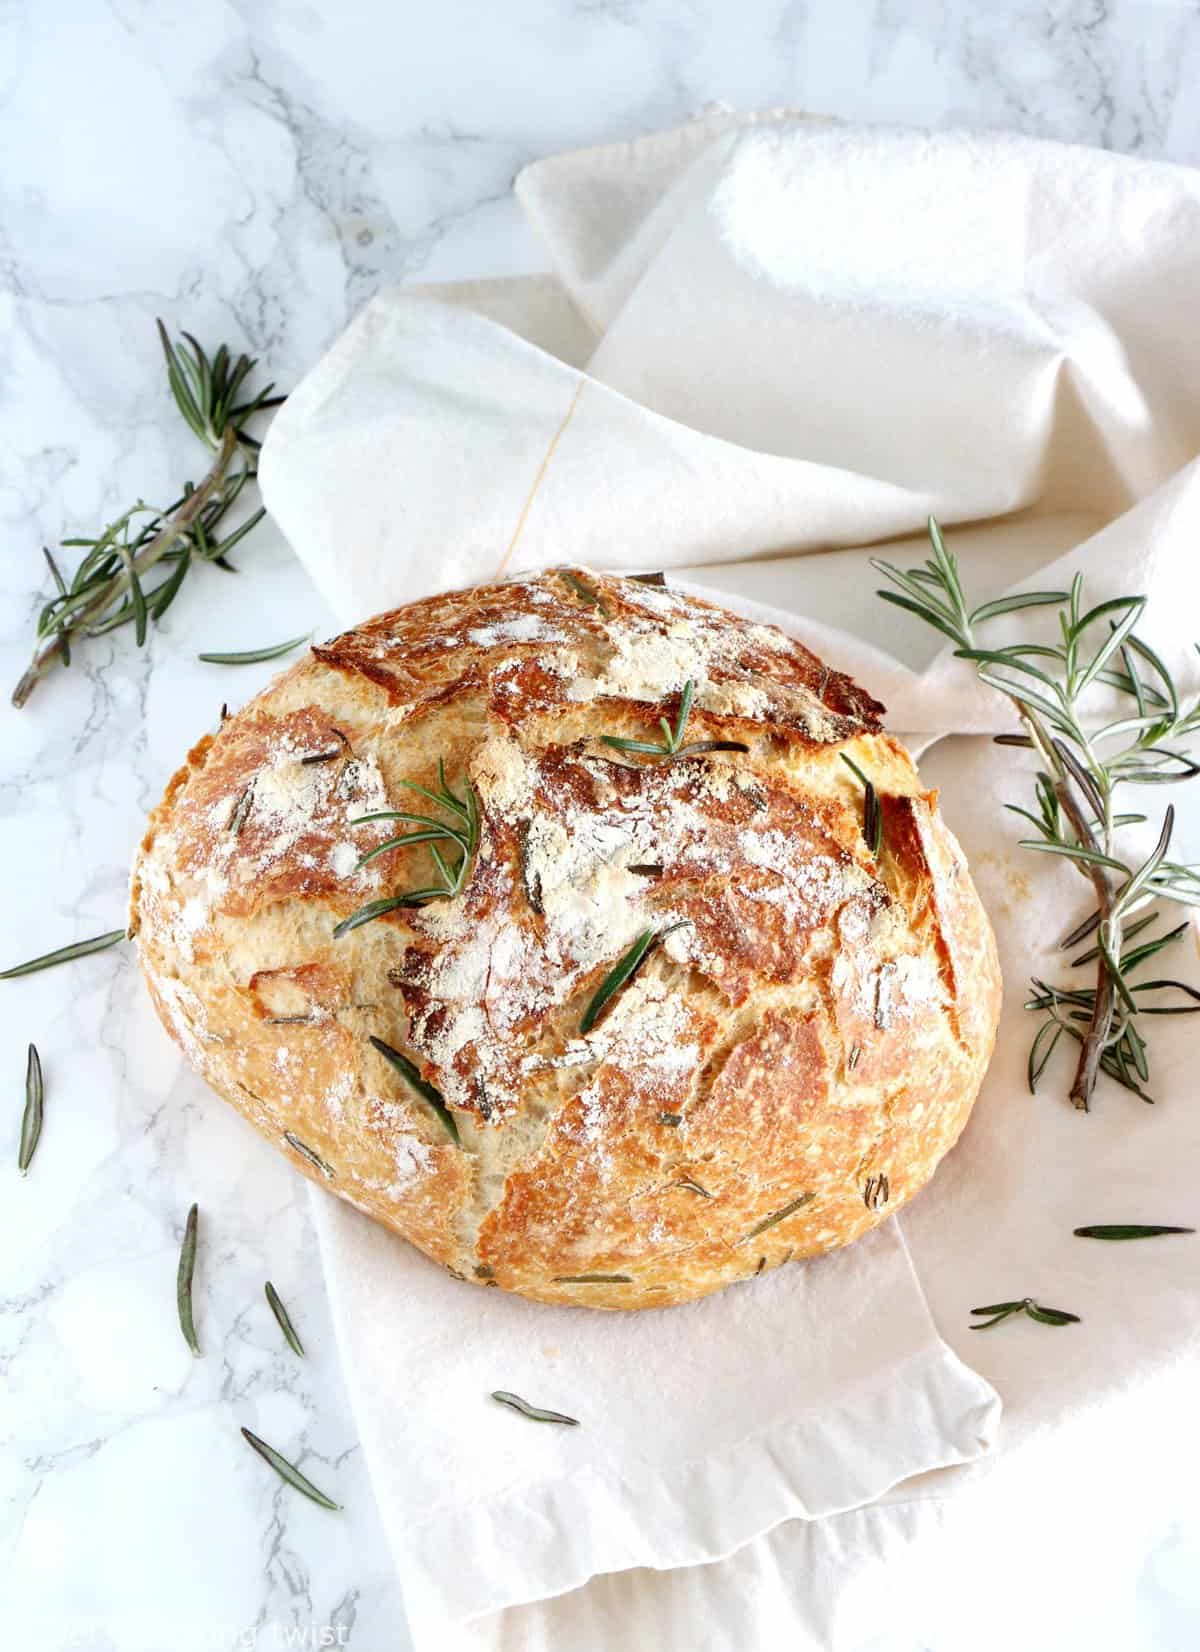
Rosemary & Green Olives No-Knead Bread.
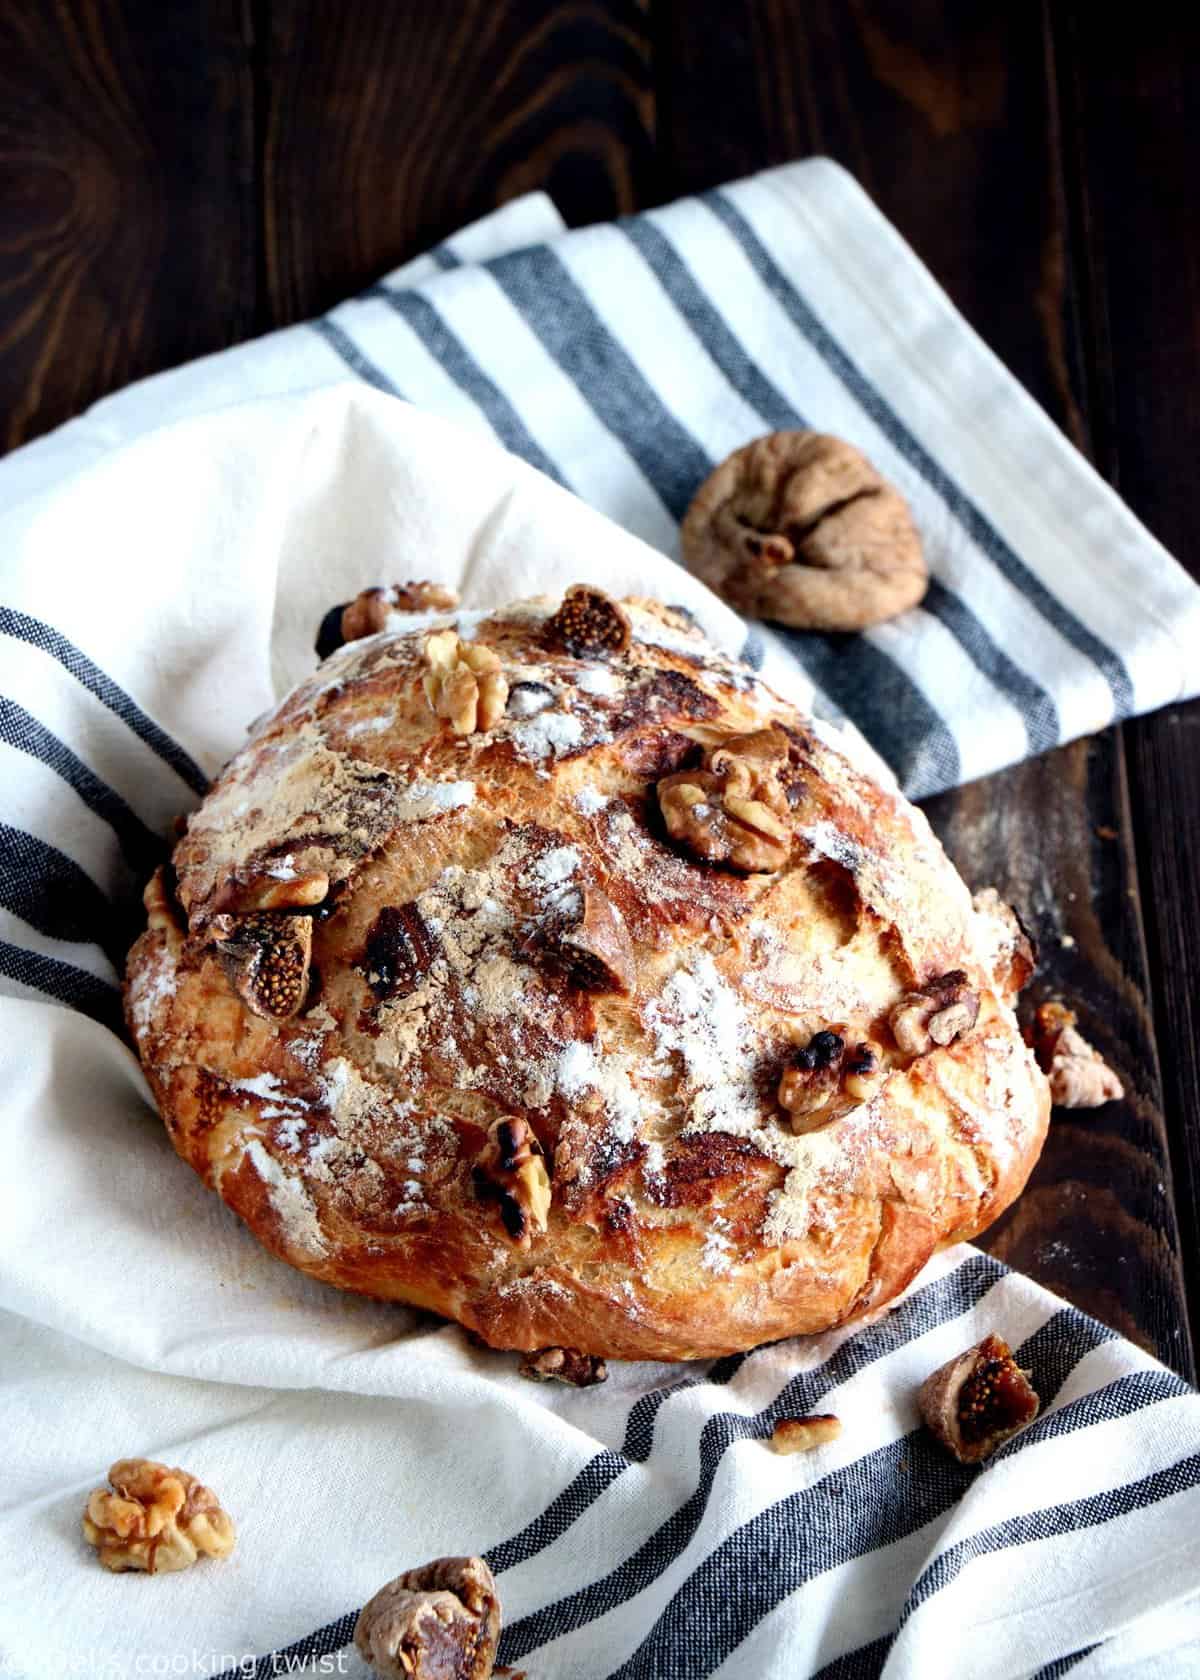
Rustic Fig and Walnut No-Knead Bread.



sue
Hi, I fudged a little on the seeds, added some granola and half cup of chopped dates. It is fabulous. I do slice it day one and individually wrap each slice. In the morning, I thaw in defrost on toaster and toast and it stays as good as day one. One piece is breakfast on the go for me with butter of course. Definate treatise breakfast.
Lasts me two weeks or so.
Delphine Fortin
Hi Sue! I really really love your tip to freeze individual slices so that you have fresh bread in the morning. Thank you for sharing with us! Del
Heidi
Wow! Ce pain est un délice et vraiment simple à préparer. Je l’ai laissé reposer environ 8h et ça été suffisant ! Je n’avais pas de pot en fonte, donc j’ai fait cuire mon pain sur une plaque à cuisson sur un papier parchement pendant 40 minutes. Le résultat est allucinant, merci!
Kaala
This bread couldn’t be easier to make and it tastes delicious. It is a recipe I will use over and over again.
Charlotte Shuck
Hi I like to bake the multi seed bread but not in oven can I bake it in bread machine on whole wheat setting???
Fancy that
The first time I made this it came out perfectly and I posted a photo. I used rapid rise (Fleishmans) The second time it did not rise as much when cooked and once sliced looked like giant biscotti… that was fine, since I was using it for appys. I thought maybe the water (at room temp) was too cool, and the dough seemed wetter. Bakery at the store said to use water a little warmer than room temp, so I just tried that… same result! Should I be cutting back on the water to make the dough just moist instead of very wet? I am baking it on the lower rack since I’m using a large Dutch Oven. I am leaving it overnight for about 13 hours. Any thoughts???
HELEN SCALABRINO
Unfortunately I did not spray the paper before so it stuck to the bottom of the loaf. Easy, delicious recipe and
I will certainly try it again.
Tanya
I don’t have the pot you mentioned and am going to use just a regular bread loaf pan. How long do I cook it for and what temperature? Do i need to put the hot water in the bottom of the oven too?
Kimberly
This is my favorite bread to make with my sourdough discard. It bakes up pretty and tastes gorgeous. It even keeps well, and my family loves it, thank you for the recipe!
Delphine Fortin
Thank you, Kimberley, for your feedback! I’m so happy you like this version of my no-knead bread, which is in my house one of our favorite too! Thanks for taking the time to leave a comment, I really appreciate 🙂 Del
Vanessa
I can’t tell from the recipe. Did you put the yeast in dry, or did you activate it in water beforehand?
Delphine Fortin
Hi Vanessa. Just use instant dry yeast directly in the recipe and it should work just fine 🙂 I hope this helps. Del
Holly
Hi, I’m thinking of making this bread tomorrow- it looks absolutely delicious by the way! I was just wondering if I could use just wholewheat bread flour instead of the combination of the two? Also would it be okay to use dry yeast? Many thanks x
Delphine Fortin
Hello! Happy to hear you’re planning to make this bread! I wouldn’t go for a 100% whole-wheat flour personally as the bread tend to be very dense with whole-wheat exclusively. That being said, you can always try and see if you like the texture yourself. Th yeast you need to use for this recipe is instant dry yeast, so it seems you have it already. Hope it helps! Happy baking! Del
Deb
Made this this morning. YUMMY
Result a rustic, fairly heavy load with lots of flavour. It looked so delicious that I did rush the cutting and tasting a bit – so little moist,my impatience.
The only part of the process I changed was …after heating the pot I oiled it and floured it rather than lining with parchment.(I can’t line a cold pot so a boiling hot one was a no go for me. With my method the loaf cooked well and slid out of the pot when cooked.
Delphine Fortin
So happy you liked this multiseed version of the no-knead bread, thanks for sharing this review and your tips too! Del
Veganzoologist
It’s Sunday morning, I made the dough yesterday and left it to prove overnight. It’s looking and smelling delicious, but I’m worried about how to bake this bread if you say it already dries out quickly. I don’t have a cast-iron pot with a lid for the oven. Here we cook on the fire a lot, using a big cast-iron pot with three legs (a potjie pot- it’s locally very popular here in South Africa), and this has a lid. So I’m getting the fire going now, and I’m going to bake my bread on the fire. I’ll let you know how it goes!! I’m guessing half an hour should be fine, not directly touching the fire… Any tips are welcome!
Annette
My first bread ever! I thought I’d made a mistake cause it didn’t rise very high, but it was dense, moist, hearty and so delicious. I will never be intimidated by bread baking again. Wonderful recipe and incredibly easy.
Delphine Fortin
SO happy you liked the recipe, Annette, thanks for sharing these nice words with us! Del
Marta
Hi like to try this recepe it remind me to a bread I used to buy at the farmers market; but I don´t have a covered pot, can it be done without it?
Delphine Fortin
Hi Marta! The secret of this recipe is that the use of the lid helps creating the crispy crust. That being said, you can sure make the bread without the lid. The texture will be slightly different (less crispy) but your bread will bake properly, which is the most important. I hope it helps! Del
K
I have tried similar no knead recipes on an open baking sheet. I put a metal container with water in oven at beginning of heating up oven. I knead the dough a bit on first round and a bit after pressing air out. I get a beautiful crispy thick crust 450F 35 minutes. . No need to bake in cast iron pot. I cut the top , slicing diagonally. Prob used more flour than your recipe, so dough is manageable. The recipe I adapted was supposed to be put in pot like yours.
Delphine Fortin
Thank you so much for your precious tips! 🙂
Bessou
Quelle est la meilleure farine à utiliser ? Type ?
Delphine Fortin
Bonjour! J’utilise tout simplement de la farine T45 ou T55, mais de la farine T65 fonctionnerait également parfaitement.
Lynn
I made two batches of the Multiseed No-Knead Bread and it is delicious! I substituted sunflower seeds for the sesame seeds, I didn’t have those on hand. We enjoyed this morning with honey! Easey to make and my house smells great! Love your recipes!
clemclem
bonjour, j’ai suivi les quantités à la lettre mais à la fin de la préparation (avant de laisser poser) ma pâte ne forme pas de boule, elle est presque liquide ….
est-ce une consistance normale ? est-ce que c’est déjà arrivé à qqun ?
d’avance merci
Delphine Fortin
Bonjour. Cela arrive parfois, la densité de la farine pouvant différer d’une marque à l’autre. Dans ce cas, je rajoute un tout petit peu de farine à la main, mais pas trop surtout. La pâte doit rester collante et quasiment impossible à pétrir à cette étape. Durant le temps de pousse, la levure va s’activer et il vous sera ensuite possible de détacher la pâte des bords et de former un pâton élastique et collant mais somme toute maléable. Transférez-le alors dans votre cocotte en fonte et enfournez le tout. Bon courage pour la prochaine fois et très bonne semaine à vous ! Del
Erin
Mine didn’t rise as much as I had hoped and it was sort of dense and underdone. I’m not sure what I did wrong. Could it be because I used self-rising flour? I thought that would actually help. Maybe my yeast wasn’t alive? The flavor was delicious, so I’d like to try it again. I’m just such a bread-making beginner :S Tips, fellow bakers?
Delphine Fortin
Hi Erin! No worries, we have all been beginners and the most important in the learning process is to stay curious, which is exactly what you are doing. Love it! The reason why your bread didn’t rise as much as mine can be explained by the size of the cocotte (if too big, the bread tends to spread out a little bit) or maybe because your flour was not as dense as mine (in that case, add just a little bit more). As for the yeast, it is of course always hard to tell. I try to use a yeast that is not too old anyway. Last but not least, you can use bread flour for best result, but I usually stick to the all-purpose one and it works just fine. I hope this helps!
Erin
I just noticed your comment, Delphine! I’m still making this recipe 😉 thanks for all the tips!
Holly Webster
Your self-rising flour contains salt, which can inhibit the action of yeast.
Erin
Ahh thank you!
Hélène S.
Miam ! Très appétissant avec les graines et il est vraiment tout joli !
Delphine Fortin
Oh, merci beaucoup pour ton petit commentaire ! 🙂
Babeth De Lille
Il donne très envie! Je vais voir où en sont mes réserves de graines…..le prochain pain risque d’en contenir!
Delphine Fortin
Merci beaucoup, ravie qu’il te plaise! Tu verras ce qui est top avec ce pain c’est que l’on peut y mettre des graines en fonction de ce que l’on a sous la main.
LadyMilonguera
Ton pain est vraiment magnifique… J’adore !!!
Delphine Fortin
Merci beaucoup, je suis ravie qu’il te plaise. Et en plus, il est extrêmement facile à réaliser, il n’a que des bons points!