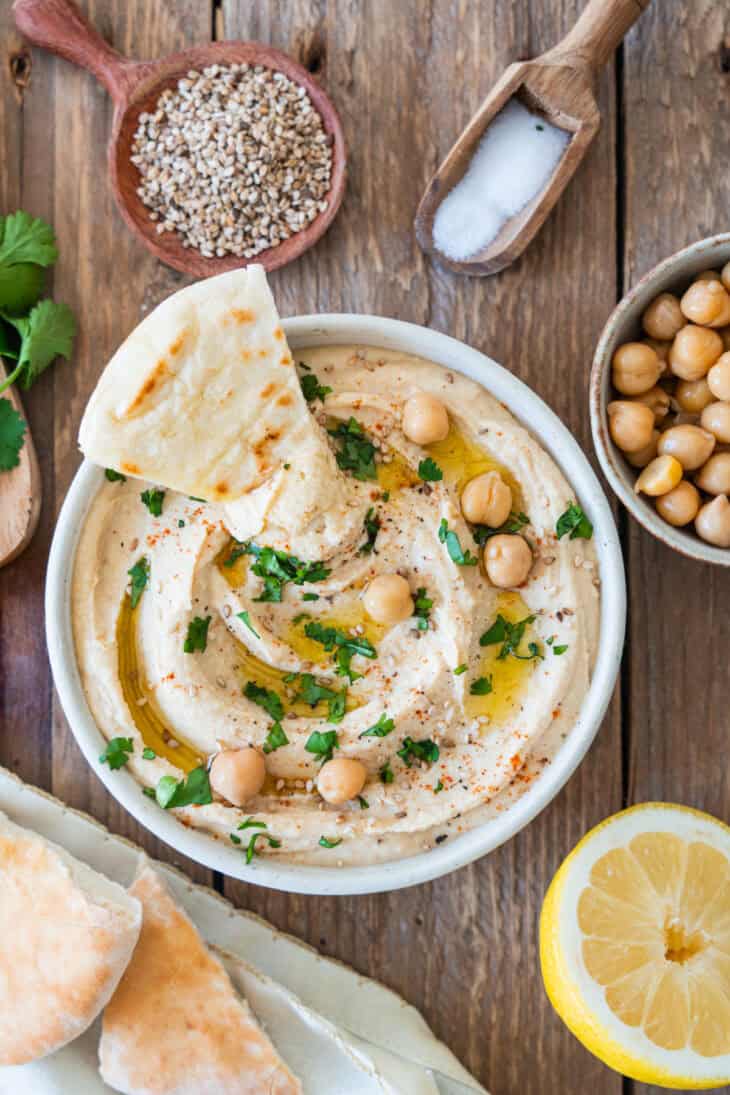
Roasted garlic hummus is the ultimate hummus recipe! Super creamy, sweet and slightly smoky, this dip makes a fantastic snack or appetizer to serve along with pita chips or raw vegetables. The recipe also comes with a classic version (without roasted garlic).
Email me this recipe
We’ll send it straight to your inbox, along with weekly food inspiration!
Hummus is a great dip for any gathering party, year-round, and we all need a trusted recipe we can rely on. I found mine years ago through this roasted garlic hummus version, that is sweeter and milder than the classic version. Easy to make with just a can of chickpeas or two, it’s wholesome, vegan, gluten-free, and very satisfying (check also 15+ fun ways to use chickpeas).
With no surprise, the main part of the recipe consists in roasting garlic in the oven, which gives the hummus some rich, sweet and smoky flavors, while a classic hummus recipe is more sharp and pungent. Roasting garlic might seem a little technical at first but it really isn’t, I promise! Check below how to make roasted garlic hummus from scratch – and discover how to adapt the recipe for a more traditional hummus (using raw garlic).
Why you’ll love roasted garlic hummus
- Prepared with roasted garlic – so good!
- Sweet, smoky and earthy
- Milder in flavor than classic hummus (kid friendly!)
- Tastes better than store-bought hummus
What goes into roasted garlic hummus?
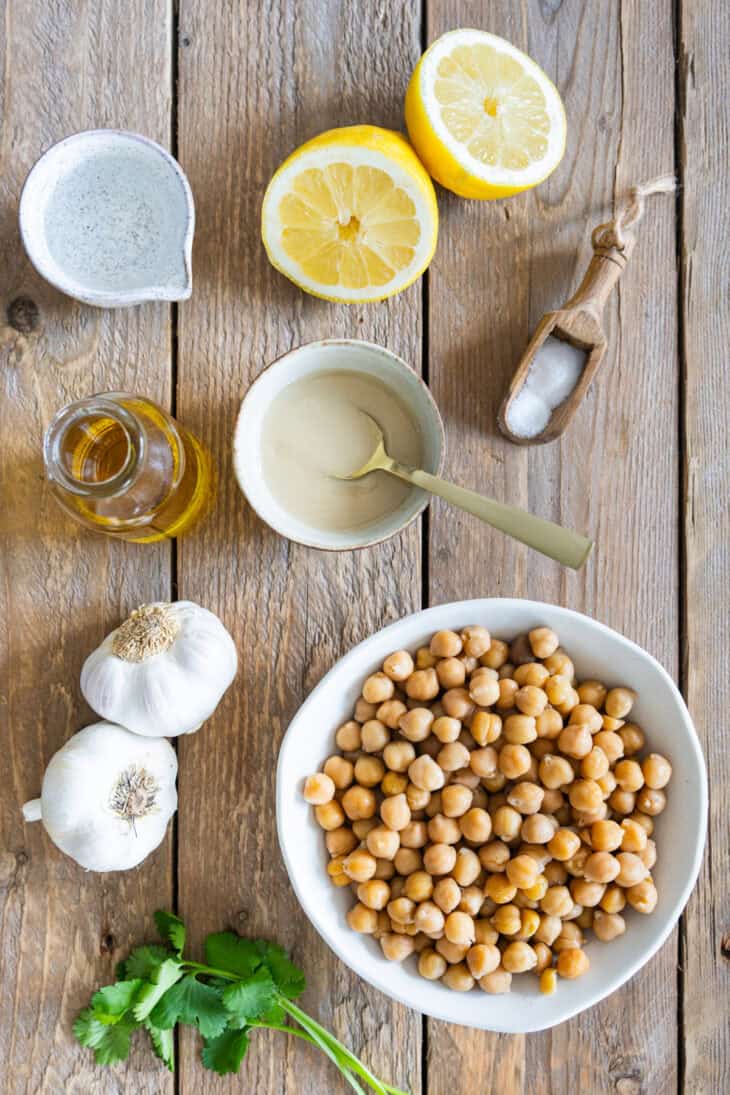
- Chickpeas. That’s the main ingredient of hummus, naturally. You can choose a can of chickpeas or you can cook dry chickpeas. If using this method, soak the chickpeas overnight before cooking them.
- Garlic. Yes, you need 2 whole garlic heads for this recipe. It may seem a lot, but keep in mind that once roasted, garlic becomes sweet and mellow, with slightly smoky flavors. It’s also easier to digest for sensitive tummies out there. However, if you are not too much into garlicky foods, you could use only one head and it will be just fine.
- Olive oil. I recommend extra virgin olive oil for best flavors.
- Lemon juice. It brings a touch of acidity and brightens up the flavors.
- Seasoning. You can season your hummus with cumin, or use other seasonings of choice (sumac, cumin or za’atar, with a hint of cayenne pepper). In any case, do not forget to salt!
How to make this hummus recipe
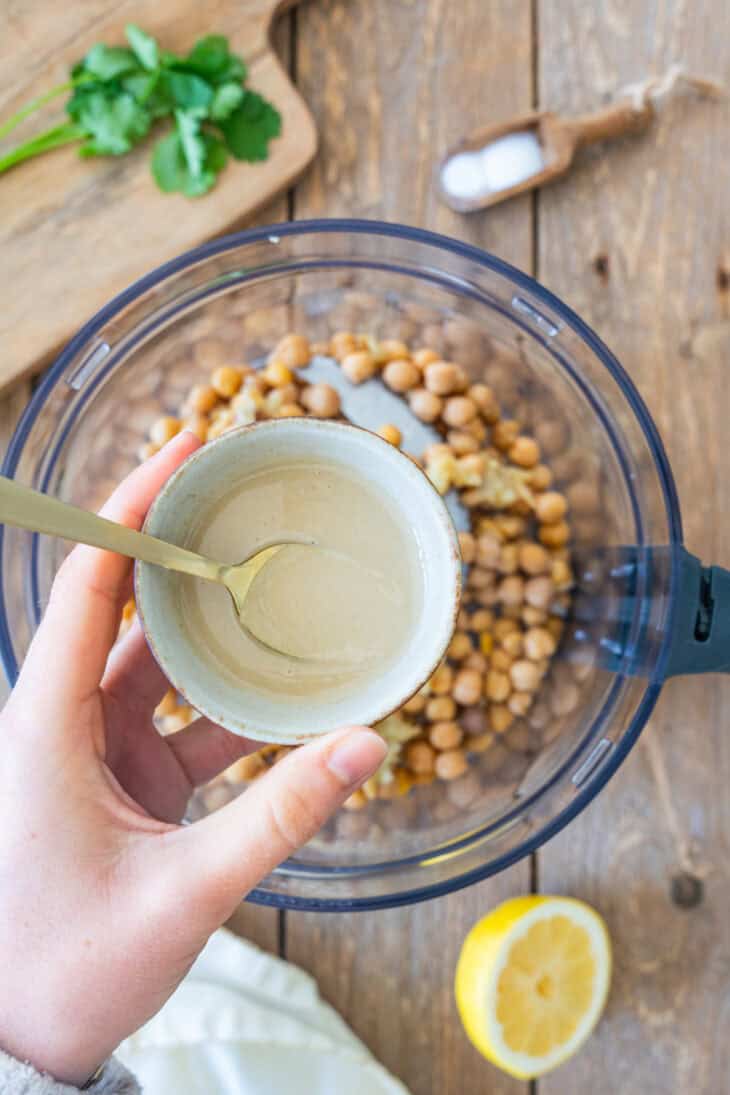
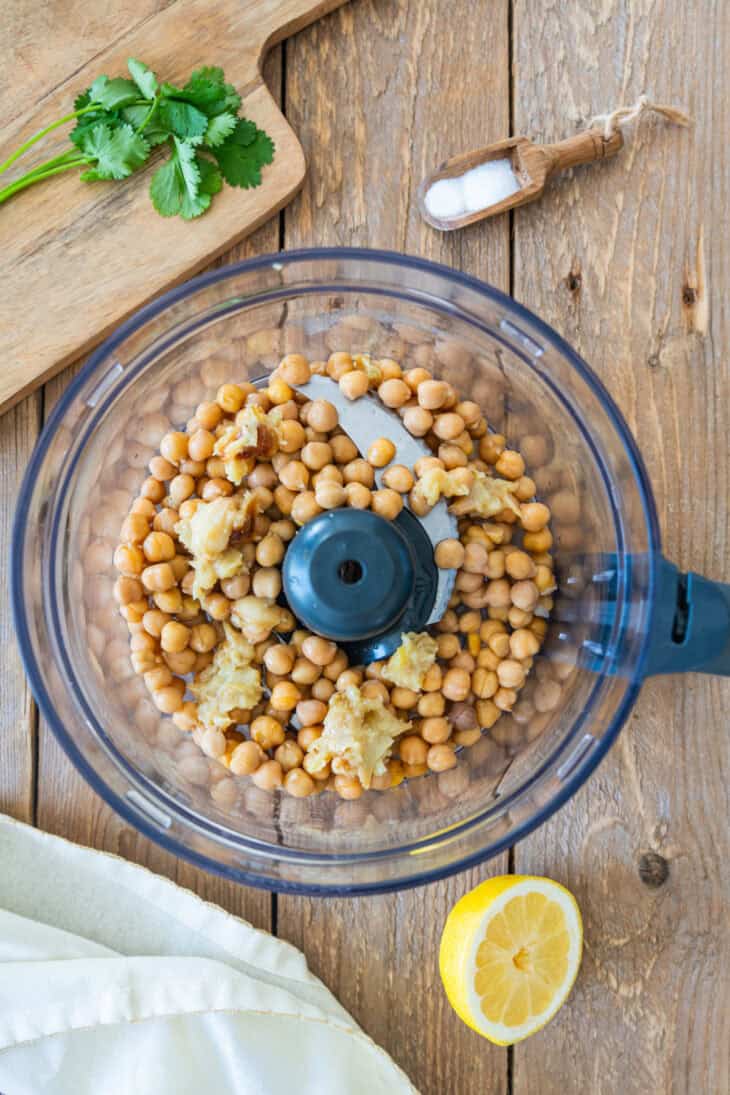
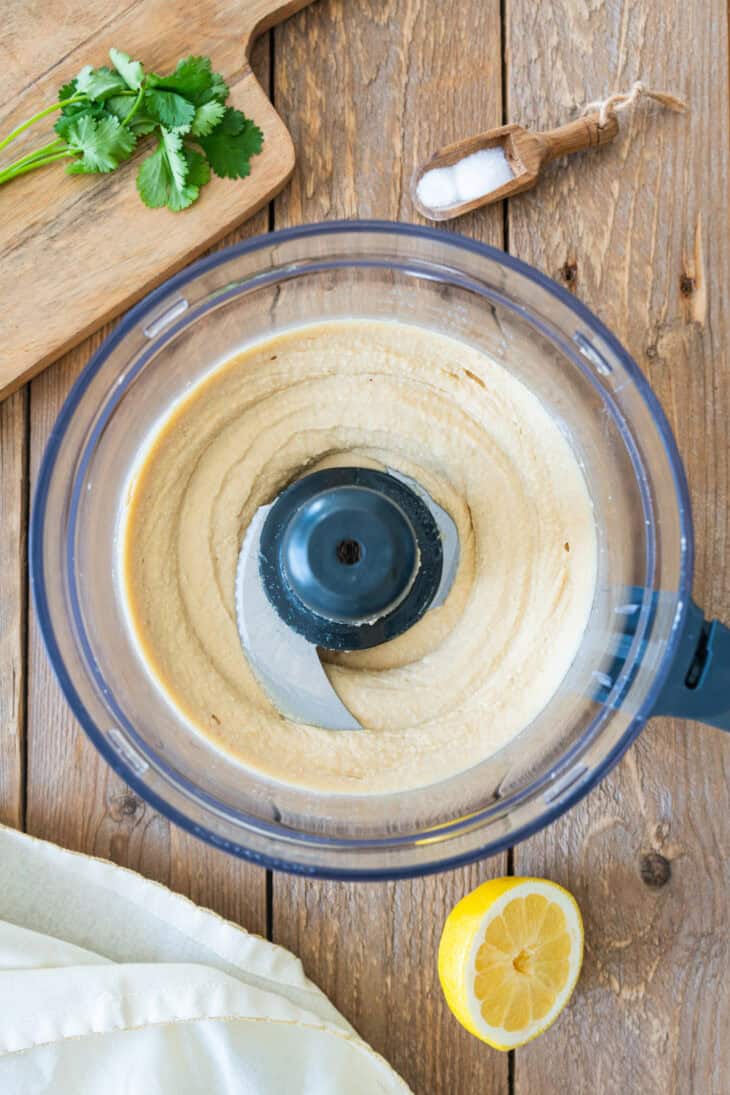
While the recipe takes a little longer to make than a classic hummus recipe since you need to roast garlic first (see note below), it’s equally easy to make. Place all the ingredients in a food processor and process until smooth. Feel free to add more or less water or lemon juice, until you achieve the desired texture, and always taste and adjust seasoning as you go.
How to roast garlic?
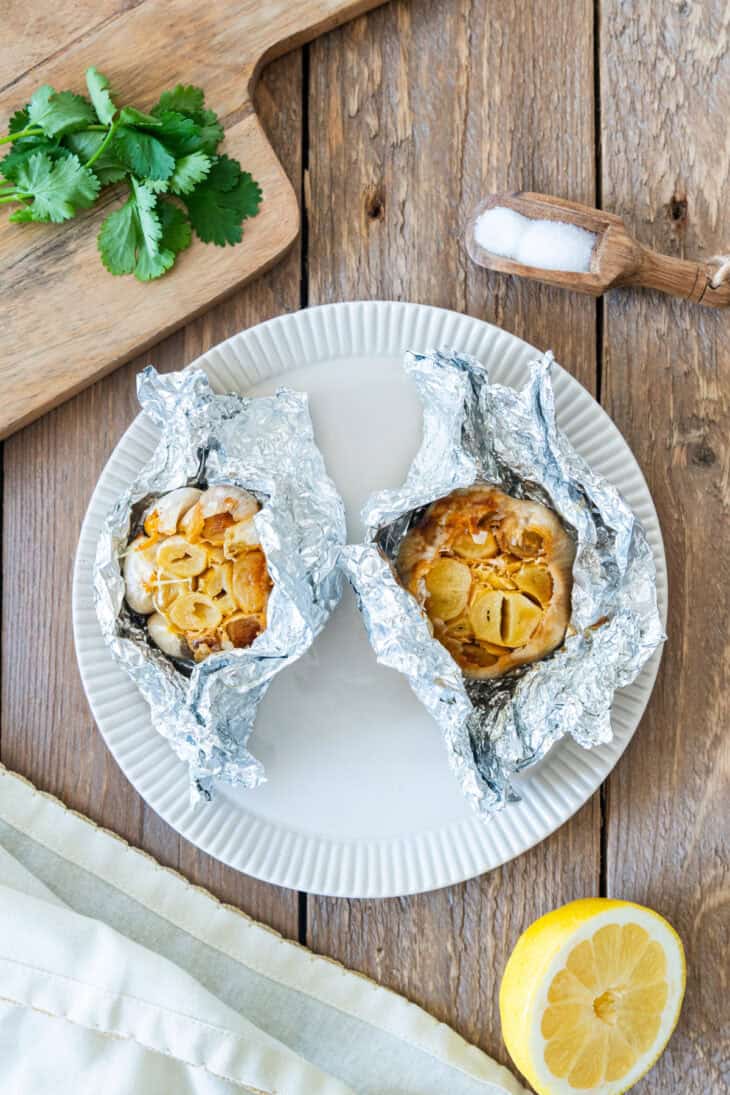
Cut about the upper part off of the head of garlics, just enough to expose the top (about ½ inch off the tops), and remove any loose papery outer layers. Place garlic cut side up on a piece of foil, generously drizzle with oil and wrap in foil. Place onto a baking tray, and roast for about 40-45 minutes, or until garlic is soft and tender (insert a knife into the center of garlic to check). Let cool slightly, then squeeze out the soft garlic from the paper cloves into the food processor.
Storing instructions
Store ahead of time (hummus always tastes better the next day), preferably in an airtight glass container or jar. If stored in a plastic airtight container, hummus tends to develop a funky taste, so you’ll want to avoid that.
Quick variation: classic hummus recipe (without roasted garlic)
If roasted garlic is not your thing or if you’re simply running out of time, you can still make a simple hummus by processing all the ingredients together in a food processor. The only thing that changes here is the quantity of garlic: use ONLY 2 garlic cloves (peeled) instead of 2 whole heads – which makes a huge difference! Because raw garlic has a sharper, more pungent flavor, you need less when used raw.
Other hummus recipes and beyond…
- Eggplant Rolls filled with Garlic Hummus
- Roasted Red Pepper Hummus
- Roasted Cauliflower Hummus
- Carrot and Turmeric Hummus
- Radichio Cabbage Salad with White Bean Hummus
- Mediterranean Quinoa Salad
- How to Serve a Shakshuka
Roasted Garlic Hummus
- Prep Time: 5 mins
- Cook Time: 40 mins
- Total Time: 45 minutes
- Yield: 4–6 servings 1x
- Category: Appetizer
- Diet: Vegan
Roasted garlic hummus is the ultimate hummus recipe! Super creamy, sweet and slightly smoky, this dip makes a fantastic snack or appetizer to serve along with pita chips or raw vegetables. The recipe also comes with a classic version (without roasted garlic).
Email me this recipe
We’ll send it straight to your inbox, along with weekly food inspiration!
Ingredients
- 2 heads garlic
- Extra virgin olive oil
- 2 ½ cups (400g) cooked chickpeas (or canned, drained with liquid reserved)*
- 4 Tablespoons tahini
- 3 Tablespoons fresh lemon juice
- 2 Tablespoons very cold water**, more as needed
- ½ teaspoon cumin
- ½ teaspoon salt, to taste (or less if desired)
Instructions
- Preheat oven to 400°F (200°C).
- Remove the loose papery outside skin from the garlic heads, but keep the cloves intact. Cut about½ inch (1 cm) from top. Place each garlic clove each in a separate piece of foil large enough to wrap around. Lightly drizzle with olive oil. Close the foil up. Bake in heated oven for 40-45 minutes or until the garlic is very soft. Remove from heat, let cool briefly.
- In the bowl of a food processor, fitted with a blade, squeeze the soft roasted garlic from the paper cloves. Add chickpeas, tahini, lemon juice, cold water, cumin and salt. Blend until smooth, adding a little more water or lemon juice**, until you achieve desired smooth texture. Taste and adjust seasoning as needed.
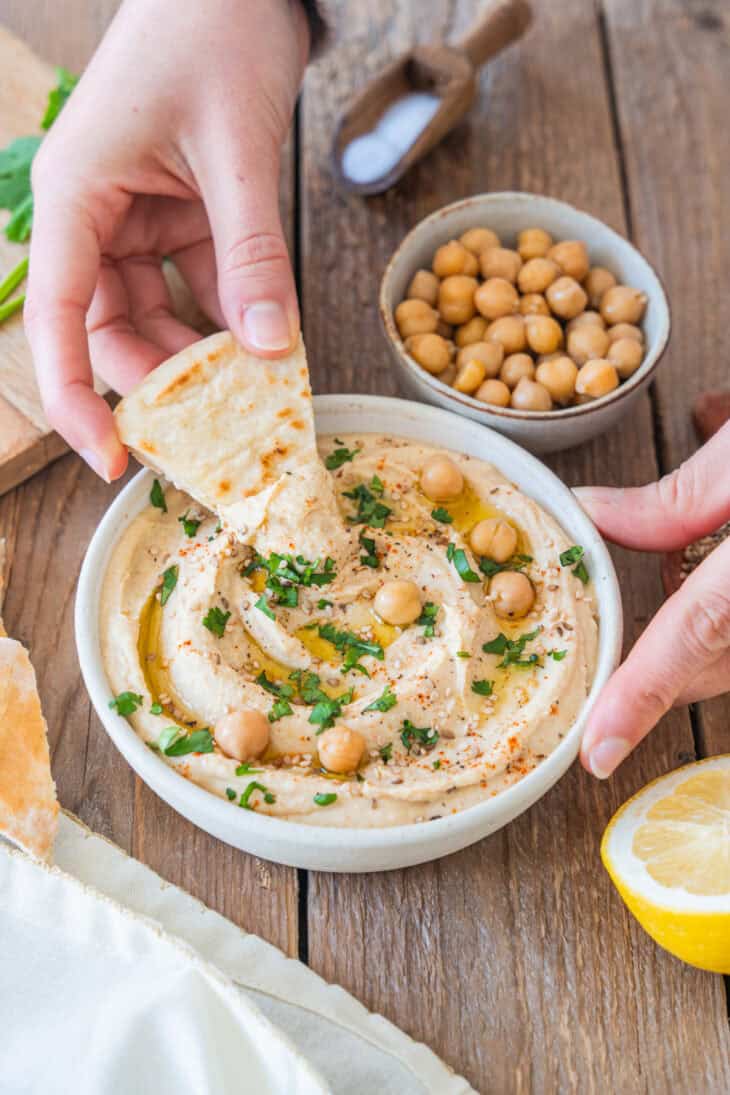
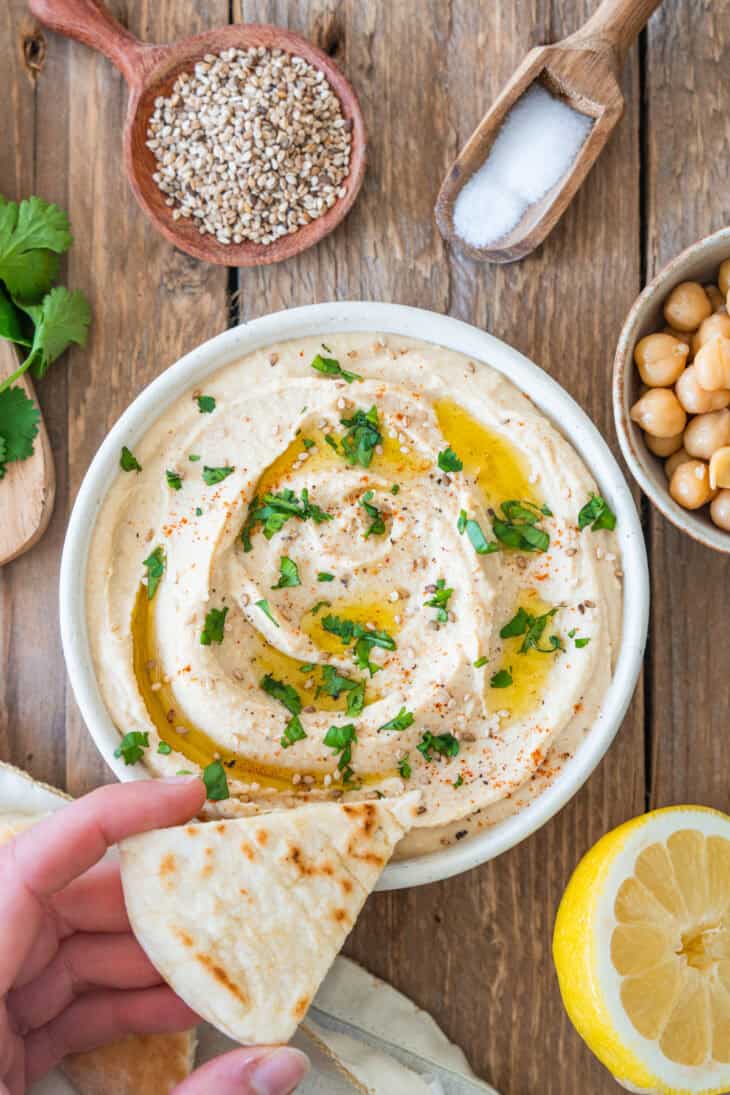
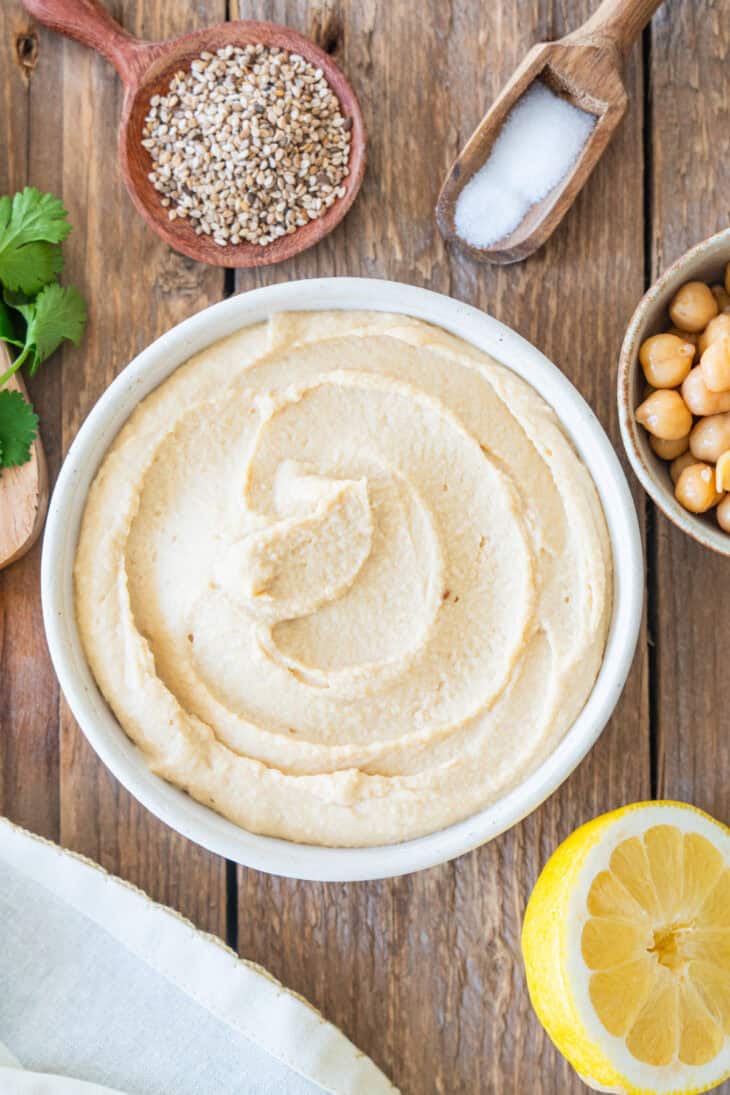
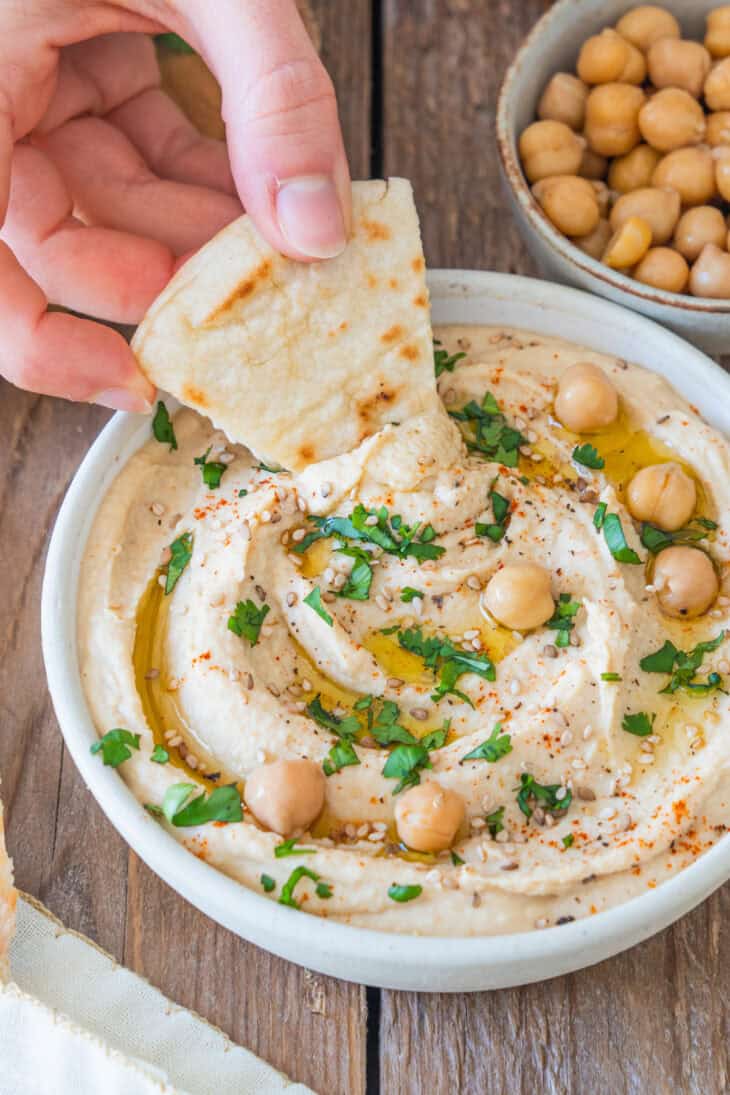
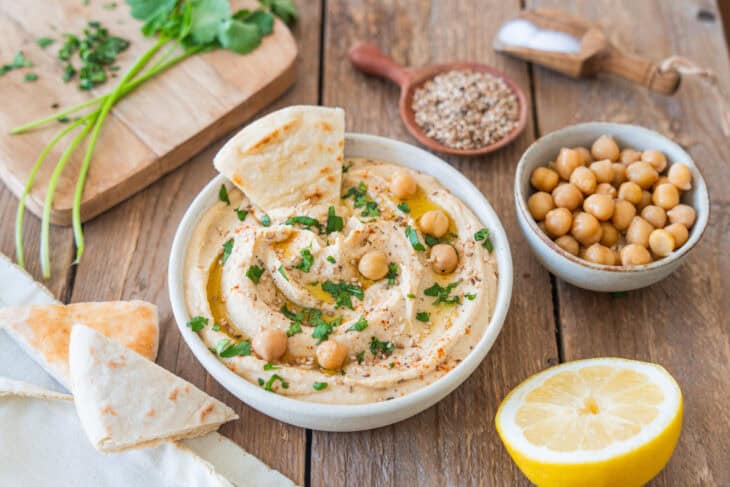
- Spoon the hummus onto a bowl, and spread the hummus with the back of a spoon to create swirls. Drizzle with olive oil, add whole chickpeas for garnish and fresh parsley or cilantro (optional). Serve with pita bread or raw vegetables.
Notes
* 2 ½ cups (400g) chickpeas is about 2 x 14-ounces can chickpeas. If using 15-ounces can, reserve some extra chickpeas for garnishing your hummus.
** Iced cold water guarantees a very smooth and creamy hummus. Another option consists in using aquafaba (the liquid from the can of chickpea) instead.
Classic hummus recipe version. To make a classic hummus out of this roasted garlic version, simply replace the two garlic heads with 2 cloves garlic only. Because you will add it raw directly to the food processor, you don’t need much and it will still add some sharp, pungent flavors.
Recipe by Del’s cooking twist | Photography by Athina Canevet Studio
Did you make this recipe?
Lastly, if you make this Roasted Garlic Hummus, be sure to leave a comment and give this recipe a rating, letting me know how you liked it. And of course, don’t forget to tag me on Instagram! Thank you and enjoy!




Gabichoo
trau de la balle