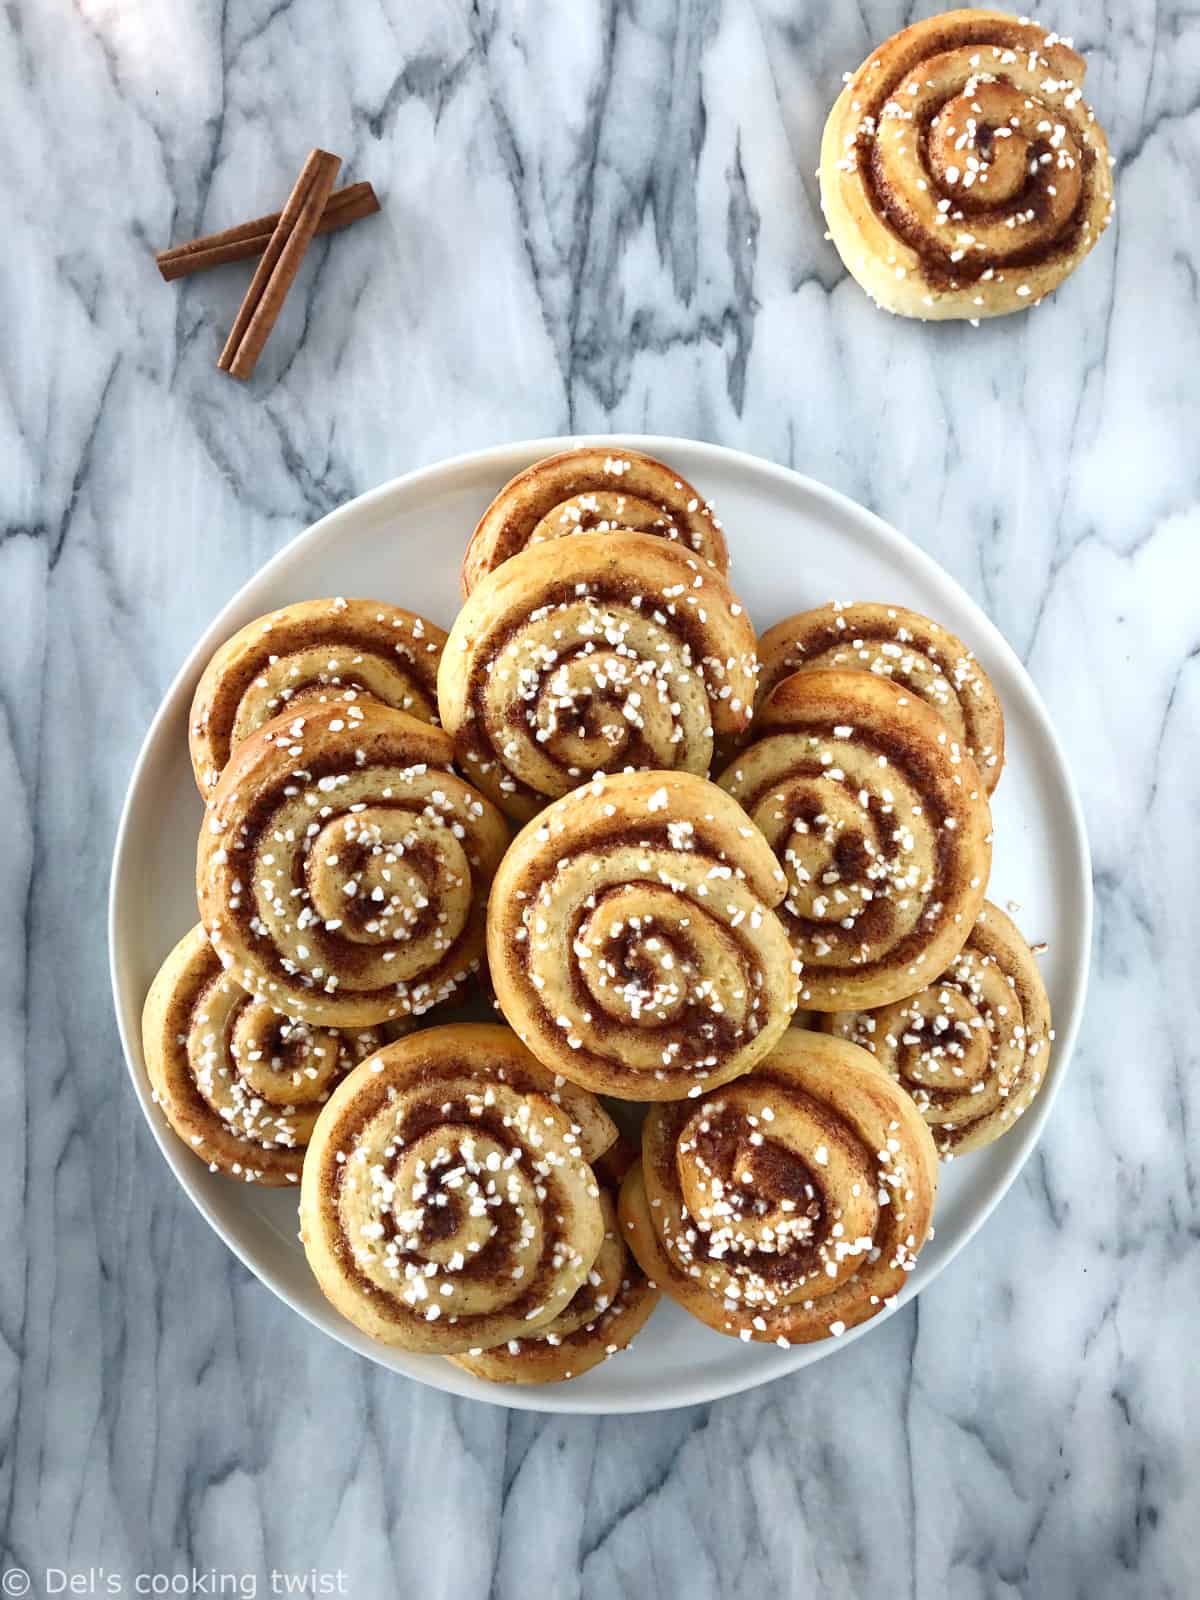
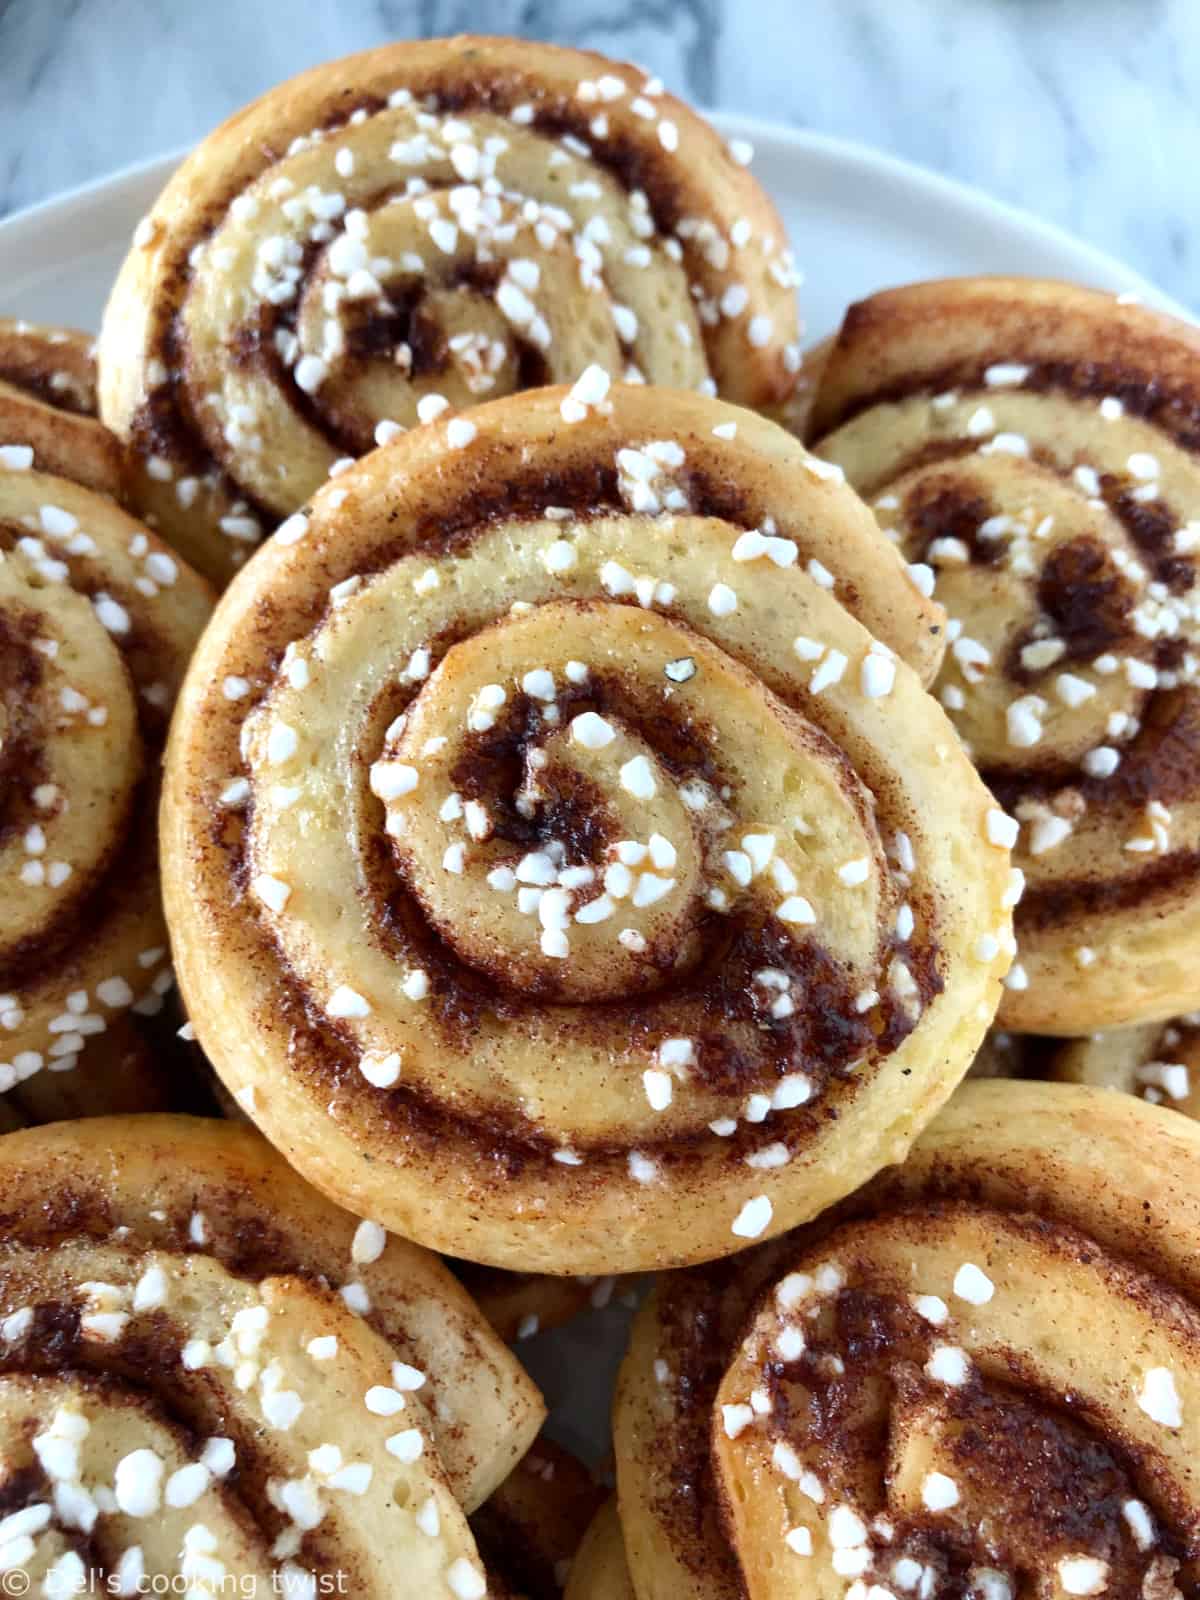
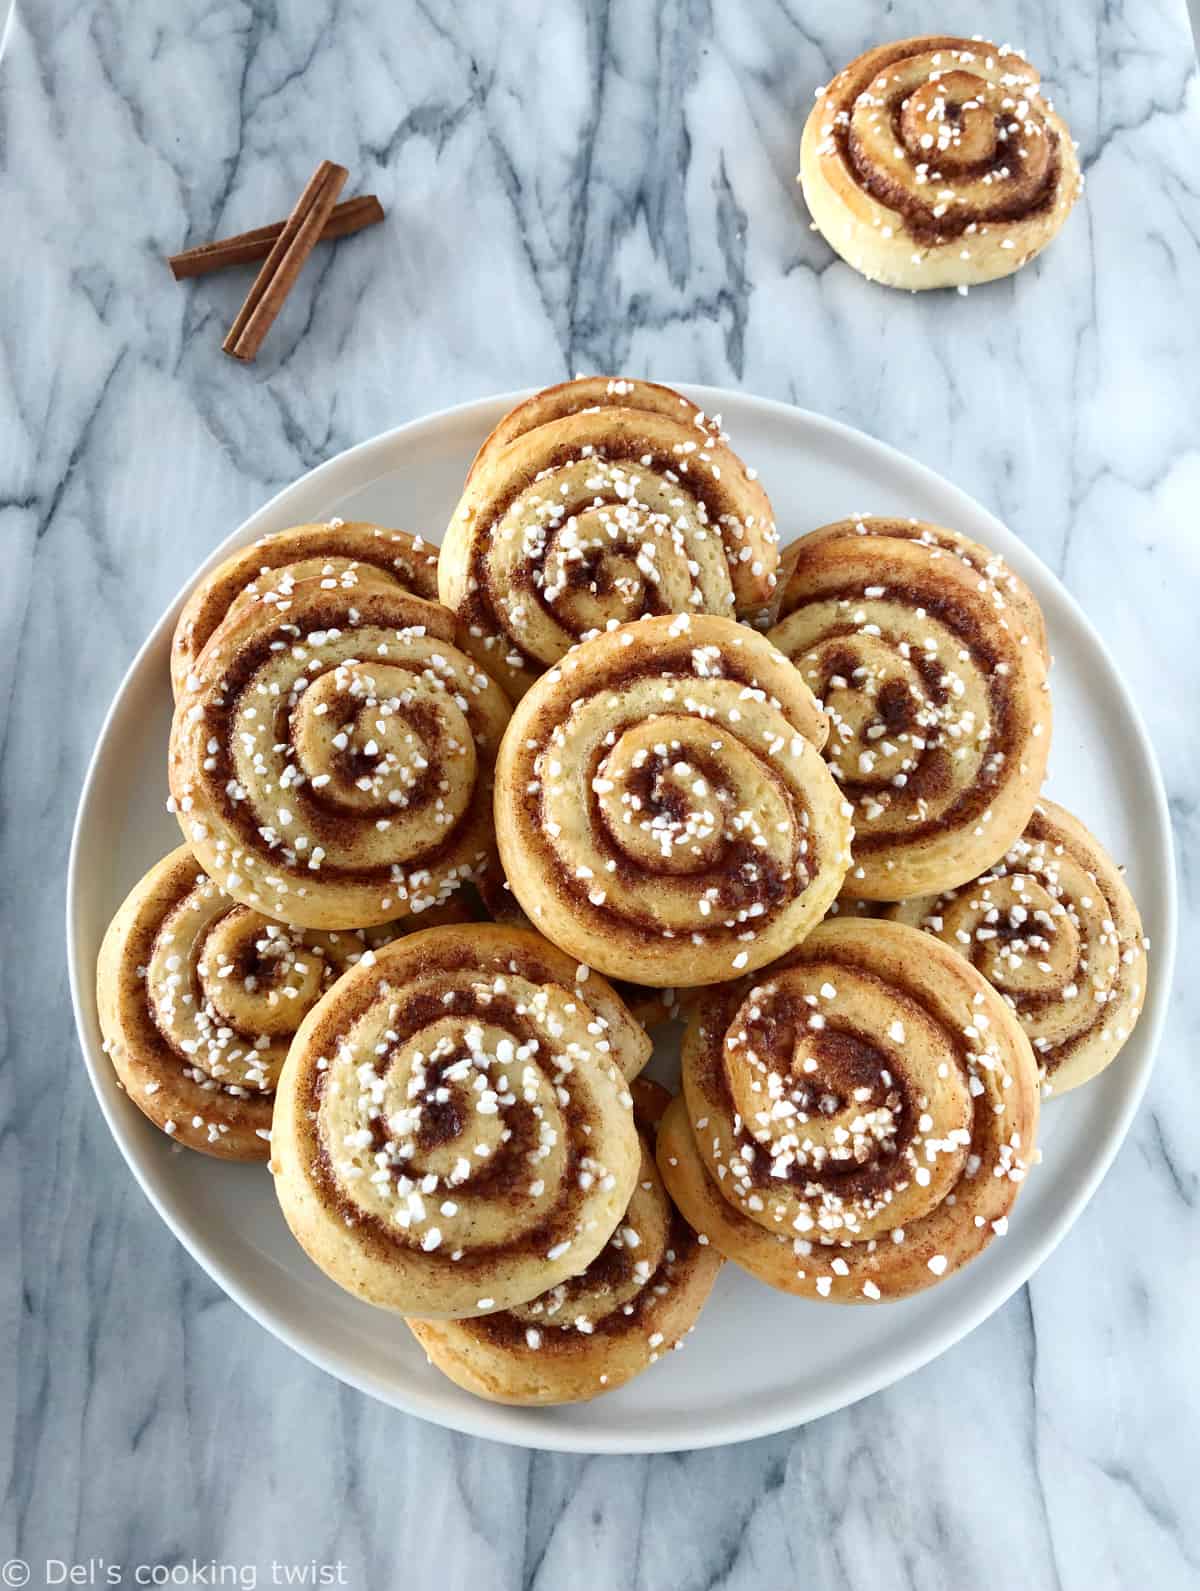
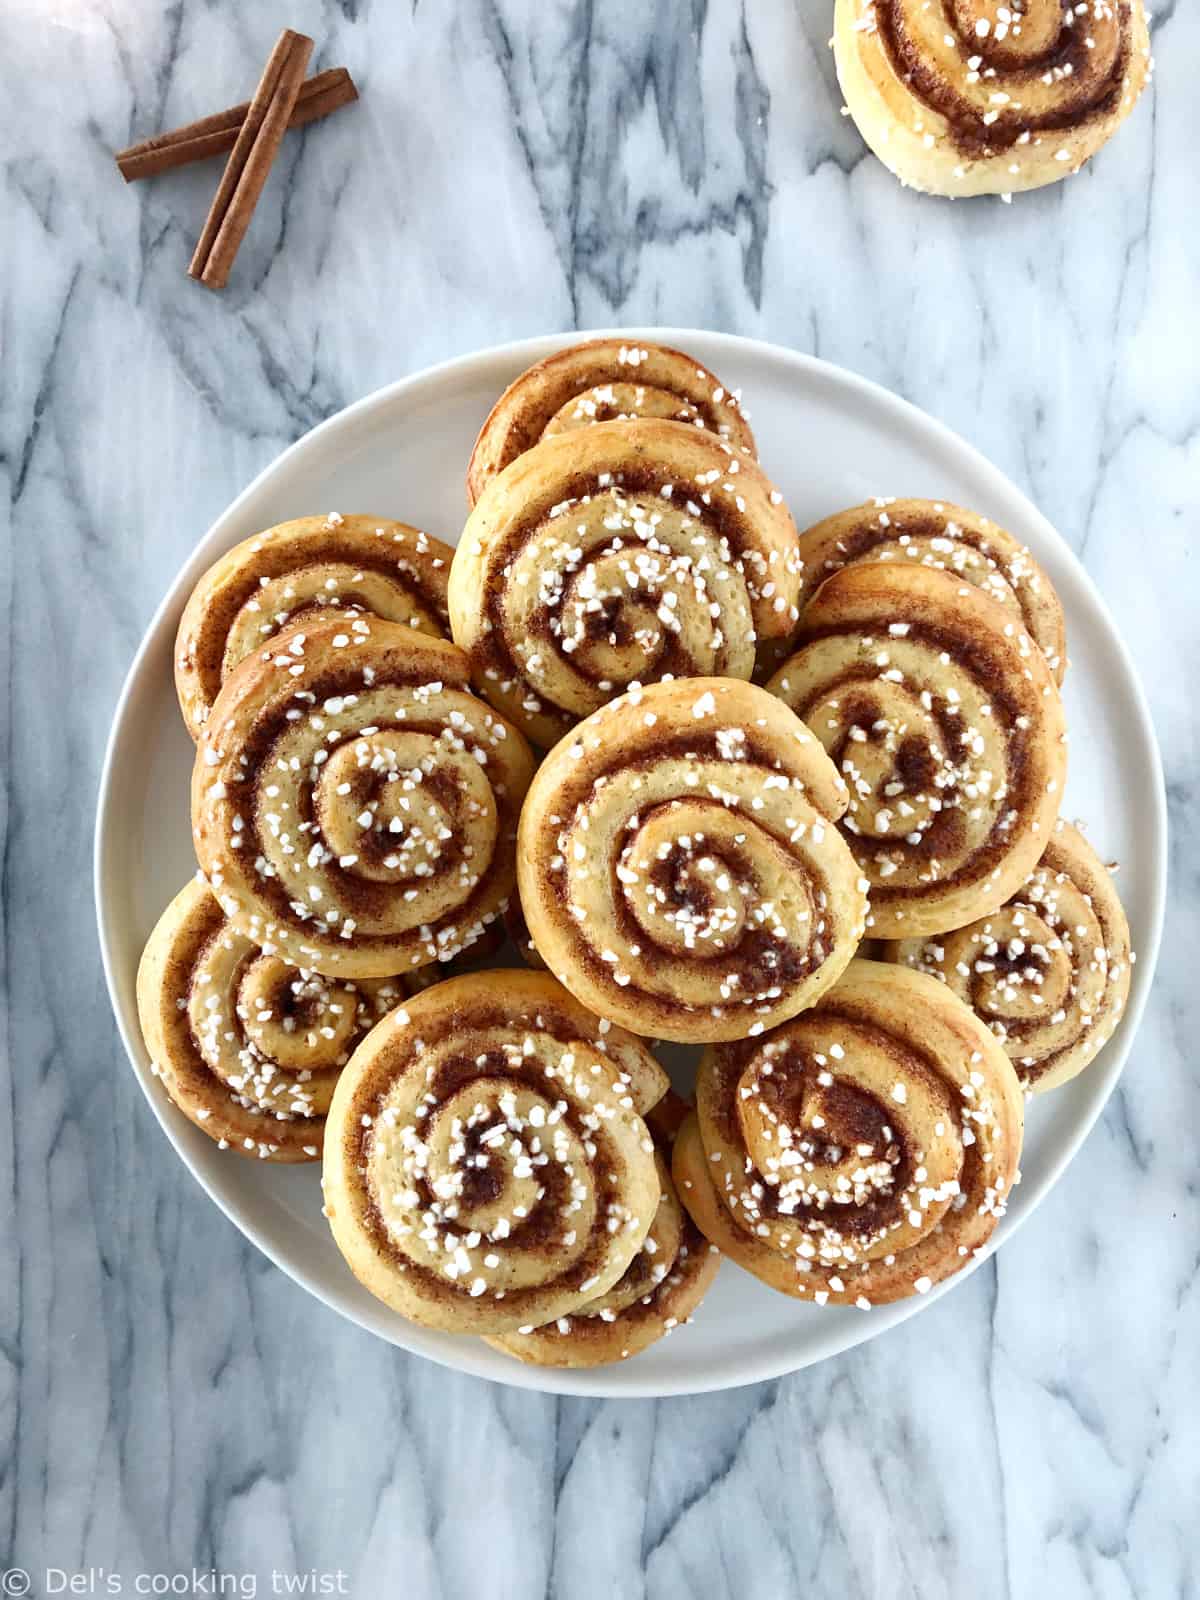
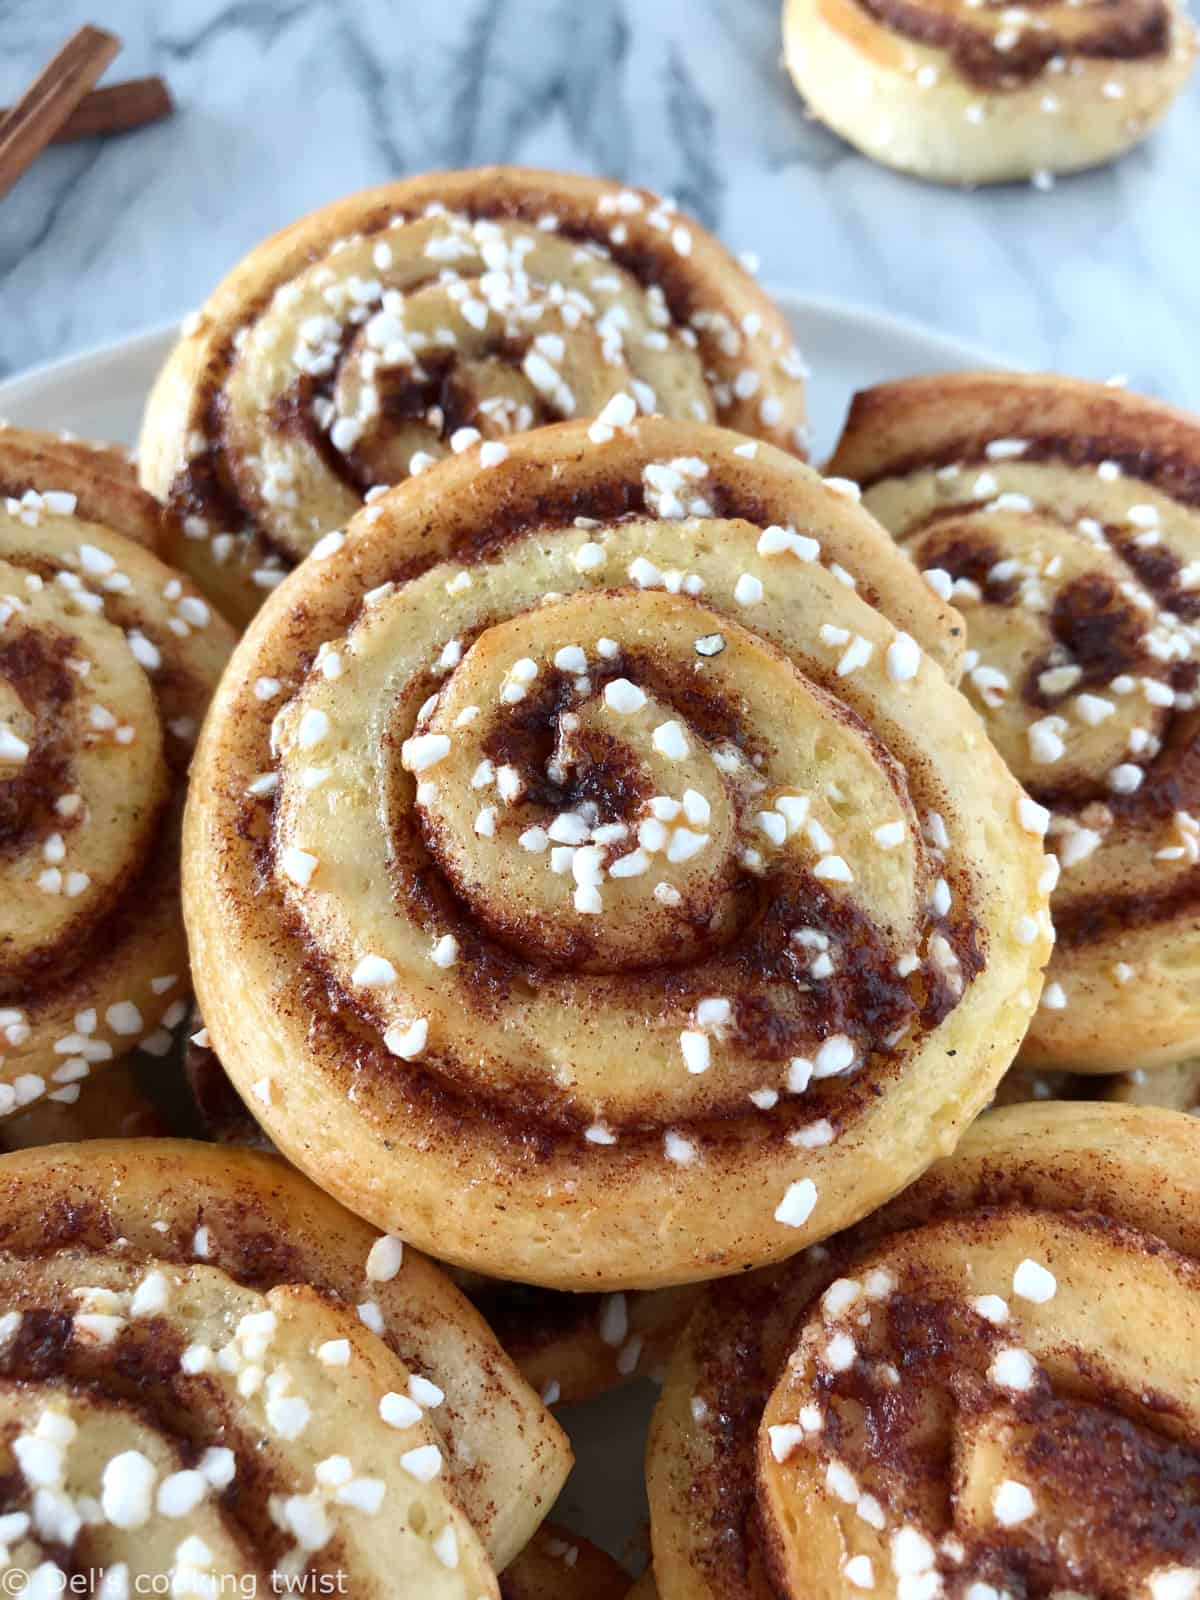
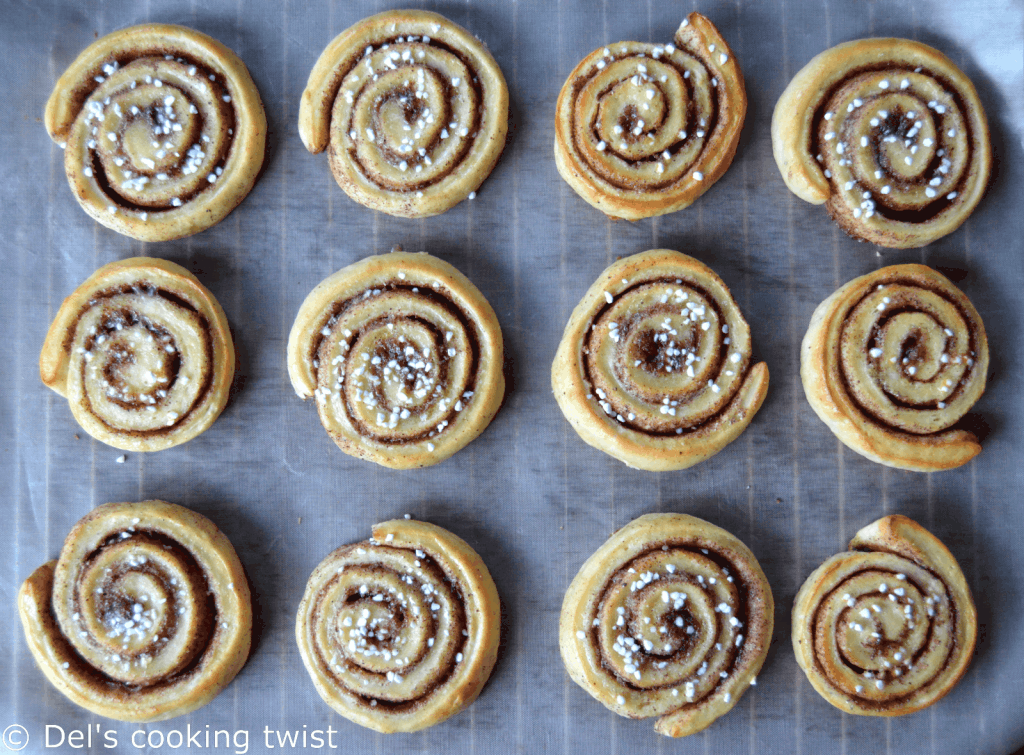
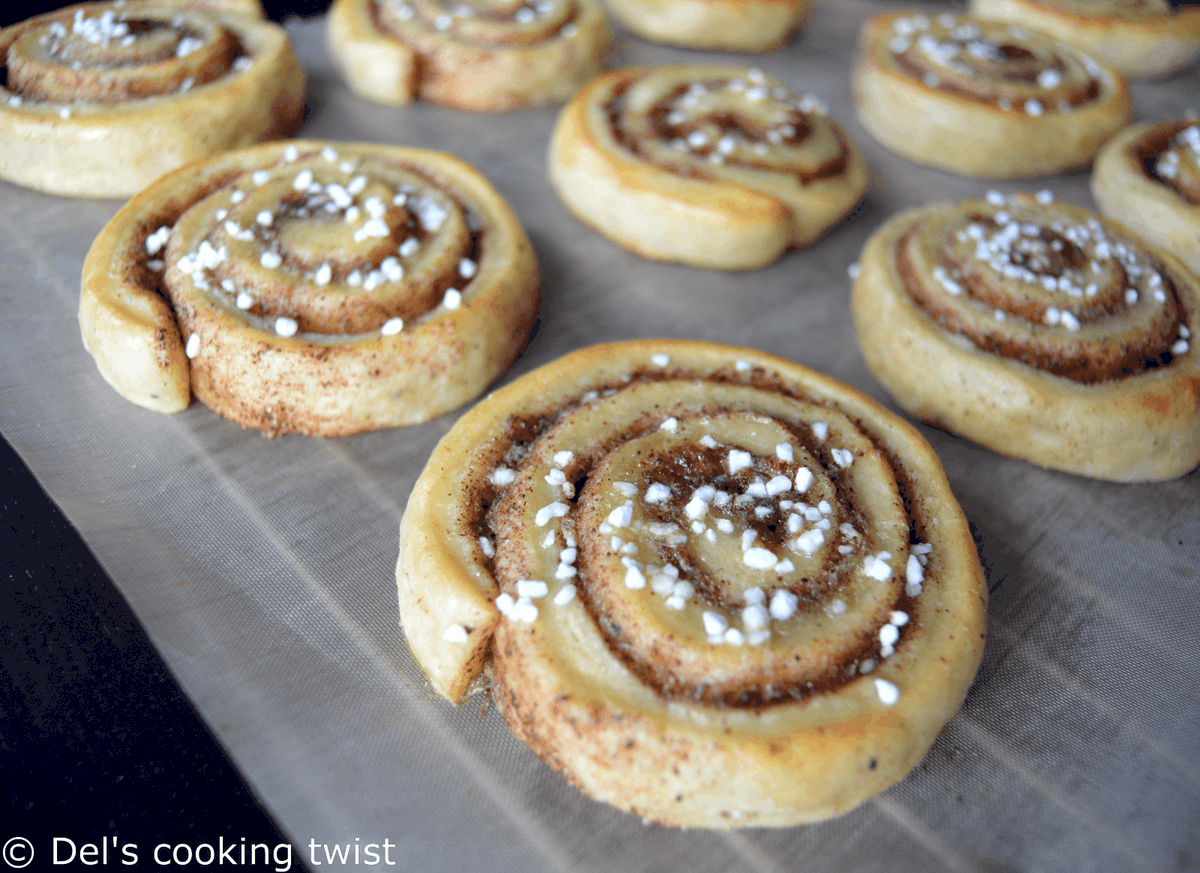
The authentic Swedish cinnamon rolls “kanelbullar”. The recipe is extremely easy and comes with a step-by-step tutorial to guide you.
Email me this recipe
We’ll send it straight to your inbox, along with weekly food inspiration!
When I visited my family in France for Christmas, my family asked me to bake some Swedish cinnamon buns. I came back to Sweden after the holidays and baked a second batch so that I could share this traditional Swedish recipe with you.
Before we go any further, it’s important to mention that there are many different cinnamon buns recipes, and they all come in different shapes (more or less advanced). This cinnamon roll recipe is VERY easy and the buns come out delicious!
Cinnamon rolls: the number 1 Swedish recipe
Swedish cinnamon rolls are the number 1 recipe in Sweden! You can find them absolutely everywhere, and cinnamon (followed by cardamom) is by far the number one spice in Sweden.
A family project. Believe it or not, but after all these years in Sweden, I had never baked this traditional Swedish pastry before (but I did eat quite a few… and more!). So while visiting my family in France for the holidays, my boyfriend now husband David and I took the opportunity to bake some cinnamon buns with our nieces, who are 3 and 8 years old. Oh gosh, we had such great fun together! While the small one was asking all the time if she could lick the spoon of butter, the bigger one was really focused on brushing the buns with the egg mixture and sprinkling the pearl sugar over the buns.

As you can see, baking kanelbullar is usually a perfect family project as the recipe makes plenty of buns and you need company to help you eat them all!
Good to know: October 4th is Swedish National Cinnamon Rolls Day!
How to shape the cinnamon rolls perfectly?
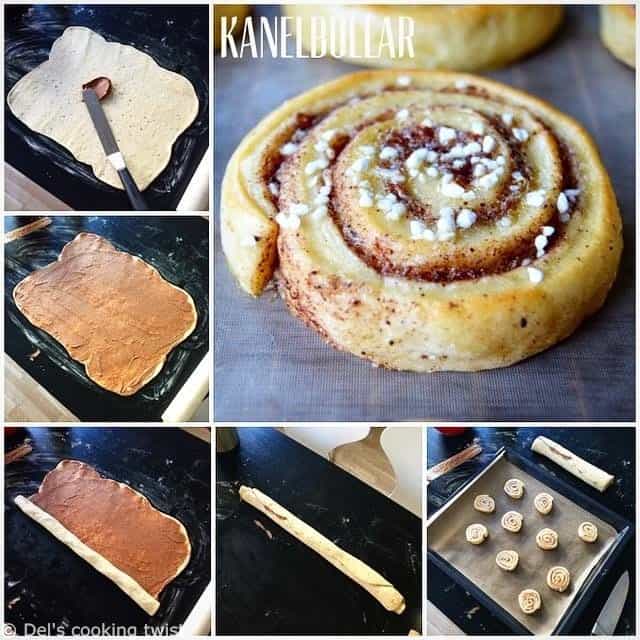
As the adage goes, a picture is worth a thousand words. So here it goes…
How to shape the cinnamon rolls:
- Start with rolling out the dough into a large rectangle.
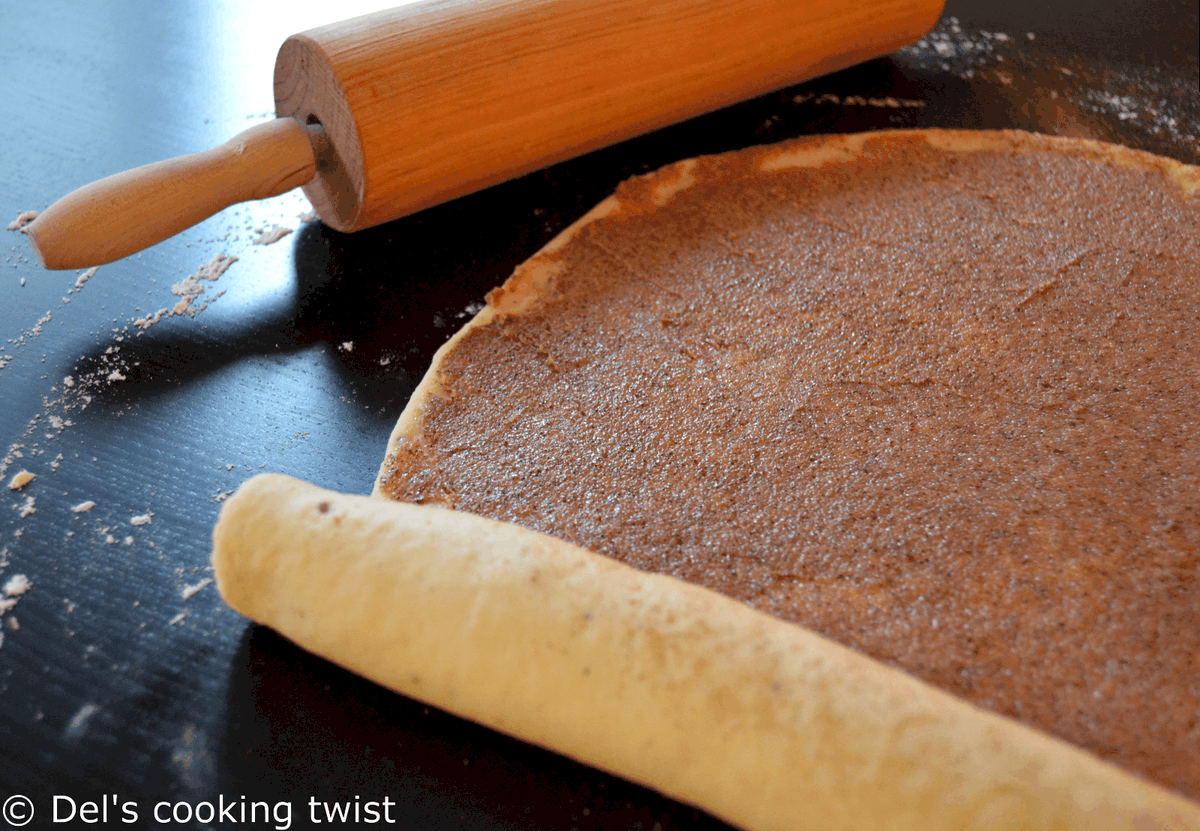
- Spread out the cinnamon filling (softened butter + cinnamon + sugar) all over the surface. Alternatively, you can spread out the softened butter, then sprinkle the cinnamon-sugar mixture all over.
- Now roll the dough, lengthwise.
- Cut the roll into about 25 slices.
See, it’s way easier than it seems, right? I bet you can do it too, with little helpers around.
What if I don’t have fresh yeast?
The recipe call for 1.2 ounces (35g) fresh yeast. The best practice is usually to crumble fresh yeast into a bowl, then whisk it with just a few spoonfuls of lukewarm milk and a little bit of sugar to activate the yeast. Make sure you don’t use hot milk however or you may kill the yeast. Let sit for 5 to 10 minutes, until mixture is bubbling slightly. Then it’s ready to use. If you don’t have fresh yeast, you can still make this recipe using instant dry yeast or active dry yeast, following the ratio suggested below. Note that instant dry yeast can be added to the ingredients directly while active dry yeast needs to be activated the exact same way fresh yeast is.
Perfect yeast ratio:
- Fresh yeast: 1.2 ounces (35g)
- Active dry yeast: 0.6 ounces (17g)
- Instant dry yeast: 0.4 ounces (11g)
In other words, to convert from fresh yeast to active dry yeast, multiply the fresh quantity by 0.4. To convert from fresh yeast to instant dry yeast, multiply the fresh quantity by 0.33.
It’s “fika” time!
Then we all sat at the table to have a proper “fika” as Swedes do, and enjoyed the warm buns fresh out from the oven with some tea. The entire house was perfumed with a delicious scent of cinnamon, and my boyfriend’s sister was really happy to rediscover the taste of cinnamon buns, reminiscent of her childhood in the US! Never heard of fika before? It’s actually the very first word I learned in Swedish and also my favorite one. It means literally “coffee break”, and often comes along with a sweet treat on the side. How sweet is that?
Fika is not just a coffee break in Sweden, it’s also an important time dedicated to socialize, and a serious ritual even in companies, where it is served once or twice a day. Indeed, studies have showed that some of the greatest professional decisions are made around fika, in a relaxed atmosphere that helps building a trust relationship exists between two parts. Yes, fika is a serious thing – and very fun too!
How to store kanelbullar?
You can of course eat them right away, fresh out from the oven. But for this, you need an army to feed, as the dough yields about 25 portions! These cinnamon rolls are usually best when eaten right away, but you can always warm them up in the oven a few minutes the following day.
How to freeze cinnamon rolls? If you plan to freeze cinnamon rolls so you can keep some for later, start with under-baking them slightly them, i.e. you can remove them from the oven when they are set but not golden yet. Then, let them cool completely at room temperature, place in ziploc bags and freeze them for up to 2 months. This way, whenever you have a cinnamon roll craving (yes it exists, I swear!), just remove from freezer and warm them up for 5 minutes in the oven at 350°F (180°C). I usually do that for a cozy Sunday breakfast.
Now, have fun baking in the kitchen and enjoy these lovely Swedish cinnamon rolls!
More Swedish baking recipes:
- Swedish Orange Cardamom Buns
- Swedish Cinnamon Star Bread (+ VIDEO) (similar to the kanelbullar but in a different shape)
- Swedish Saffron Buns
- Blueberry Vanilla Buns
- Swedish Rhubarb Cardamom Buns
- Cardamom Raspberry Buns
To go further, make sure you check these 12+ Classic Swedish Recipes.
PrintSwedish Cinnamon Rolls (Kanelbullar)

- Prep Time: 1 hour 30 mins
- Cook Time: 6 mins
- Total Time: 1 hour 36 mins
- Yield: 25 rolls 1x
- Category: Breads and brioches
- Cuisine: Swedish recipes
- Diet: Vegetarian
The authentic Swedish cinnamon rolls “kanelbullar”. The recipe is extremely easy and comes with a step-by-step tutorial to guide you.
Email me this recipe
We’ll send it straight to your inbox, along with weekly food inspiration!
Ingredients
For the cinnamon rolls:
- 35g fresh yeast
- 1 ½ cup (360 ml) milk
- ½ cup (120g) butter
- ½ cup (100) white sugar
- 1 large egg
- 1 teaspoon salt
- 1 Tablespoon ground cardamom
- 6 ¼ cups (750 g) all purpose flour
For the filling:
- ½ cup (120g) butter, at room temperature
- ¼ cup (50g) white sugar
- 2 Tablespoons ground cinnamon
For the glaze:
- 1 large egg
- 2 Tablespoon (15 ml) water
- 2 Tablespoons (30g) pearl sugar
Instructions
- Crumble the yeast in a bowl and stir in a few Tablespoons of milk. Melt the butter and pour the milk on it. Add the rest of the ingredients and knead the dough for approx. 10-15 minutes (very important). Let the dough rise while covered at room temperature for a minimum of 30 minutes.
- Roll out the dough so it is about 3mm (1/8 in) thick and 30 cm (12-inch) wide. Spread the room temperature butter on top. Make a mixture of sugar and cinnamon and sprinkle it over the dough.
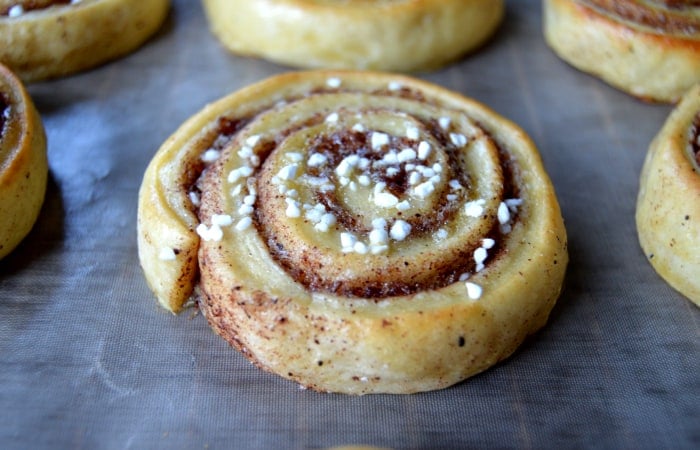
- Roll the dough the long way and cut the roll into about 25 slices. Place them with the cut edge upward in paper molds or on a baking sheet directly. Let rise under a cloth for about 1 hour or until the buns have doubled in size.
- Beat together the egg and water. Brush the mixture carefully over the buns and sprinkle pearl sugar on top. Bake in the oven to 425°F (220°C) for 5-6 minutes. Allow to cool on a rack before serving. Enjoy!
Did you make this recipe?
Lastly, if you make this Swedish Cinnamon Rolls (Kanelbullar), be sure to leave a comment and give this recipe a rating, letting me know how you liked it. And of course, don’t forget to tag me on Instagram! Thank you and enjoy!


Alla
Used 25 g of live yeast so had to reduce the other ingredientes (to about 5 1/2 cups of wheat). The roll was soft, more fluffy than on pictures, and delicious! I’ll repeat for sure!
Del
Hi Del. I made these today. As there’s only me and my hubby at home, I only did a third of the recipe and cut them a tad thicker than these so I ended up with 6 buns. They were so fluffy, soft and delicious. Thank you for a great recipe.
Monica
Just pure love. It s again that time of the year that we must do them. The fall, the orange leaves, everything is so pretty outside , the chilly weather calls for them especially when you have a teen daughter who craves now and again.
Just did them and have already the frozen bags for our sunday brunch. As I am on the sourdough mode these days and havent used yeast for over a year for personal health issues I was wondering if i could do it with discard and how far in advance or how many hours does it need to rest .Many thanks for another year Del.
xx Monica
Delphine Fortin
Thank you so much for your feedback, Monica! Del
monica
Our all time favorite recipe .We did it again today.We have done them so many times and the dough is so satisfying with an amazing result . With the end of the roll we always cut them thicker so we get 4 Cinnabons to eat straight away. The rest we like to keep for our Sundays cravings if we don t make pancakes.
Happy to confirm this recipe is the best.
Delphine Fortin
Oh thanks, Monica! I’m so happy you love this recipe so much. Like you I LOVE that the dough is so easy to put together. Thanks again and have a great day! Del
Sara
Hi Del 🙂 i’d love to try this recipe but wanted to know what you’d recommend when using dried yeast instead of fresh yeast?
Tack!
Sara
Delphine Fortin
Hi Sara! You can use 17g dry yeast instead. I hope it helps! Del
Lea
Could you explain why you do not use a pre-dough for this recipe while you do for the cardamom buns?
Delphine Fortin
Sure! The only reason is that this recipe is a quick, simple one, while the cardamom buns are a more advanced version that also takes a little bit more of effort. The pre-dough also helps the buns to keep longer. That being said, you can take one or the other dough recipe and swap the fillings (cinnamon or cardamom). I hope it helps! Del
Claire
Une vraie réussite !
C’est très facile à réaliser, même pas besoin de rajouter de la farine pour pétrir ou étaler la pate c’est parfait !
Quand au goût… C’est délicieux ! (J’ai remplacé la cannelle par de la cardamome). J’en ai fait un peu plus que dans la recette (29) et je les ai cuits un peu plus longtemps (12 Mn)
Merci !!
Delphine Fortin
Oh tu as fait la version à la cardamome, ma préférée. Ravie que la recette t’ait plu, Claire.
élisabeth
Une totale réussite, merci pour la recette !
Delphine Fortin
J’en suis très heureuse. Merci Elisabeth! 😀
Pinelopi Douramani
Excellente recette!Bien meilleure que celle de ma tante habitant en Suède depuis des années!!!
Merciiii!J’ai pas pu trouvé le sucre pour décorer et j’ai mis du sucre roux!!!
Mounia Dounas
Merci pour ce compliment ;). Je suis très contente que la recette vous ait plu.
Marie
Recette réalisée ce week-end, 47 kanelbullar à la clé et tout le monde a adoré. Un grand merci !
Delphine Fortin
Oh, joli! Ravie d’apprendre cela et merci de ton retour Marie. Bien à toi. Del
Géraldine
Merci pour cette recette!! Cela fait quelques années que je prépare des kanelbullars et tout le monde adore mais j’ai souvent du mal à étaler la pâte ce qui m’obligue à rajouter de la farine et les rend rapidement sèches. De plus, une fois sur trois, la pate se montre capricieuse et ne monte pas ( je la fais dans une machine à pain). Mais votre recette, qui au départ m’effrayait un peu vu la quantité de farine, est formidable. La pâte était parfaite, facile à étaler.
Lorsque mes enfants les ont goûtées mon fils de cinq ans en fin connaisseur s’est écrié: ” On garde la recette!”
J’ai découvert votre blog à cette occasion et je vais m’empresser d’essayer d’autres recettes.
Une très belle découverte.
Delphine Fortin
Bonjour Géraldine! Votre commentare ne saurait me faire plus plaisir! Je suis absolument ravie de voir que ma recette de kanelbullar ravit les papilles de tout le monde dans la famille. C’est en effet une recette toute simple et c’est ce que j’aime tout particulièrement à son sujet. Très heureuse qu’elle vous ait par ailleurs permis de découvrir le blog, j’espère que vous y trouverez votre bonheur! Bien à vous. Del
Cigogne
Bonjour, ces brioches ont l’air délicieux. Peut-on les faire la veille? Peut-on les congeler? Merci
Delphine Fortin
Bonjour! Mon conseil est de préparer la pâte la veille et de la laisser lever durant la nuit pour n’avoir que la dernière étape à réaliser le jour J. Les brioches sont toujours meilleurs réalisées le jour même. Et sinon il est parfaitement possible de les congeler une fois cuite. Il vous suffira ensuite de les passer au four 5 minutes et vous aurez des petites brioches à la cannelle qui auront tout des fraîches, ou presque! 🙂
Towimimi
Super recette ! Toute ma petite famille s’est régalée ! Nous allons bientôt a Stockholm donc c’est un avant goût! J’ai juste fait des traits de glaçage sur le dessus à la place des grains de sucre. Je garde cette recette et je compte bien la faire souvent !!
Delphine Fortin
Oh super, je suis très heureuse d’entendre cela, Sabine. C’est pour moi aussi une recette phare dans ma famille, que je refais très souvent et qui ne me déçoit jamais. Très bel avant goût de Stockholm, en espérant qu’elle vous plaira autant qu’à moi. Bon voyage! 🙂
Mabelle
Bonjour !
Je viens d’essayer votre recette. J’ai eu un mal fou à découper le rouleau de pâte (avec un couteau à dents, couteau sans dents, couteau à fromage puis avec un fil pour foie gras…) Au final, j’ai été obligé de mettre au frigo mon rouleau de pâte pour pouvoir le découper correctement…Et là, j’ai enfin réussi. Et vous ? Comment faites-vous ?
Merci !!!! Sinon tout est super et bon (et pas trop sucré en plus !!)
Delphine Fortin
Bonjour et ravie d’apprendre que ma recette vous ait plu. Normalement ce n’est pas si difficile de couper le rouleau de pâte, dès lors qu’il est bien serré et que l’on utilise soit un large couteau sans dents soit un fil pour foie gras. Pour ma part je n’ai jamais eu besoin de mettre la pâte au frigo, et pourtant j’ai fait cette recettes un certain nombres de fois ! Un conseil : ne vous formalisez pas trop si la petite brioche roulée se déforme légèrement au moment de la découper, il suffit ensuite de la déposer sur la plaque allant au four en lui redonnant sa forme légèrement, car à cette étape de la recette, elle est toujours très maléable. En espérant avoir répondu à votre question 🙂
Lucie
Bonjour Delphine,
Comme toutes les personnes ayant fait un passage en Suède, j’ai adoré ces jolies petites brioches dorées qui sentent si bon la cannelle. Même le métro de Stockholm à certains arrêts sent le Kanelbullar ! Un vrai délice !
Évidemment je trouve ta recette parfaite et authentique ! Je l’ai faite plusieurs fois et évidemment partagée avec plein de monde. Elle enchante à chaque fois…. “Mais comment fais-tu ça c’est simple et tellement bon !”
Quand j’en prépare j’en fais beaucoup. Et j’aimerais donc les congeler. Dois-je les pré-cuire ou dois-je congeler la pâte crue, avec la crème à la cannelle. Si je congèle cru, dois-je congeler en rouleau ou déjà coupé en brioche ?
Merci pour tes précieux conseils
Et merci de partager tes recettes 🙂
Delphine Fortin
Bonjour Lucie, et merci pour cet adorable commentaire qui me fait chaud au coeur. Eh oui en effet, l’odeur de kanelbullar est presque omniprésente à Stockholm dès qu’on approche une “bakery” ou un 7/11 dans le métro! 🙂 Très heureuse d’apprendre que tu as fait la recette plusieurs fois déjà et qu’elle te plaît! Pour ce qui est de les congeler, je te recommande de les couper déjà en rondelles, de les précuire quelques minutes seulement, puis de les congeler. Une fois que tu voudras les utiliser, tu n’auras plus qu’à les enfourner de nouveau 3-4 minutes supplémentaires et tu auras là des kanelbullar (presque) tout frais! Il est également possible de les cuire jusqu’à la fin (éviter qu’ils ne soient trop dorés cela dit) puis de les congeler ensuite. Dans ce cas, je recommande de les laisser décongeler à température ambiante puis de les passer au four chaud quelques instants avant de les déguster. En espérant avoir répondu à ta question, je te souhaite une excellente journée ! /Del
Aurélie
Hello ! Je vais faire cette recette elle à l’air délicieuse ! Tu crois que si je fais la pâte et que je la laisse reposer au réfrigérateur 24h ça va aussi ? Et si je divise la recette je mets quelle quantité de levure ? UN GRAND MERCI 🙂 (J’aimerais la faire ce soir, j’espère que tu arriveras me répondre :-))
Delphine Fortin
Super Aurélie, tu verras c’est délicieux 🙂 Si tu divises par deux tu fais de même avec la levure tout simplement. Ce que je fais souvent sinon c’est de suivre la recette et les proportions ici et congeler quelques kanelbullar ensuite, c’est toujours un régal à réchauffer au four pour des matins pressés!
Juliette
Excellente recette je l’ai testée le week end dernier, ces petites brioches sont vraiment délicieuses. Merci beaucoup d’avoir partagé une aussi bonne recette.