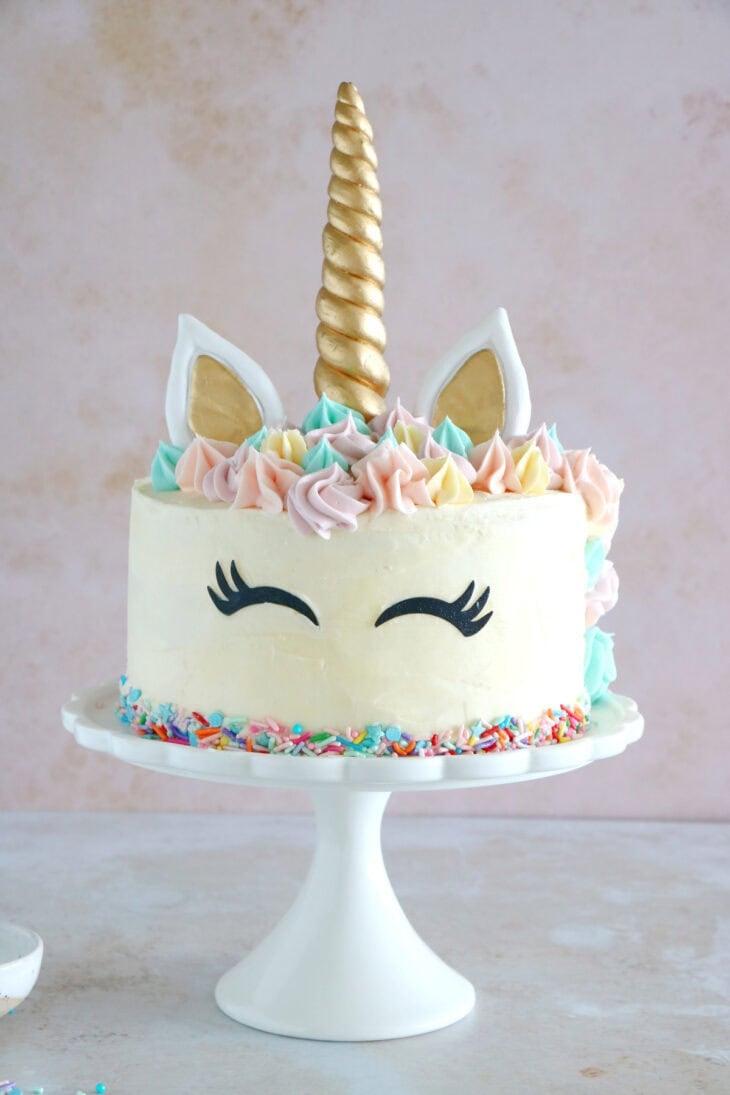
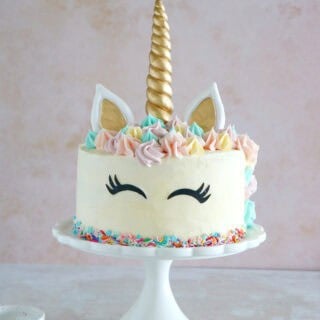
This unicorn cake will bring some sparkle into your life! Bake it for a birthday party, a baby shower, or any other magical celebration. This three-layer funfetti cake is covered with buttercream, elevated with a golden horn and ears and decorated with a pretty pastel buttercream mane. The recipe comes with detailed, step-by-step instructions, and useful tips to make it ahead of time.
Email me this recipe
We’ll send it straight to your inbox, along with weekly food inspiration!
Never would have I thought, even in my wildest dreams, that I would one day bake a unicorn cake! You know, I’m just not that kind of mom. I like ‘real-looking’ cakes, prepared with natural ingredients. But when my daughter became obsessed with all things unicorn and kept asking me to bake a unicorn cake for her 4 year old Birthday party with lots of sprinkles, my heart melted instantly and I decided to give it a go. I actually had fun making it, and even managed to find some natural food coloring options to make it more ‘natural’. But eh, I also figured we’re 4-year-old only once, so we can make an exception anyway!
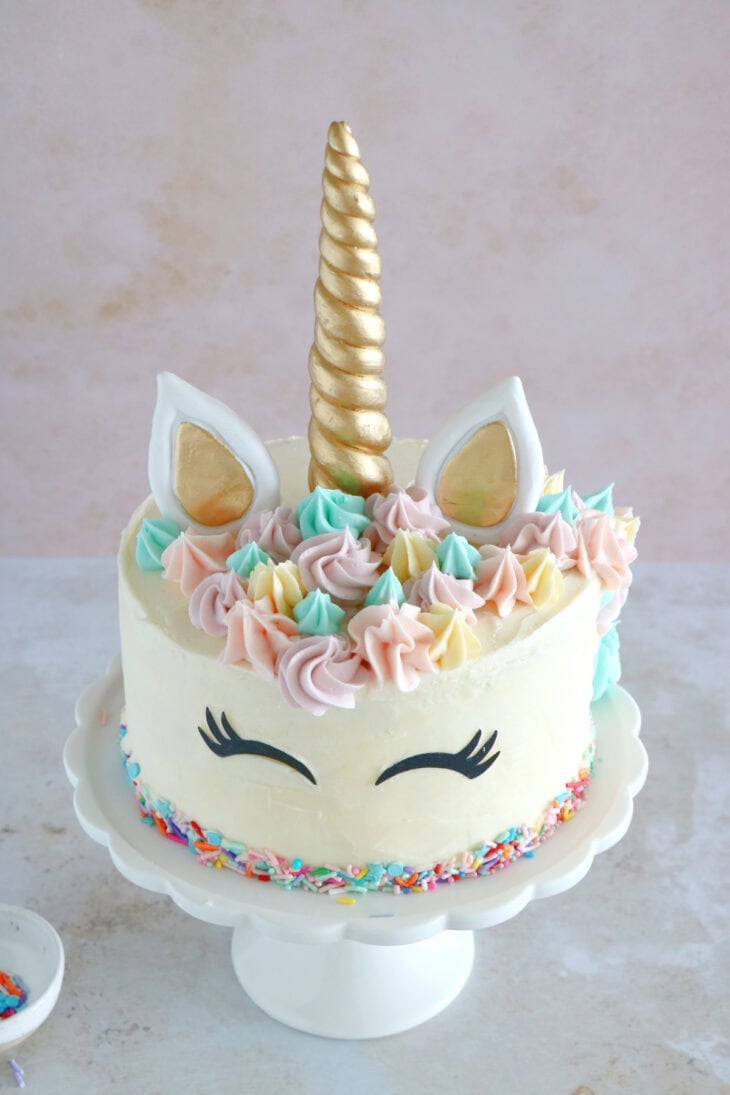
Now, does it require some time to make a unicorn cake from scratch? Yes it does, I’m not gonna lie here. Would I do it all over again if I had to? Absolutely, the magic in my daughter’s eyes was just priceless! (my husband did not understand this project until he saw her so happy about the cake).
This unicorn cake recipe comes with…
- Step-by-step, detailed recipe instructions.
- Useful baking tips for beginners (baking equipment needed, the choice of sprinkles, crumb coat, etc.).
- Unicorn cake topping alternatives (homemade or purchased).
- Make-ahead instructions (for the cake, the buttercream, the colored buttercream) to spare you some previous time.
- A printable recipe card (very useful and highly recommended for this baking project).
Baking equipment needed (tools and special ingredients)
- 3 (7-inch / 18 cm) round cake pans. The recipe is tailored for a 7-inch round cake pan. If you don’t have three pans, simply bake the layers in multiple rounds.
What if I don’t have the right cake pan size? You can make the cake slightly smaller or larger, within the 6 to 8-inch margin. Best is to adapt the recipe proportions (hello maths!), or adjust the recipe as follows.
- If you use a 6-inch (15 cm) round cake pan your unicorn cake will be higher in size. Don’t fill more batter than half the cake pan, and bake the cakes a little longer to ensure they’re baked through in the center. You may have some leftovers, that you can use to bake cupcakes.
- If you use a 8-inch (20 cm) round cake pan, your unicorn cake will be less high and cake layers thinner. Adapt the baking time accordingly, checking often, to ensure you do not overbake the cake.
- A large offset spatula. Using a large offset spatula is very useful for cake decorating and smoothing out the frosting on top and on the sides of the cake. If you do not have one, you can use with a butter knife.
- 4 piping bags, each equipped with the star piping tip. You can use reusable piping bags if needed. If you have various piping tips, choose the ones you’d like to decorate the cake (always keep at least one star piping tip).
- Food coloring. You need 4 food coloring to make this exact unicorn cake: pink, purple, blue and yellow. If available, choose a natural food coloring option.
- Sprinkles. Read note below to ensure you make the right choice of sprinkles.
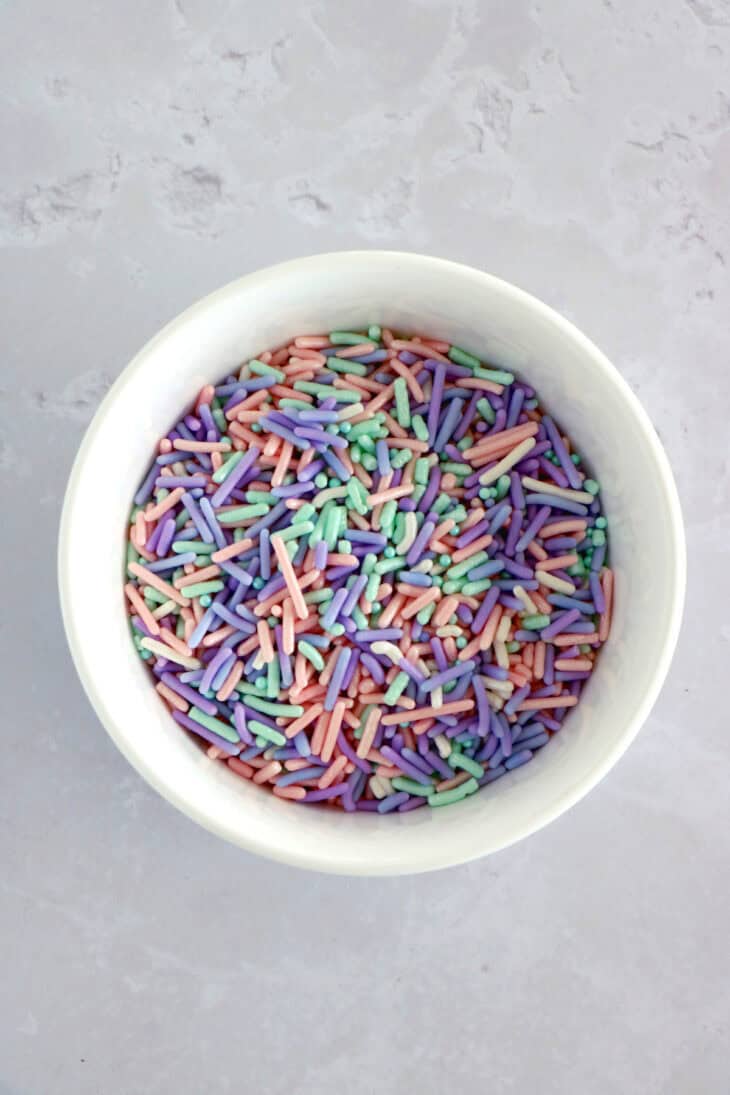
Which sprinkles should I use? Make sure you use jimmies sprinkles (thin, long-shaped sprinkles) for the cakes. Jimmies are the only ones that will not dye your cake batter baking and leave you with funky-colored cakes. Other types of sprinkles (nonpareils, quins, pearls, sanding sugars, etc.) can be used to decorate the bottom of the 3-layer cake.
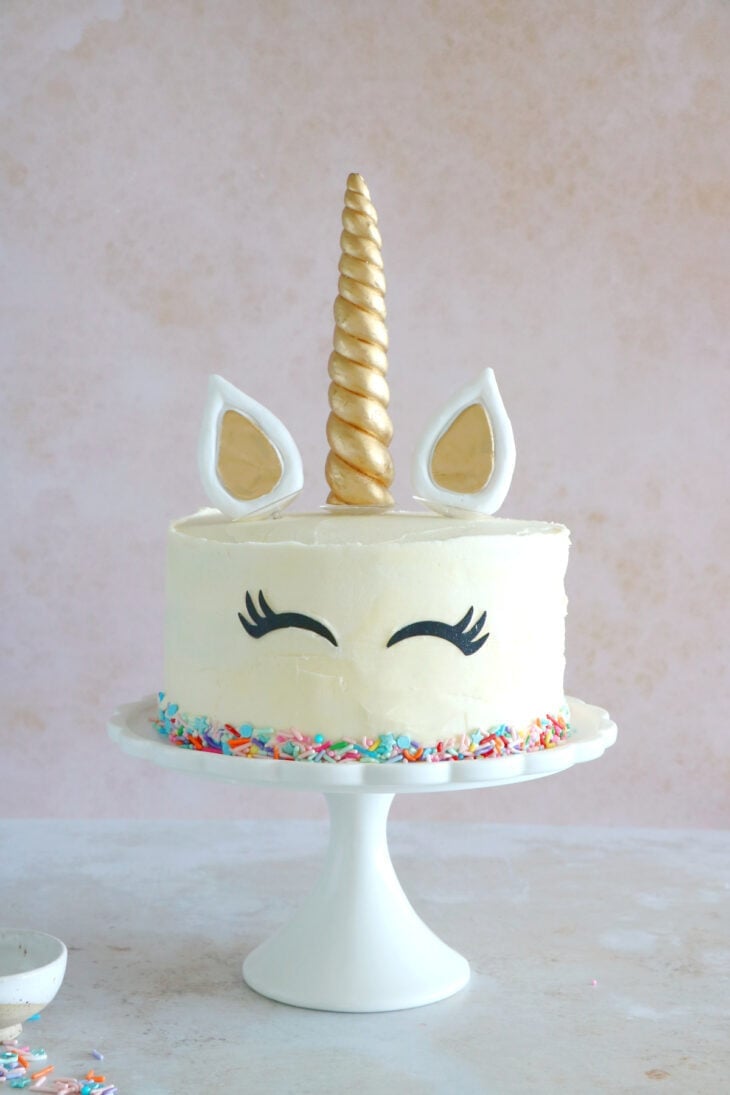
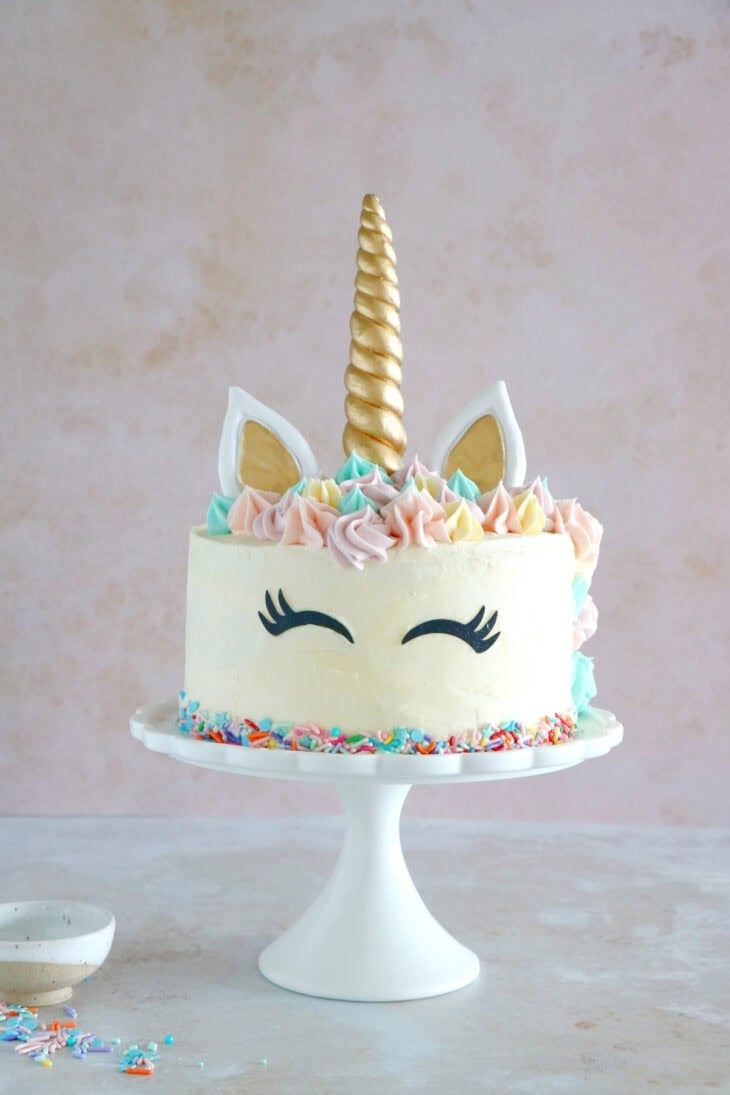
Unicorn cake toppings
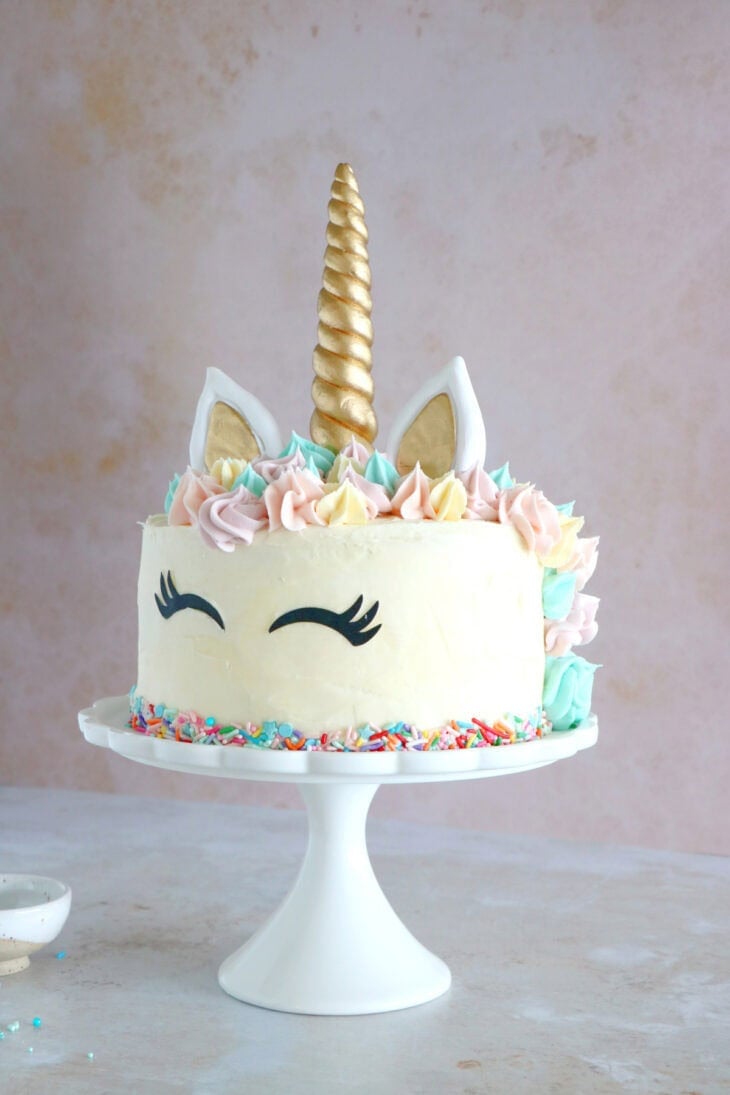
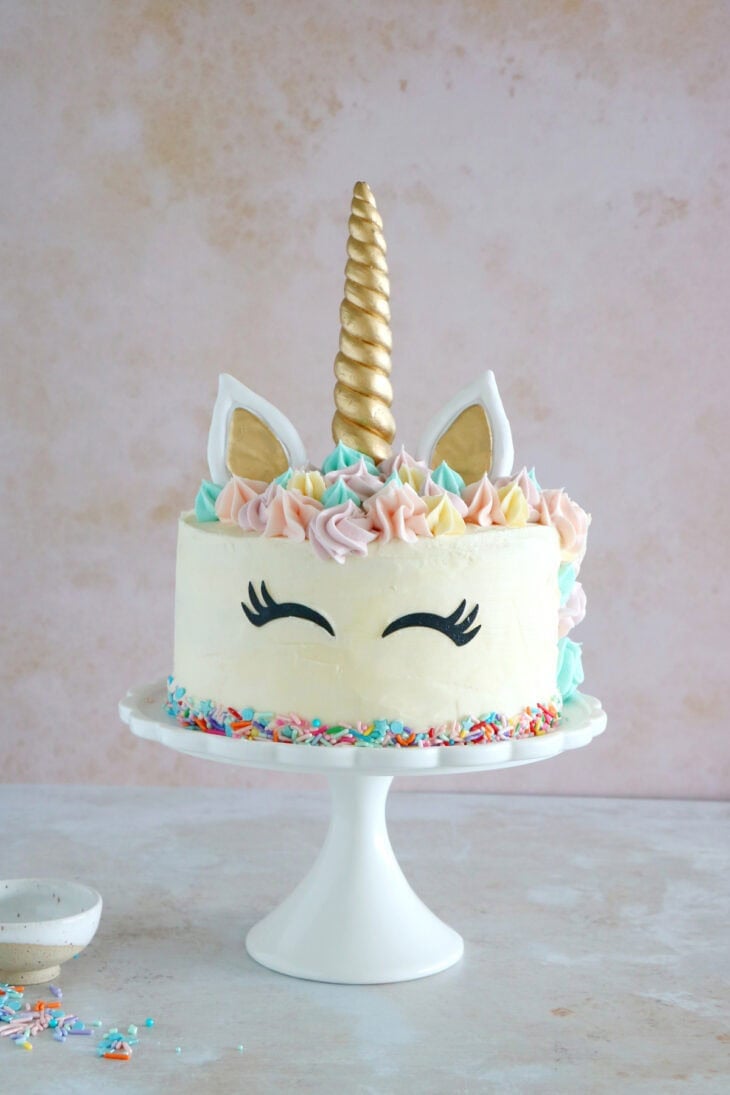
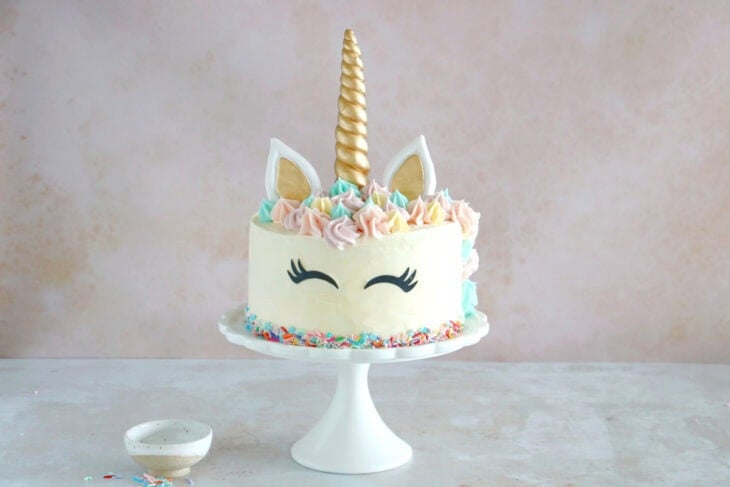
Unicorn cake toppings include the unicorn horn, the ears, and the eyes.
I purchased the unicorn cake topper (horn, ears and eyes) directly from Amazon. It includes a food grade and reusable gold unicorn horn and ears, handmade from high-quality polymer clay, and two sets of black glitter eyelashes. The result was incredible!
If you want to go the extra mile, you can learn how to make unicorn horn fondant toppers, or simply use sugar cones for a cheaper, easier version. The eyes can be made out of buttercream colored with black food coloring.
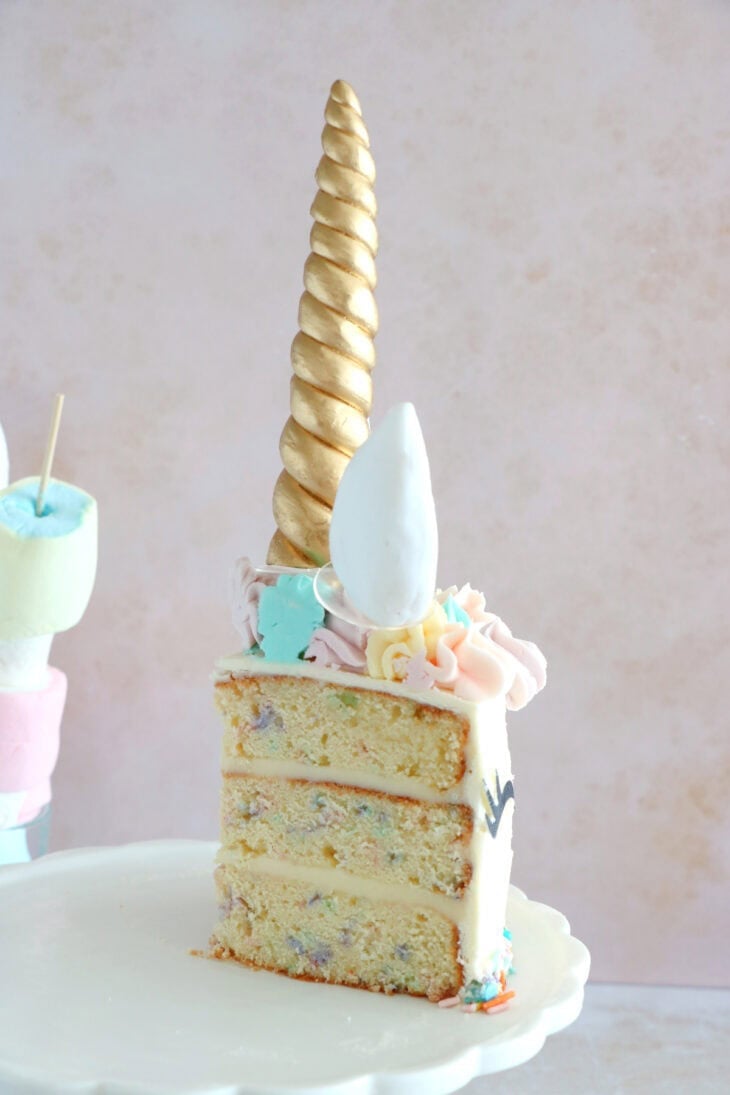
Pro tips
Crumb the cake. The technique of crumb coat consists in coating the layer cake with a very thin layer of frosting to help catch any loose crumbs on the outside of the cake so that the final layer of frosting doesn’t have any crumbs caught in it. First, spread a thin layer of frosting all over the cake (you should be able to see the cake through the frosting), then place the cake in the refrigerator to set for 20 minutes or more. After that, you can cover the cake with the remaining buttercream on top and sides of the cake.
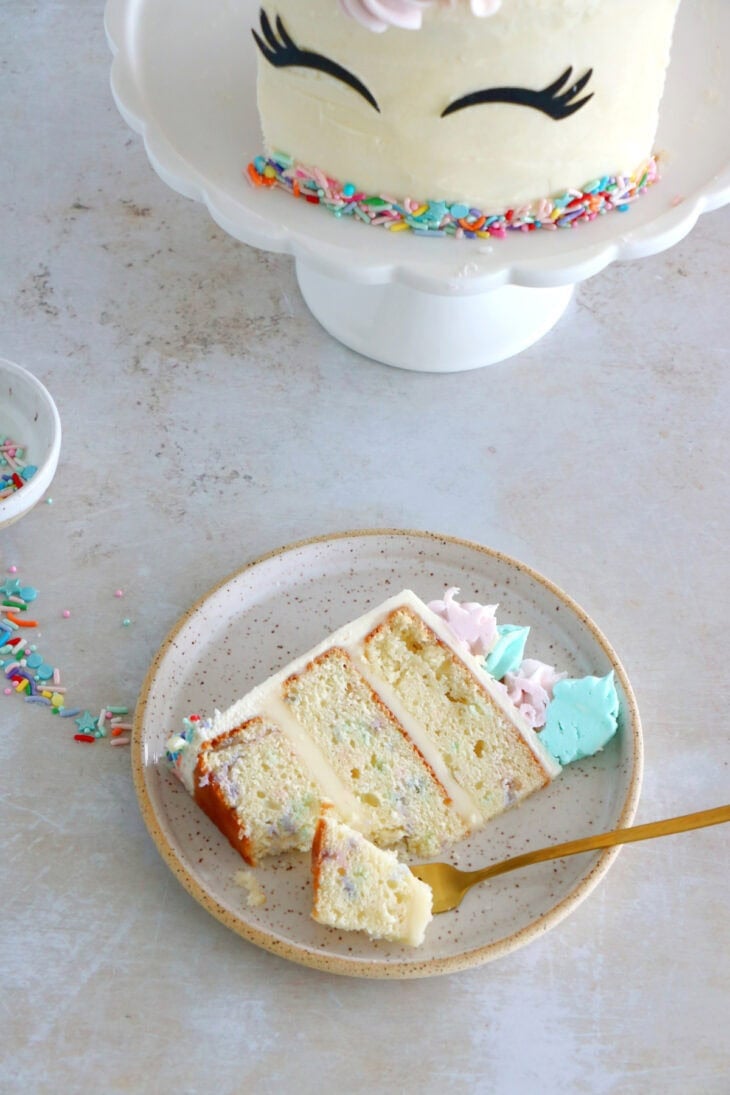
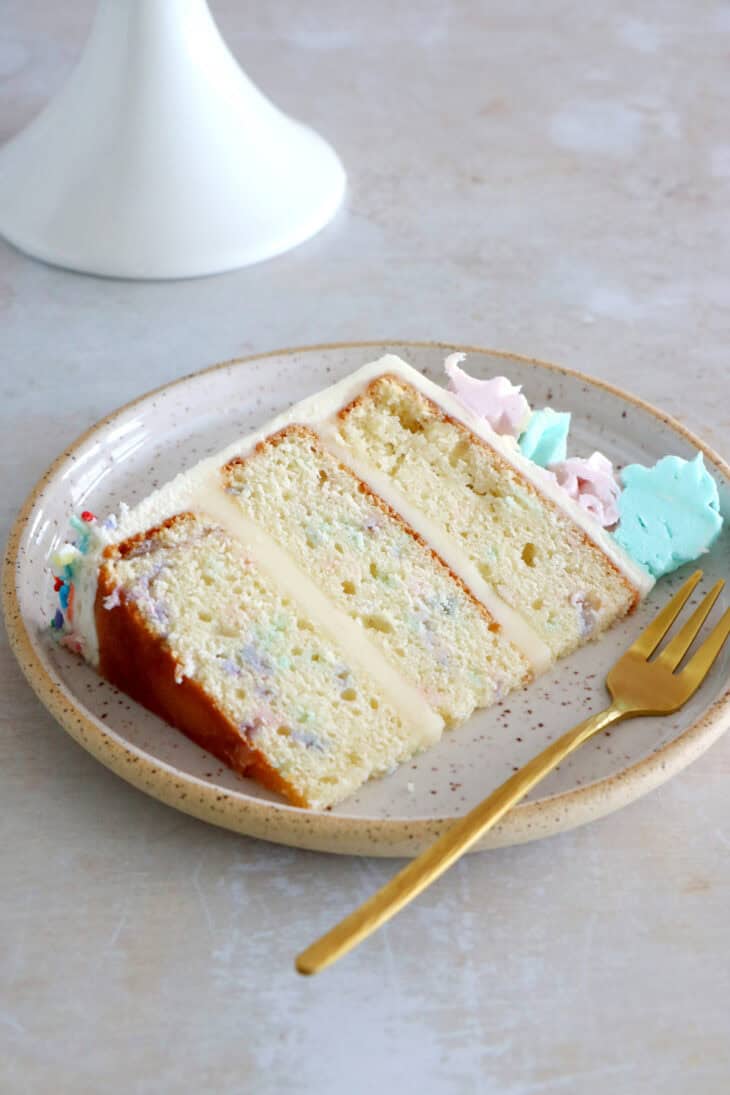
Before serving. It is best to remove the unicorn cake out from the refrigerator 2 to 3 hours before the party. This way, the cake will soften slightly at room temperature and will be easy to slice with a soft frosting and a moist crumb.
Make-ahead instructions
You can prepare parts of this unicorn cake ahead of time. This will take the stress out of you and help you stay organized with everything else (especially if you’re hosting a party and have many other things to prepare).
Make-ahead instructions for the cakes:
- The day before. You can prepare and bake the three cakes the day before, wrap in plastic film and leave at room temperature over night.
- Freezing option. Another option (and this is my preferred one) consists in making the cakes way before the D-day, wrap them tightly individually in plastic film, and freeze for up to two months. Allow the cakes to thaw slowly for 8 hours or overnight in the refrigerator, with their plastic wrap on while they thaw.
Make ahead instructions for the buttercream. Buttercream (both plain and colored options) can be made ahead of time and stored in an airtight container in the fridge for 1 week, or in the freezer for 3 months. Let it come to room temperature then re-whip with an electric mixer until light and fluffy again. Do not freeze the colored buttercream in piping bags directly, but place them in airtight containers instead. This is because you will have to fluff them again before using to ensure they do not “bleed” their colors.
Make-ahead steps to keep in mind:
- The day before and up to 2 months in advance. Prepare the three cakes, bake, wrap and store in the refrigerator or freeze.
- The day before and up to 3 months in advance. Prepare the buttercream, and either store in the refrigerator or freeze in an airtight container. Do the same with the colored buttercream (do not place them in piping bags yet, though).
- The day before (if frozen cakes and buttercream). Remove cakes and buttercream and place in the refrigerator to thaw overnight.
- The D-Day. Re-whip the buttercream mixtures (both the white one and the other colors) with an electric mixer until light and fluffy again. Assemble and decorate the unicorn cake!
Other recipe ideas for a Unicorn birthday party
- Funfetti cookies. They’re always a success!
- Raspberry Coconut Smoothie, Blackberry Smoothie or Layered Raspberry Banana Smoothie.
- Marble Strawberry Coconut Popsicles. They’re great on a hot summer birthday party!
- Popcorn and mini marshmallows goodie bags, and add a unicorn sticker. It’s a pretty delicious snack!
- Create large marshmallow skewers with pastel colors. Place then in a vase to decorate the table.
Unicorn Cake
- Prep Time: 60 mins
- Assembling and Decorating Time: 60 mins
- Cook Time: 25 mins
- Total Time: 2 hours 25 minutes
- Yield: 10 servings 1x
- Category: Cakes
This unicorn cake will bring some sparkle into your life! Bake it for a birthday party, a baby shower, or any other magical celebration.
Email me this recipe
We’ll send it straight to your inbox, along with weekly food inspiration!
Ingredients
Before you start: I highly recommend you print out this unicorn cake recipe to ensure you do not miss any step by scrolling up and down. It will be very useful!
For the cakes (yields 3x 7-inch (18 cm) cakes):
- 2 ¾ cups (340g) all-purpose flour
- 2 ½ teaspoon baking powder
- ½ teaspoon salt
- 1 ½ cup (300g) sugar
- 2 sticks (230g) unsalted butter, softened at room temperature
- 3 eggs
- 2 ½ teaspoons vanilla extract
- 1 cup (240 ml) buttermilk*
- ½ cup (80g) jimmies sprinkles**
- 1 egg white
For the buttercream:
- 4 ¾ sticks (560g) unsalted butter, softened at room temperature
- 5 cups (500g) confectioners’ sugar
- 2 teaspoons vanilla extract
- 2 Tablespoons milk
For decorating:
- Food colorings: pink, purple, blue, yellow
- Unicorn horn and ears***
- Extra sprinkles, any kind
Special equipment:
- 3 (7-inch / 18 cm) round cake pans
- 1 large offset spatula
- 3 (12-inch) piping bags fitted with a large star piping tip
Instructions
For the cakes:
-
Preheat the oven to 350°F (180°C). Lightly butter the bottom of three 7-inch (18 cm) cake pans and place a round of parchment on the bottom.
-
In a large bowl, whisk together the flour, baking powder, and salt.
-
In another mixing bowl, whish the eggs, egg white, and vanilla.
-
In the bowl of a stand mixer fitted with the paddle attachment, beat butter and sugar on medium speed for about 5 minutes. The mixture should look white in color and fluffy. Reduce the speed to low and slowly stream the egg mixture, scraping down the bowl with a rubber spatula as needed. Mix until combined.
- Add a third of the dry ingredients to the mixing bowl and mix on low speed to combine. Then slowly stream in half of the buttermilk. Continue alternating dry and wet ingredients, ending on dry, until everything is combined.
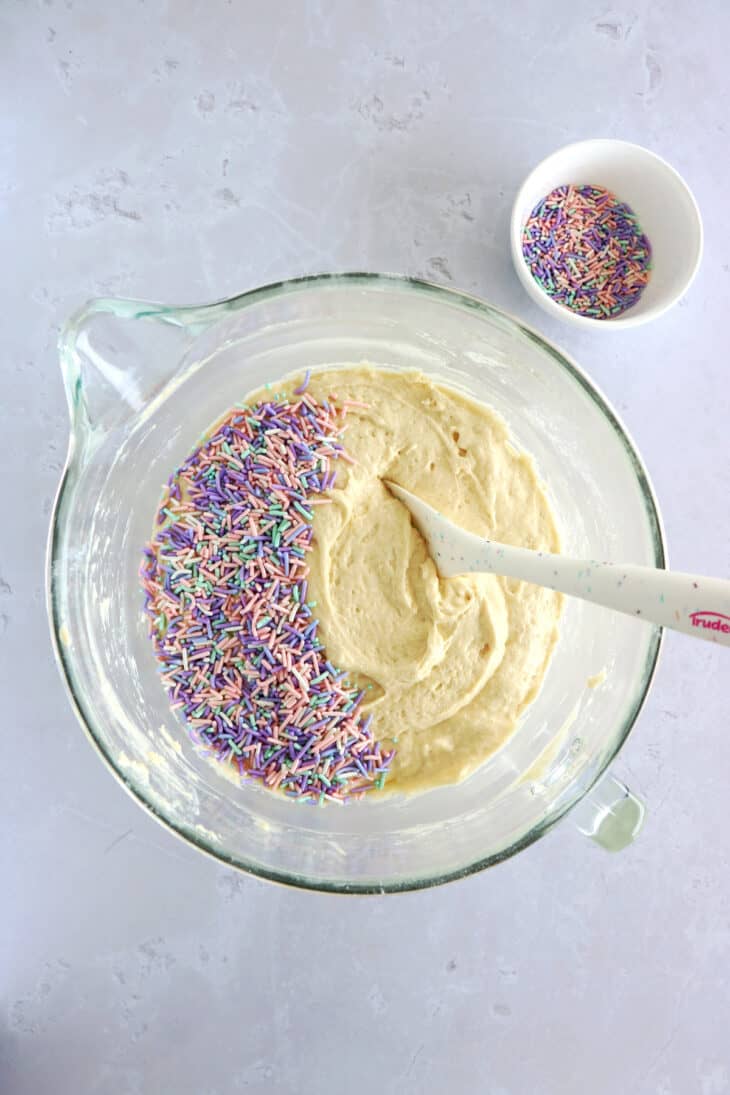
- Fold the sprinkles into the batter with a rubber spatula until just distributed. Do not overmix.
- Evenly distribute the batter, about 2 large cups (480g), into each of the prepared pans, smoothing out the top. Bake the cakes for about 25 minutes, or until a toothpick inserted into the center comes out clean. Let the cake cool in the pan for 5 minutes, then invert the pans to remove the cakes. Transfer the cake to a wire rack and let cool completely.
For the buttercream:
-
In the bowl of a stand mixer fitted with the paddle attachment, beat the butter on medium speed until smooth, about 2 minutes. Add the confectioners’ sugar, and mix on low speed until combined. Increase the speed to medium-high and continue mixing until white and fluffy, about 3 minutes. Add the milk and vanilla and mix on low speed until combined. Then increase the speed to medium and mix again until fluffy.
-
Set aside about 2 ½ cups (75 cl) of the frosting in a medium bowl and cover with plastic wrap. This frosting will be used for decorating the unicorn cake.
Assembling and decorating the cake:
- If the cakes are not completely flat, slice a thin layer off the tops of the cakes to create a flat surface, using a large serrated knife. Discard the scraps.
-
Assembling. Place one cake right side up on a large plate or cake stand. Using an offset spatula, evenly spread about ½ cup of the frosting over the layer. Add the next layer and spread another layer of frosting. Place the last cake up-side-down, so the top of the cake is smooth and flat.
-
Crumb coat. Spread a thin layer of frosting, over the top and around the sides as a crumb coat (to help catch any loose crumbs before the final frosting). You should be able to see the cake through the frosting. Chill in the refrigerator for about 20 minutes until the frosting is set.
-
Final frosting. Spread the remaining frosting all over the top and sides, using an offset spatula to smooth out the surface and the sides.
Unicorn decorations:
- Unicorn cake topping + sprinkles. Garnish the bottom of the cake with extra sprinkles, and add the unicorn eyes while the frosting is still fresh (they won’t fix if the frosting is set and cold). Place the unicorn horn into the center of the cake, and add the small ears on either sides of the horn.
-
Color the buttercream. Divide the remaining buttercream into 4 small bowls. Add one very small drop of food coloring to each (one pink, one purple, one blue, one yellow), and stir to combine. If too pale in color, you can add just a little bit more food coloring. Transfer each preparation into 4 piping bags fitted with star piping tips, and gently squeeze to push the buttercream down to the tip.
-
To pipe the mane, use the colored piping bags to pipe various sized rosettes and dollops on the top of the cake, and in between the cones to fill in any empty space. Then, pipe other rosettes, moving slightly towards one side to make it look like the mane of the unicorn is flowing around the side.
-
Chill the cake (without the horn if too high in the fridge), and remove it from the refrigerator two hours before slicing to allow the cake to come back to room temperature.**** Slice, and enjoy!
Notes
* For homemade buttermilk, add 1 Tablespoon lemon juice or white vinegar into a measuring cup and fill with milk up to the 1 cup mark. Stir, and let sit for 5 minutes, until bubbly. Then, it’s ready to use.
** Use jimmies sprinkle (thin, long-shaped sprinkles), not nonpareils. Jimmies won’t dye the cake batter while nonpareils likely will bleed into the dough and may leave you with some funky-colored cakes.
*** I purchased the unicorn cake topper (horn, ears and eyes) directly from Amazon. If you want to go the extra mile, learn how to make unicorn horn fondant toppers, or simply use sugar cones.
**** If you made this unicorn cake for a birthday party, do not forget to add the candles! It’s easy to forget with all the toppings and the horn in the center of the cake.
Did you make this recipe?
Lastly, if you make this Unicorn Cake, be sure to leave a comment and give this recipe a rating, letting me know how you liked it. And of course, don’t forget to tag me on Instagram! Thank you and enjoy!
